
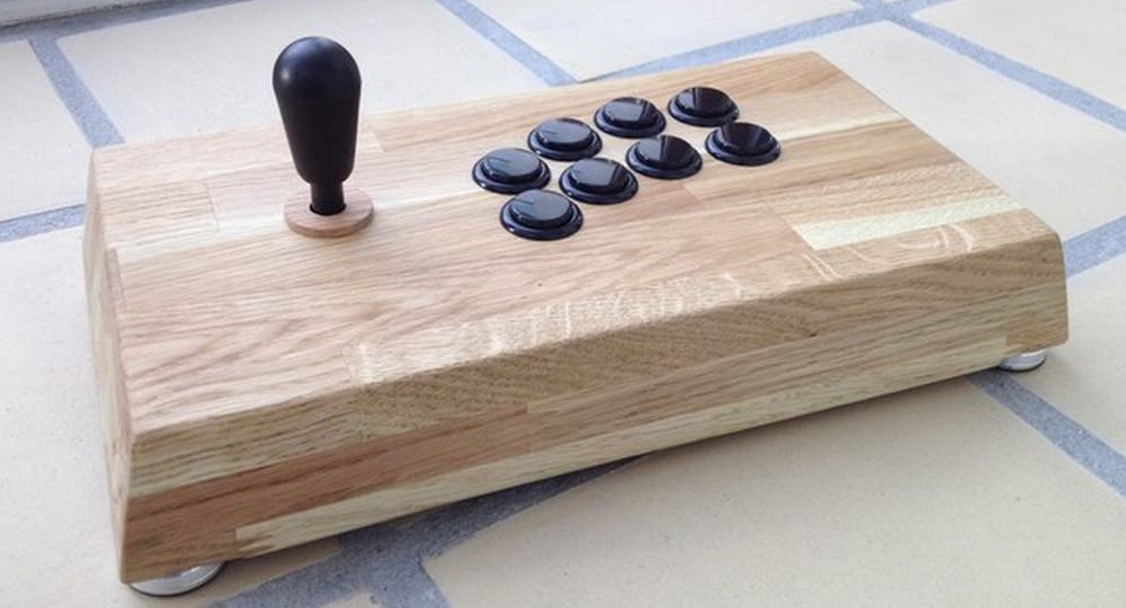
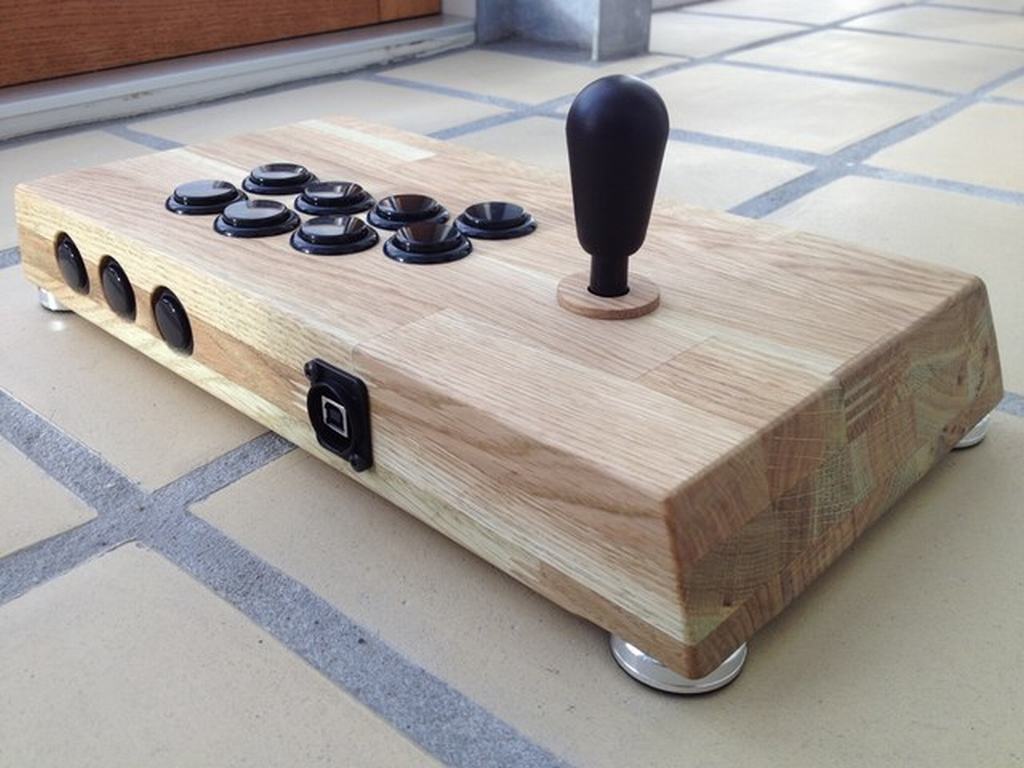
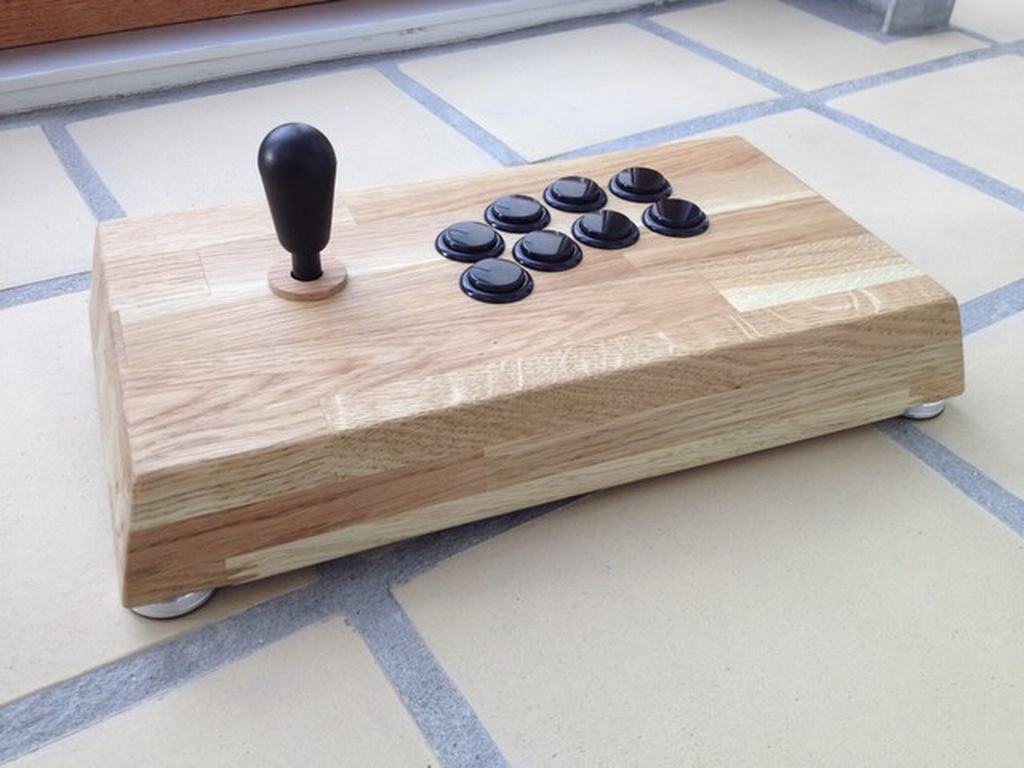
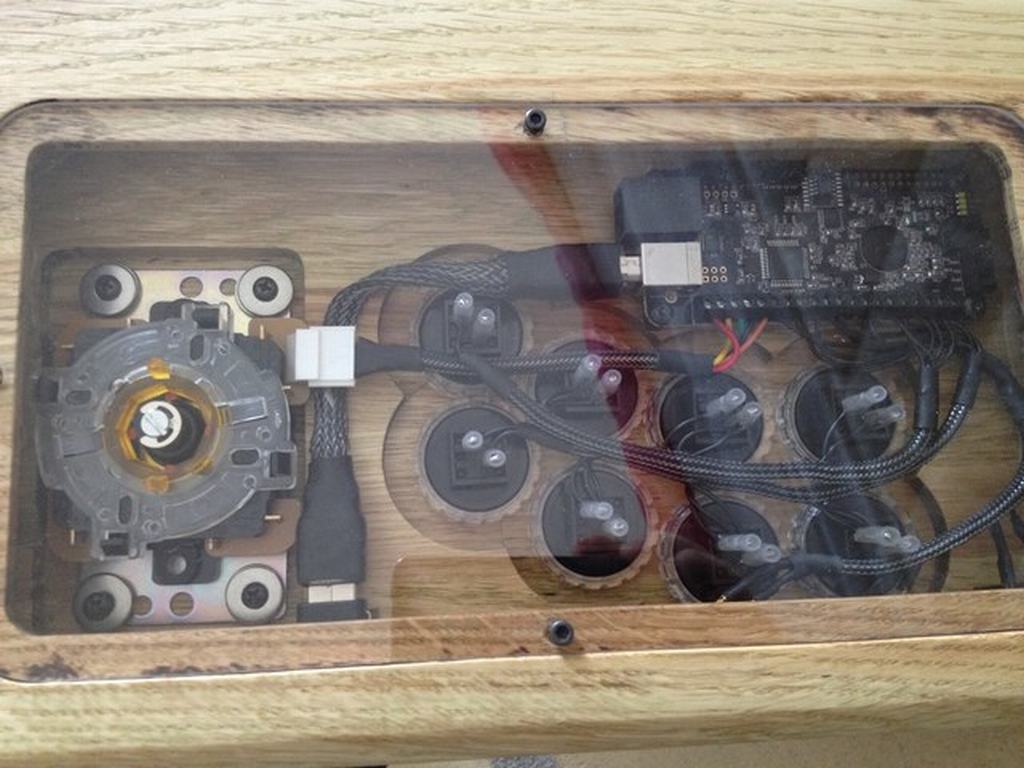
I recently managed to make a ‘regular’ fight stick for the PC/XBox 360/PS3 using an oak shelve that I glued together and used a table saw and a router to trim the sides. I used an Akishop PS360+ board, a Sanwa JLF joystick and 30mm Seimitsu buttons on top and Sanwa 24 mm buttons on the back. All cables were sleeved with carbon look sleeves from watercooling.co.uk and an USB plug from Neutrik.

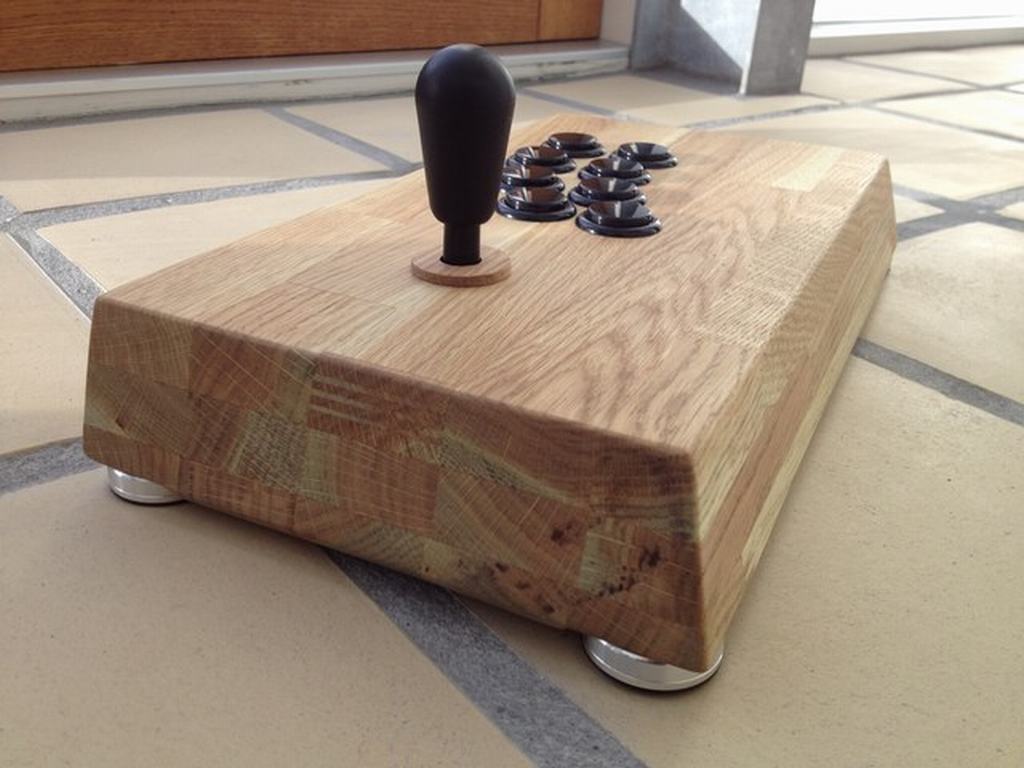
I even found a guy on the internet who makes custom washers and got an oak washer for the stick. The entire stick was then treated with some furniture oil to make it resistant to the sweat of my hands. And then the gaming could begin…
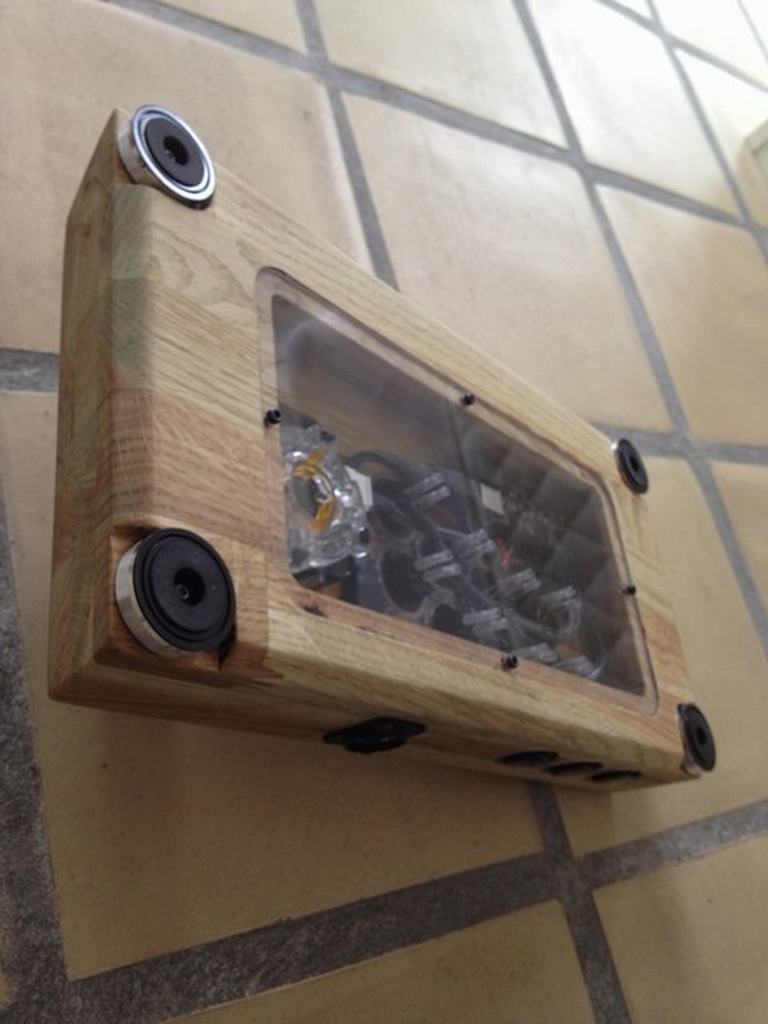
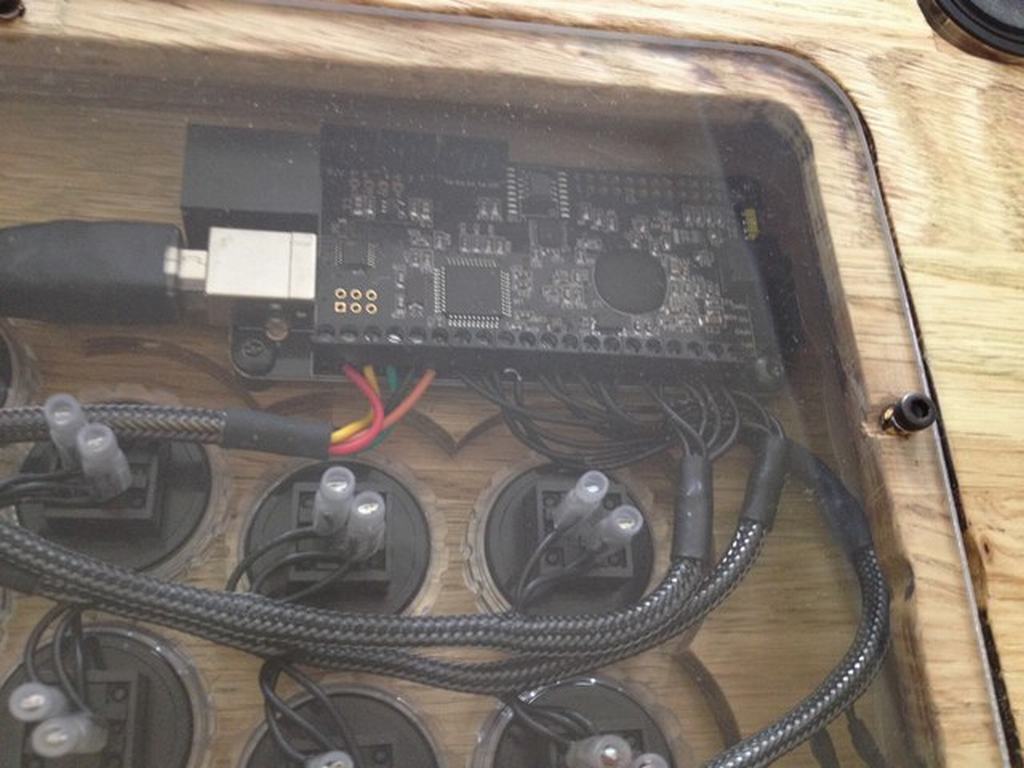
The back side had a transparent piece plexi glass to show off the inside of the stick.
© breadbox64.com 2015
What were the measurements of the wood and what tools were used?
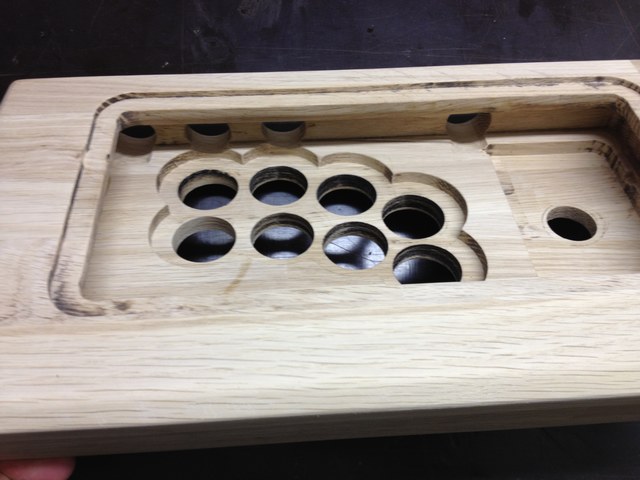
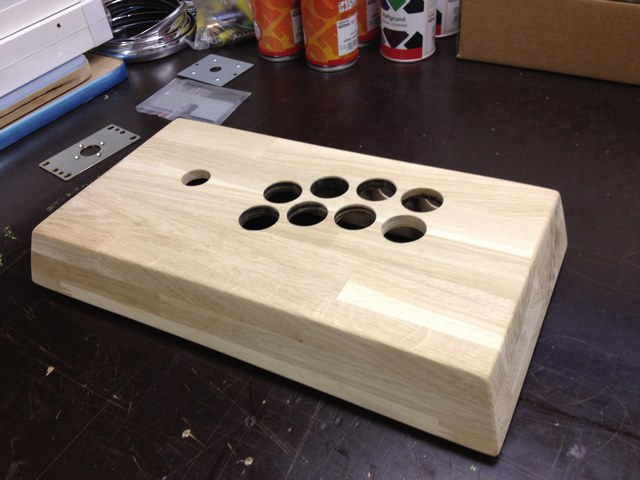
The stick is made from three pieces of glue laminated oak boards (18 mm thick) that were glued together to make a total height of 6 cm including the aluminum feet. The depth of the stick is about 18 cm and the width is roughly 32 cm. I used a table saw for cutting the sides of the stick. A jigsaw and a router were used to cut out the hole for the electronics. A 30 mm forstner drill bit were used for the Seimitsu buttons on top and a 24 mm forstner drill bit for the Sanwa buttons on the front. The countersunk holes for the front buttons were made with a router. The cut-outs for the aluminum feet were done with a router as well. The plexi glass were cut out by hand and the corners were made with some rough sandpaper 🙂
Did you buy the aluminum feet from an online store? I’m having a really tough time finding similar feet for my project.
Hi there. I got mine from Arcadeshop.de (link), but they have been sold out for quite some time. You can get better (and way cheaper) alternatives on ebay if you search for something like ‘aluminum isolation feet for tube amplifier turntable speaker DAC‘ – like these I got in black (link). They are made of solid aluminum while the ones from arcadeshop.de were made of plastic. I’m currently working on a small batch of fight sticks for the Commodore 64 (link) made from a solid oak plank so I got a whole bunch of them 🙂
Good luck with your project!
This looks fantastic! Very clean. In what way did you mount the joystick hardware without screws protruding from the top of the enclosure? Did you use tee nuts or some other method?
Thanks! I used selftapping screws and some washers to ensure that I did not protrude the top. However, e-nuts or insert nuts may give an even cleaner finish 😉
Hi, how did you get such perfect circle shapes routed around the countersunk button holes and nice rectangle around the joystick plate? It’s all so precise. When I hand route it’s rsthercwonky…
The countersunk holes are made with a ‘rabbet router bit’. The diameter of the bit and the size of the ball bearing controls the amount of material that is being removed (the width of the countersunk hole). The ball bearing is lowered into button hole which then acts as a template/stencil. If the button holes are perfect in shape, the countersunk hole will be too. If not, you’ll get dents in the countersunk holes…
The hole for the joystick is made using a wooden template/stencil and the template guide bushing adapter that came with my router. The wooden template makes it really easy to make perfect shaped holes. You can see the wooden template I made using a cheap MDF board and my template guide bushing adapter here (link1, link2). The finished joystick hole in a solid piece of oak with the recessed edge for the plexiglass can be seen here (link). The recessed edge was also made using a rabbet router bit 😉
Thanks for the reply! I planned on using a rabbet bit to do the recessed plex so that’s a great use for the additional recess around the button holes. I also have some scrap so should be able to make a template for the joystick as well. My stick should end up very similar to yours but I’m going to be using walnut with white buttons. Thanks again for the post and for the inspiration!
Your welcome 🙂 Walnut with white buttons sounds really nice! Yep, the template trick makes it really easy to make pro looking holes. Good luck with your project!
Hey bud, can you let me know how to make those counter sink holes for start, select, and home?
Yes 🙂 You can find the specific router bit used for the countersunk button holes here (link).