
Some time ago I decided to make another fight stick from my arcade spare parts. You can’t ever get enough fight sticks, so why not make another one for the collection…
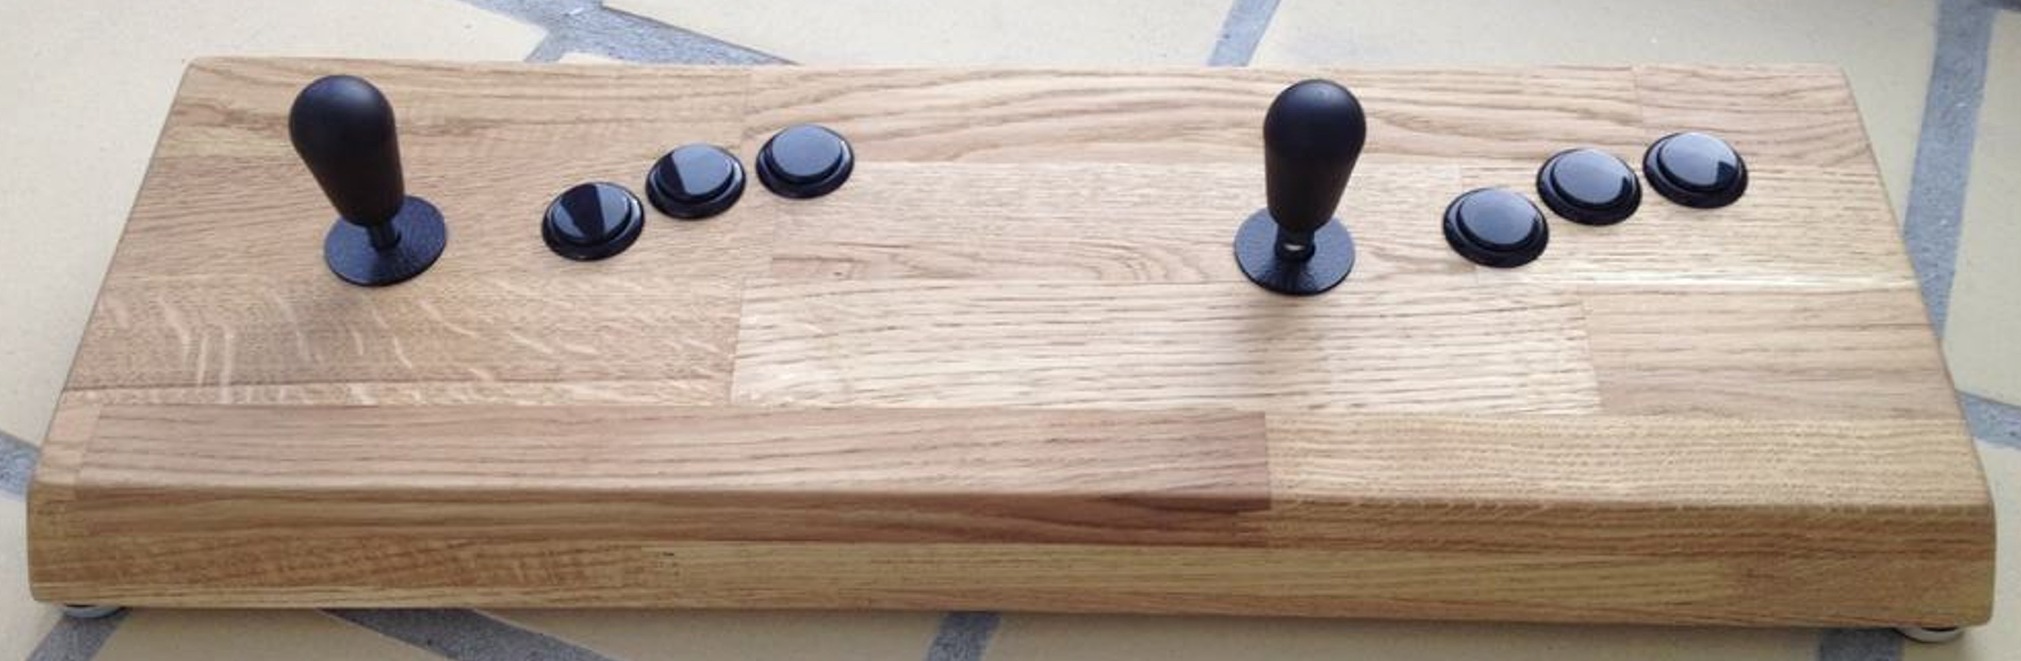
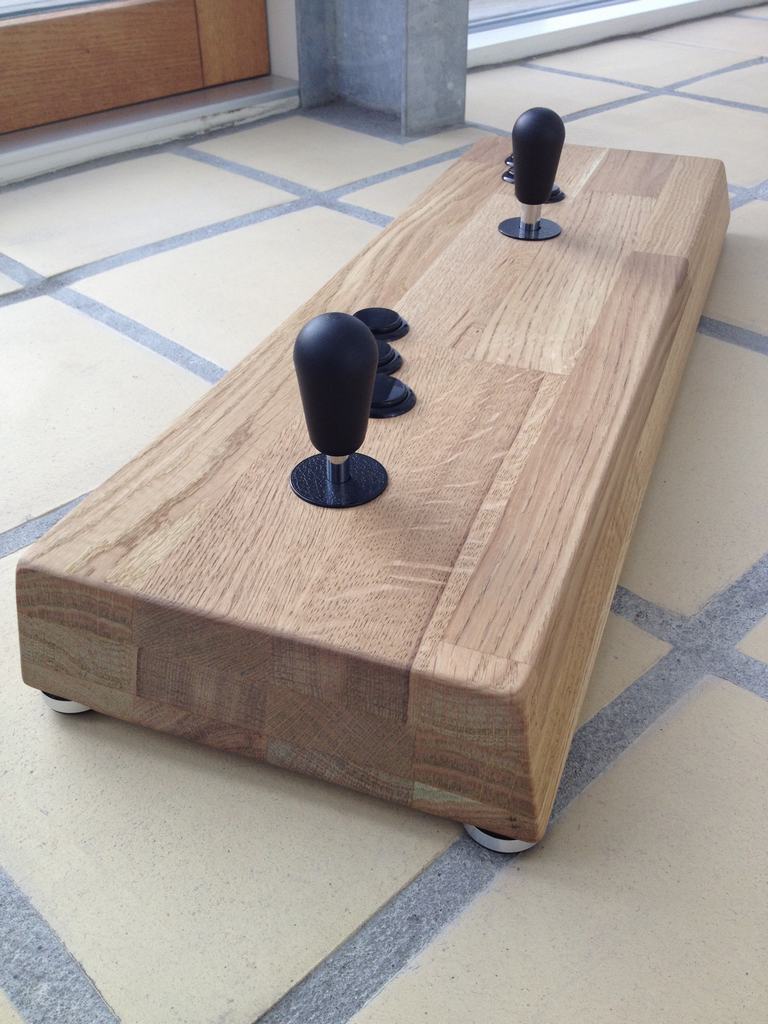
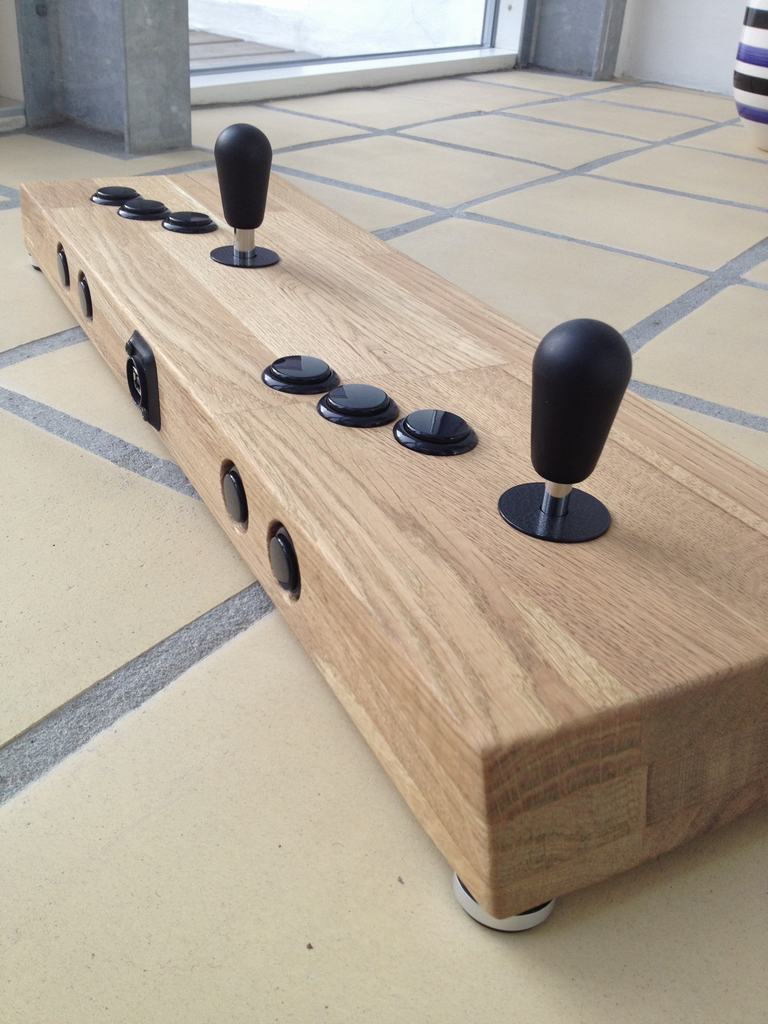
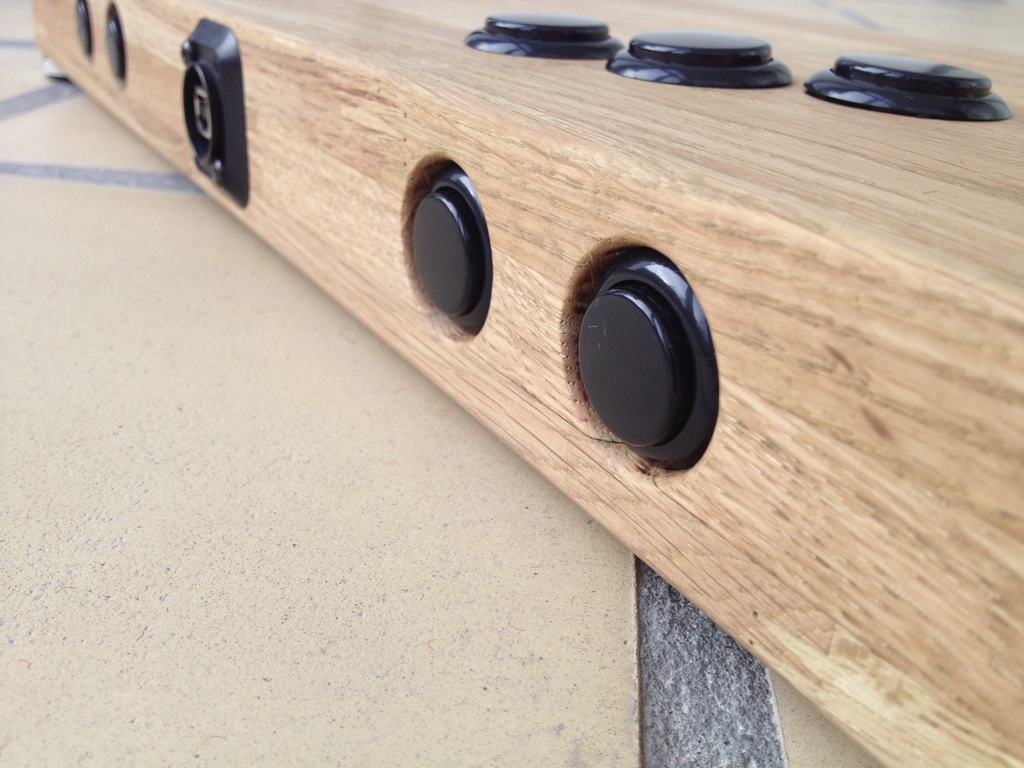
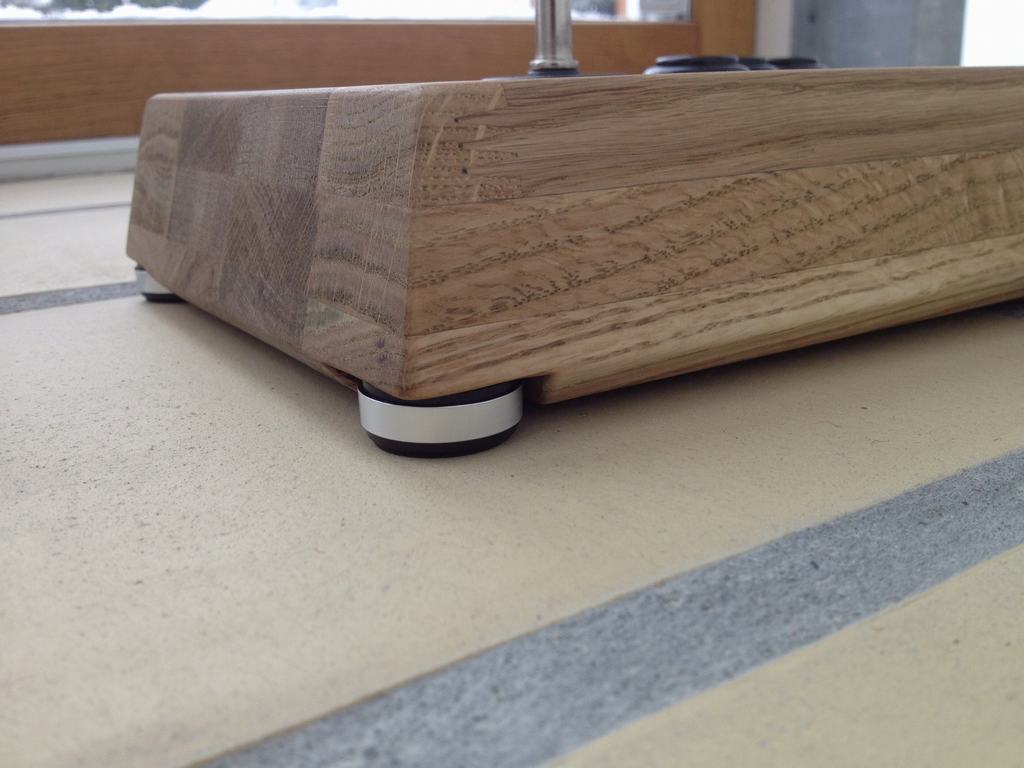
The stick is build from an oak shelve that I glued together and oiled up to make it resistant to hand sweat! The sides have been tilted slightly with a table saw to make it as stable as possible. It has a height of a little less than 6 cm so it is really comfortable to play with. I counter sunk the areas for the joysticks to make a clean look on the top of the stick.
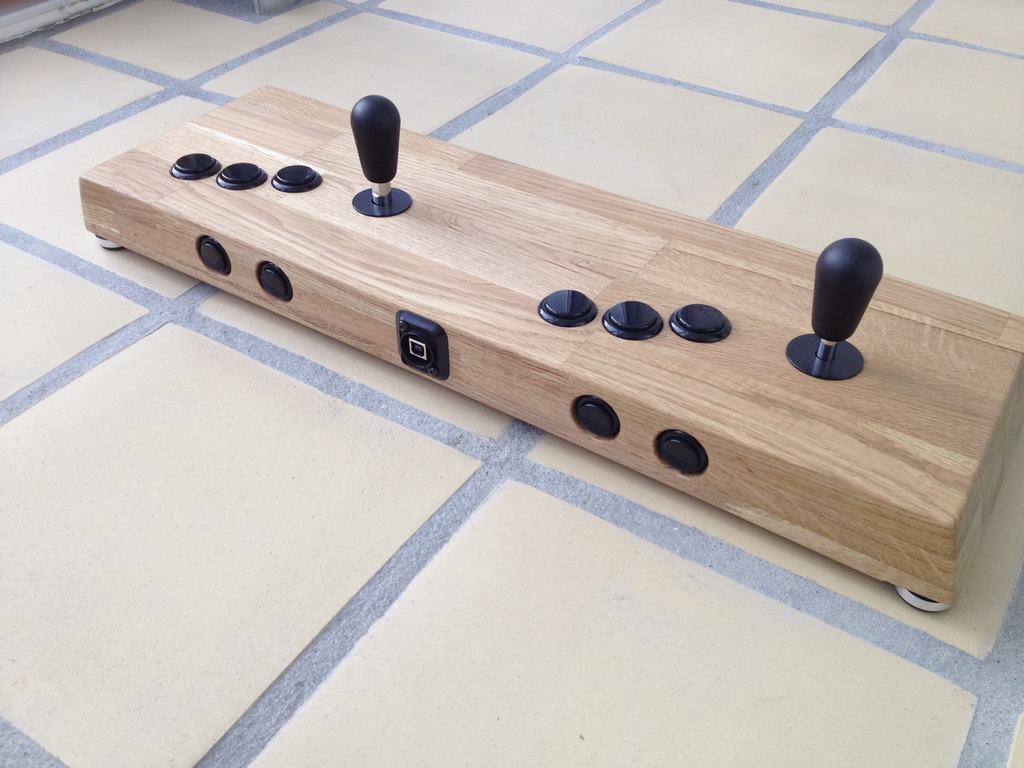
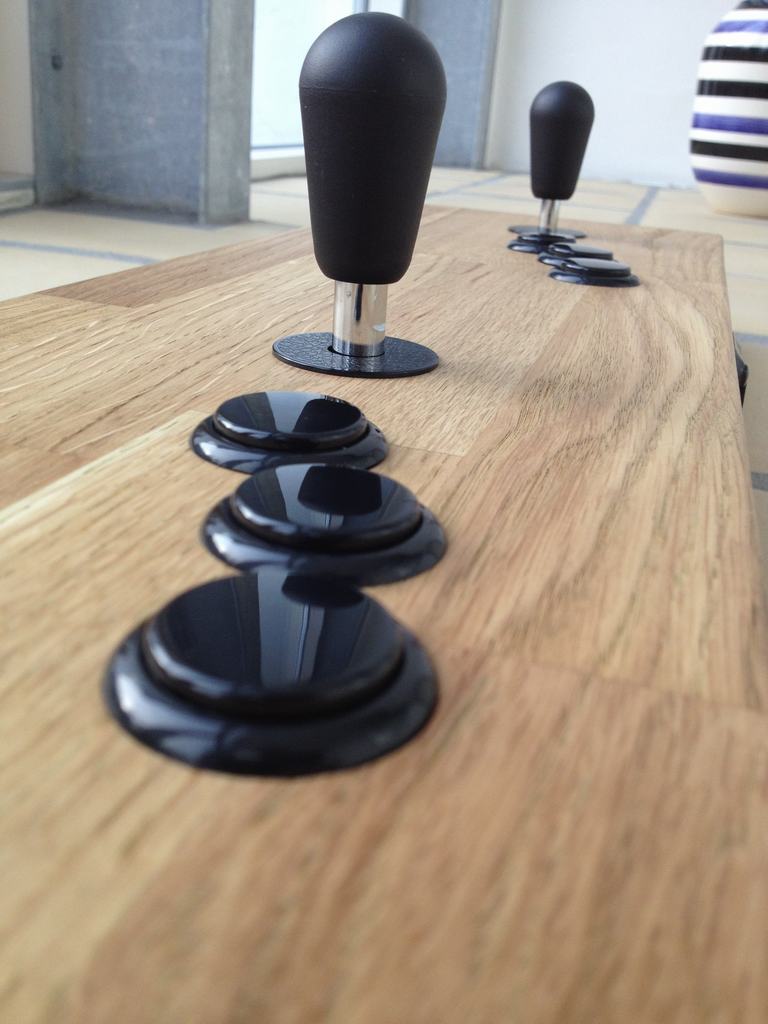
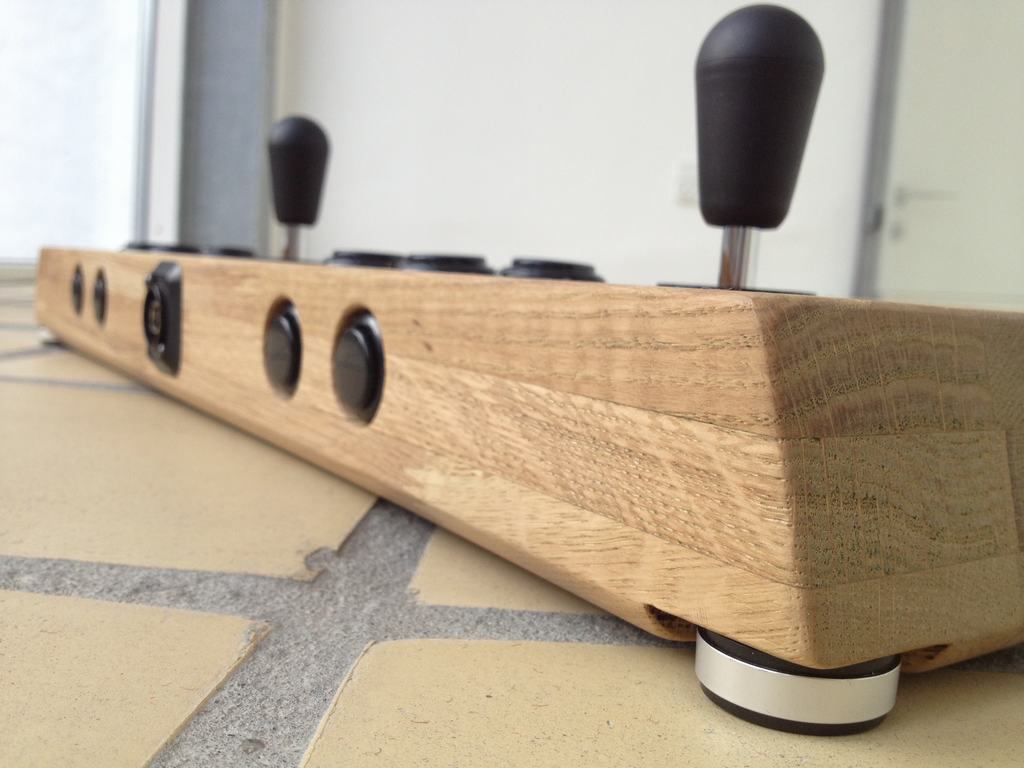
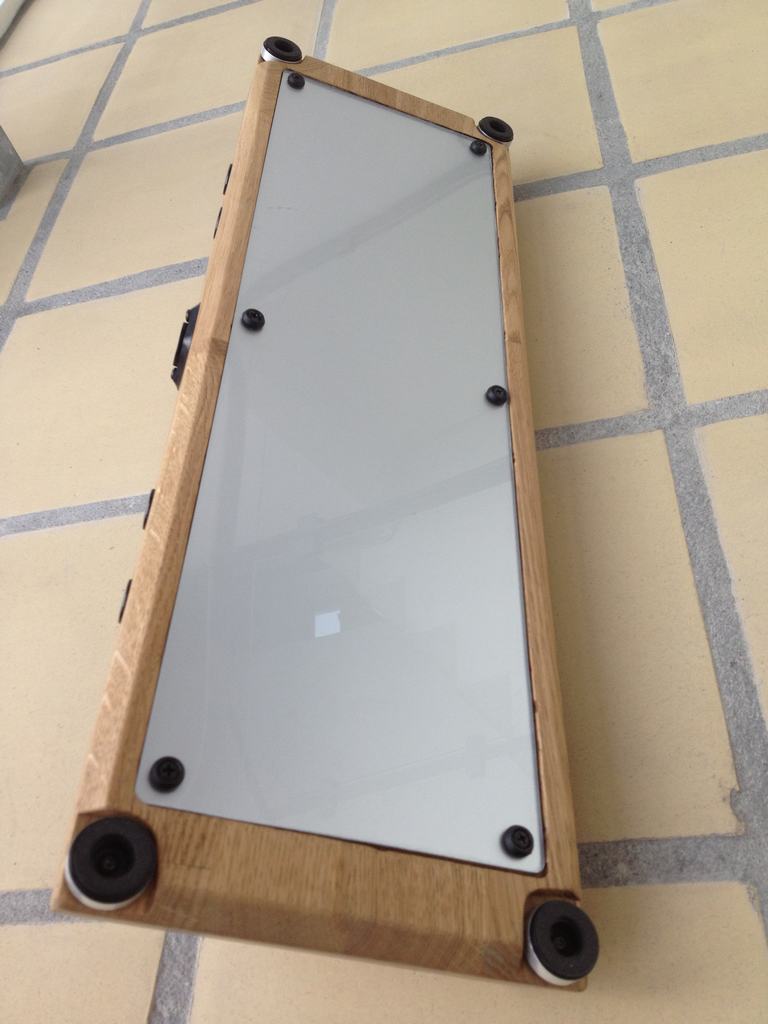
I used Sanwa JLW and Sanwa JLF joysticks in it, Seimitsu buttons on top and Sanwa buttons on the back for game selection etc. The bottom of the fight stick is made from plexi glas which has been painted silver. Because the joysticks have been screwed on from the back of the stick, I had to use battops to make the joysticks high enough on the business side of the fight stick. Good thing I prefer those to battops! I used a USB plug from Neutrik to make a clean look when transporting the fight stick. I used a cheap 2 player USB encoder to connect the buttons and joystics.
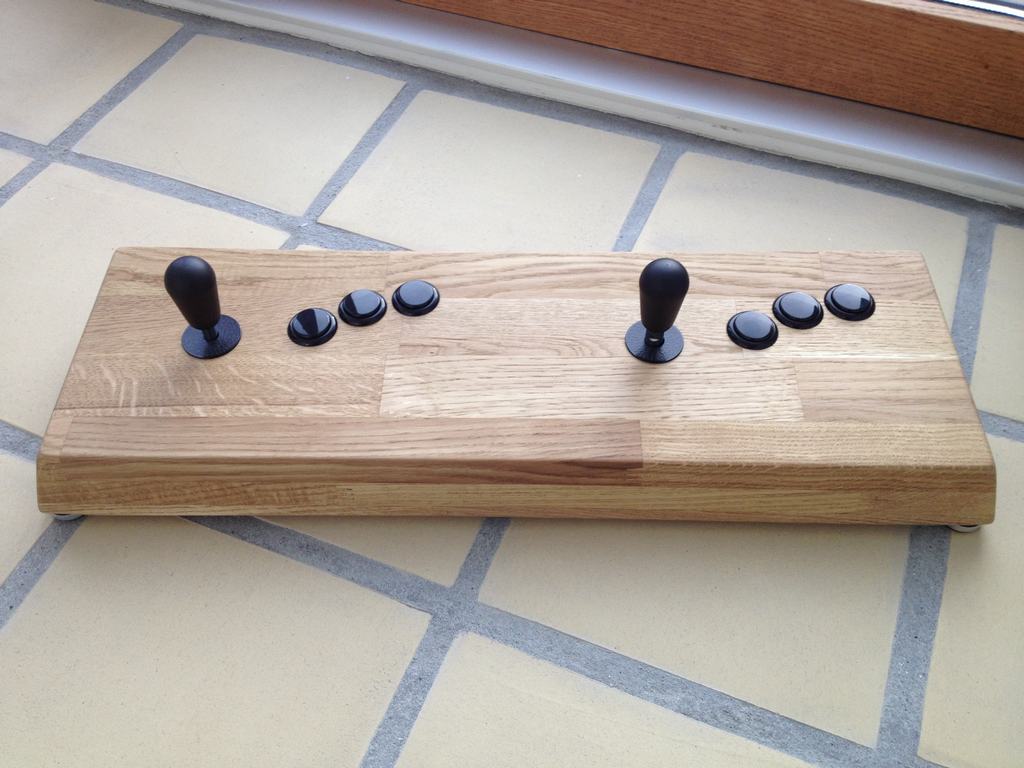
The final result is a pretty heavy and sturdy fight stick…
© breadbox64.com 2015
Really nice project. I’m thinking of doing the same kind of cabinet. Do you have any measurements of your cabinet to start from?
Hi Leander and thanks. I used a wooden shelf made of oak, 18 mm thick and 30 cm wide (and like 200 cm in length). The board was cut into three 65 cm pieces. After cutting holes and using a router to make the cutouts for the joysticks, buttons, feet etc., the pieces were glued together. Finally, I used a table saw to make the sides look a little nicer. The final stick ended up with a size of 6 x 20 x 57 cm.
Good luck with your project 🙂
Another question as I’m drawing my schematics. As you used the router for the joystick, how did you mount the joystick plate? Was the wood thick enough to screw it to the wood? I don’t see any bolts at the top. Did you use S plates on the joystick or regular straight plates?
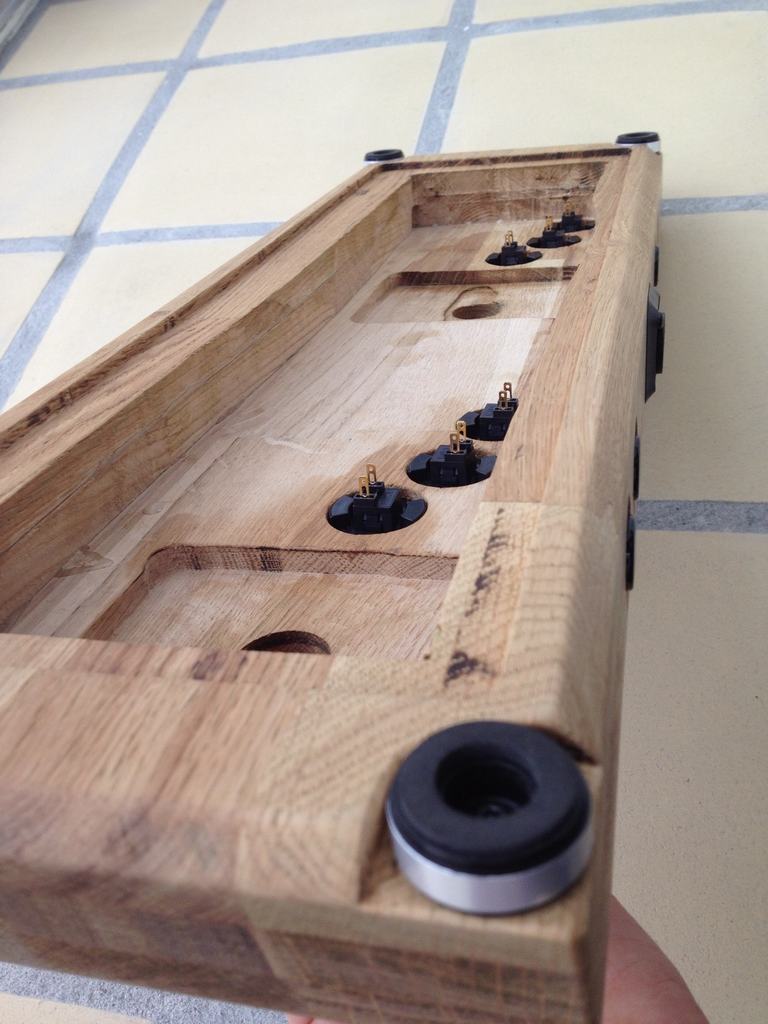
A picture from the completed bottom would help me a lot.
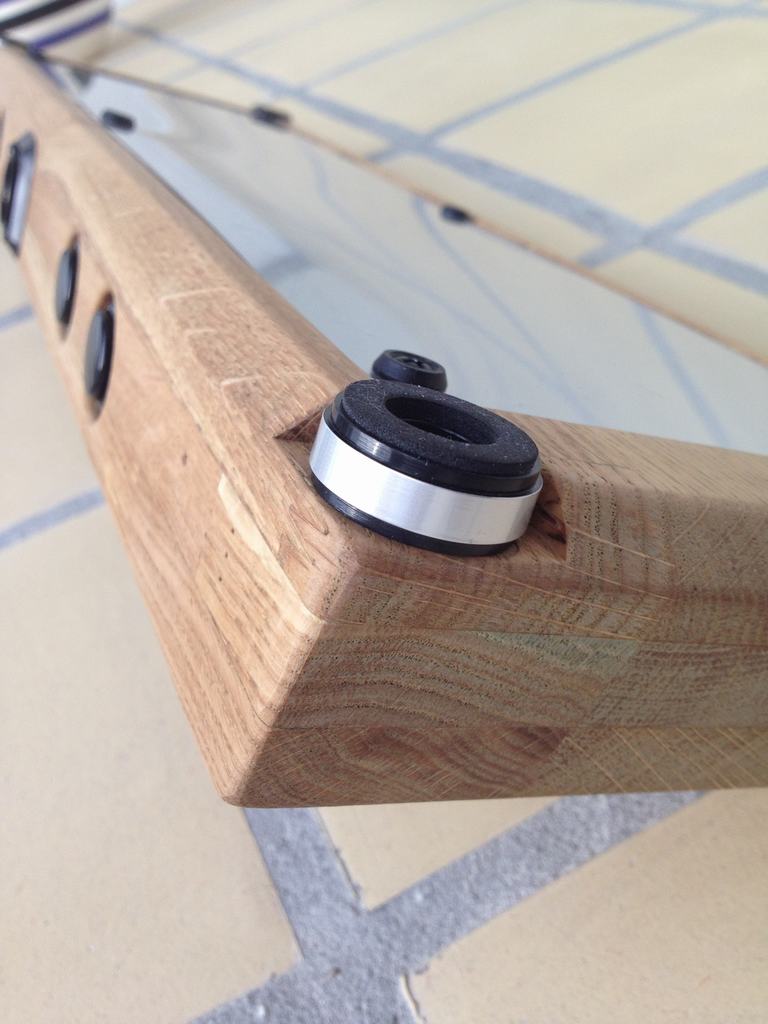
I just used the standard straight plates and some self-tapping screws to fasten the joystick from the inside. This way I could keep the top of the joystick clear of screws/bolts. using the router, I left about 10 mm of wood for fastening the screws and pre-drilled some small holes to ease the work on the selftapping screws.
You can see how the joysticks are attached on these images – pic1, pic2.
Awesome design, just what I had in mind. Exactly that. Can you make one a liiiiiittle bit wider? 65cm ? Also, do you send to Greece? How much will it cost? Just the wooden case.
Hi Stavros, thanks for your comment. I don’t make these – sorry. I just made this a few years ago. I don’t even remember what happended to it. It was probably swapped for another project 🙂
Thank you for your time to answer me. Do you have the measurements of it? maybe a schematic so i can try to built it myself? Its the prettiest design i have come across searching for a 2player arcade wooden sticks.
No. sorry 🙁 It’s build from a wooden shelf that has been cut our and glued together. The button layout is from slagcoin. After drilling the holes, I used a table saw and a router for the finish.
Its ok, my friend i will try to make it from the photos. Its so good design, its exactly what i had in mind when i was searching. Now searching is done. 🙂 The built starts. 🙂
Good luck with the project 🙂
Thank you. 🙂 🙂