
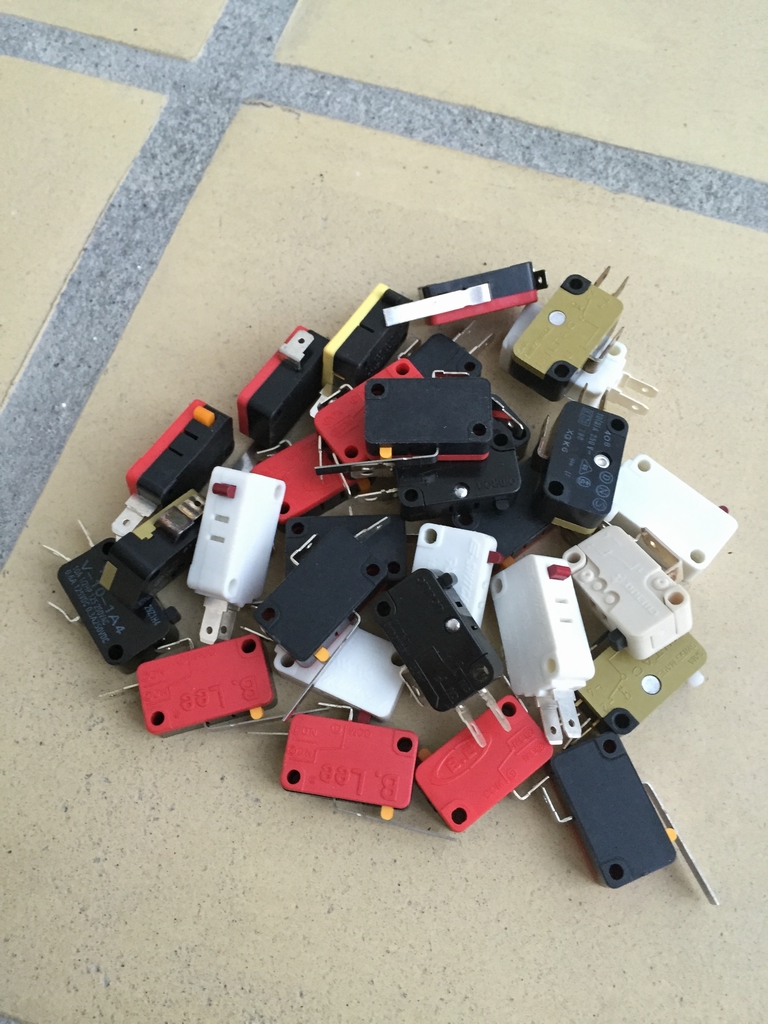
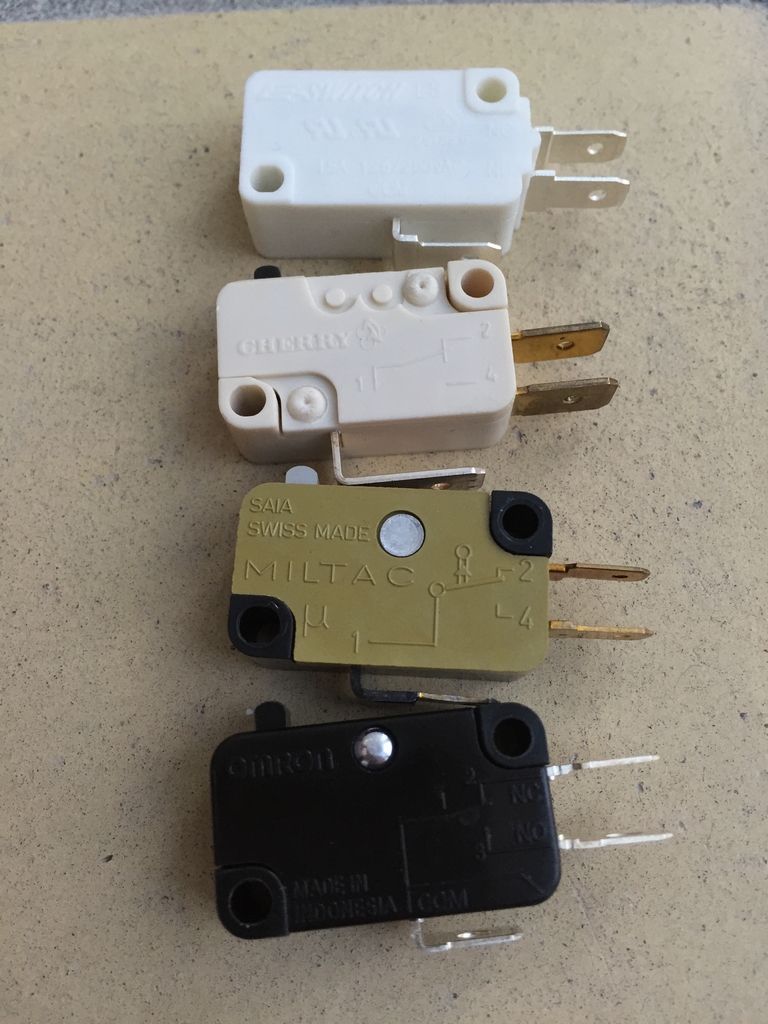
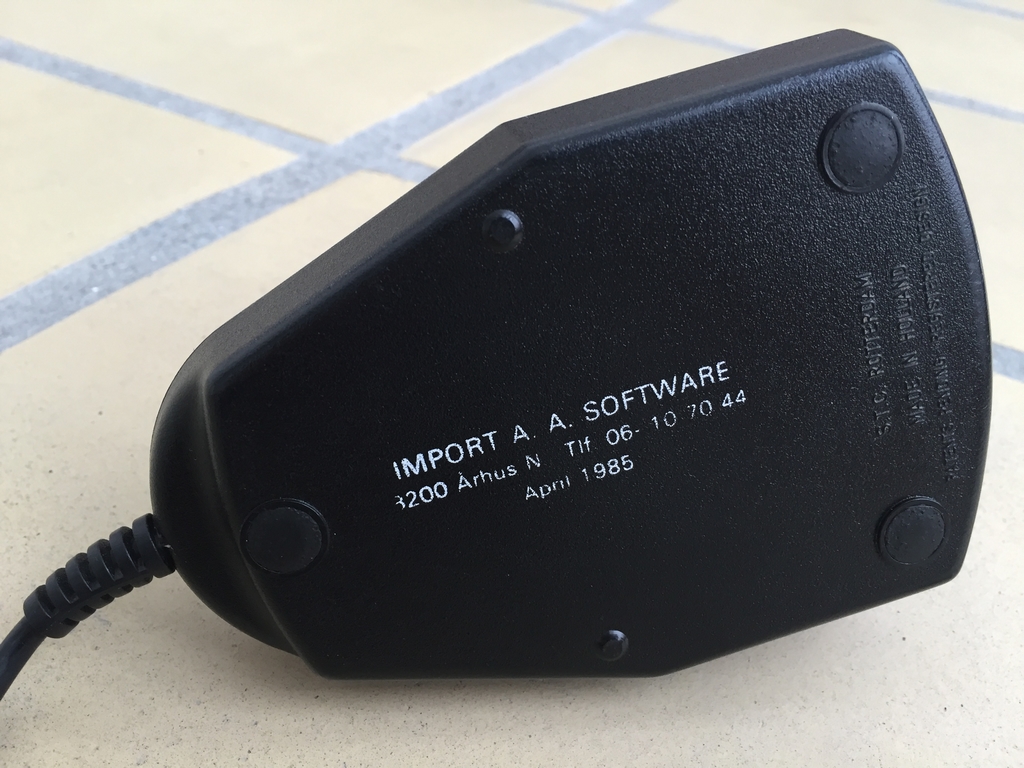
The repeated pounding on the fire buttons combined with the way most platform games have the hero go towards the right side of the screen, may eventually wear down the micro-switches in most Commodore 64 joysticks. The first sign of wear is usually in the form of a sluggish response from the fire button of choice or when moving the stick in a specific direction without getting any response (like to the right). There is an easy way to repair most of the better quality joysticks and that is by replacing the micro-switches with new ones. New micro-switches can be bought online in shops which carries electronics for arcade machines. The force that needs to be applied to activate a micro-switch differs between brands and models. My favorite micro-switches are from Cherry (model D44X) as they have the perfect combination of pressure and sound when being pressed. Here are some of the micro-switches I have laying around.
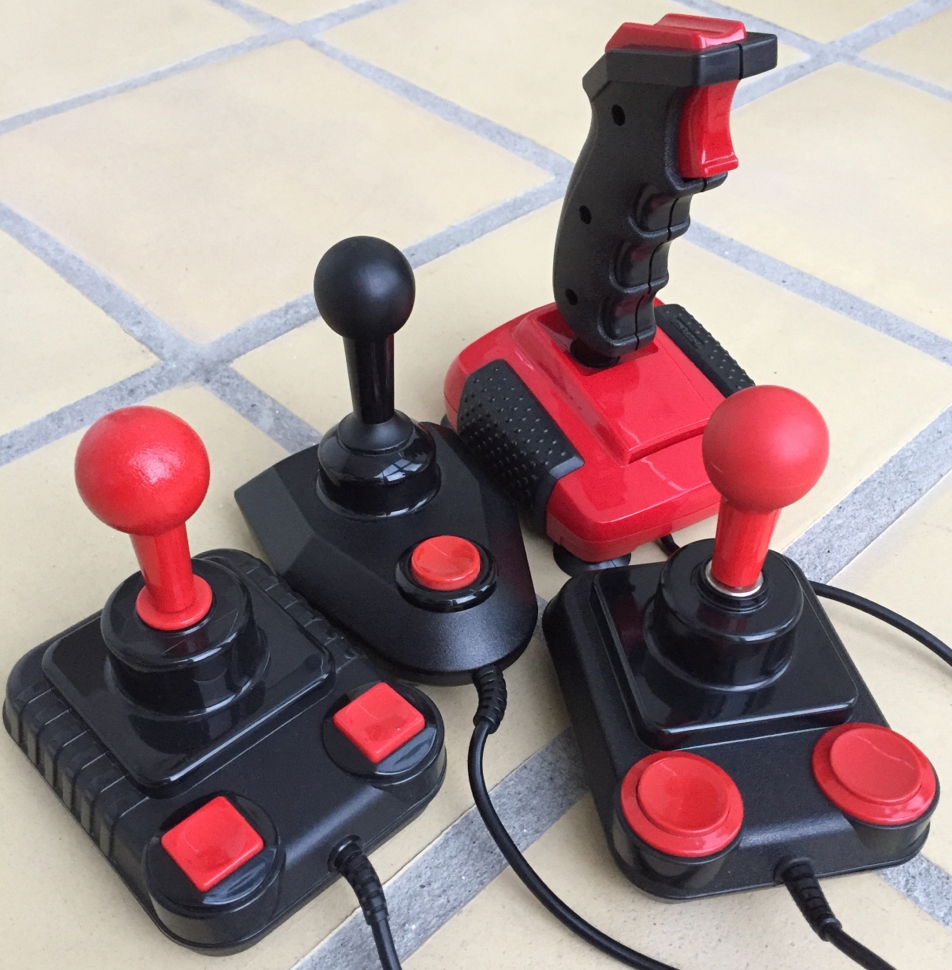
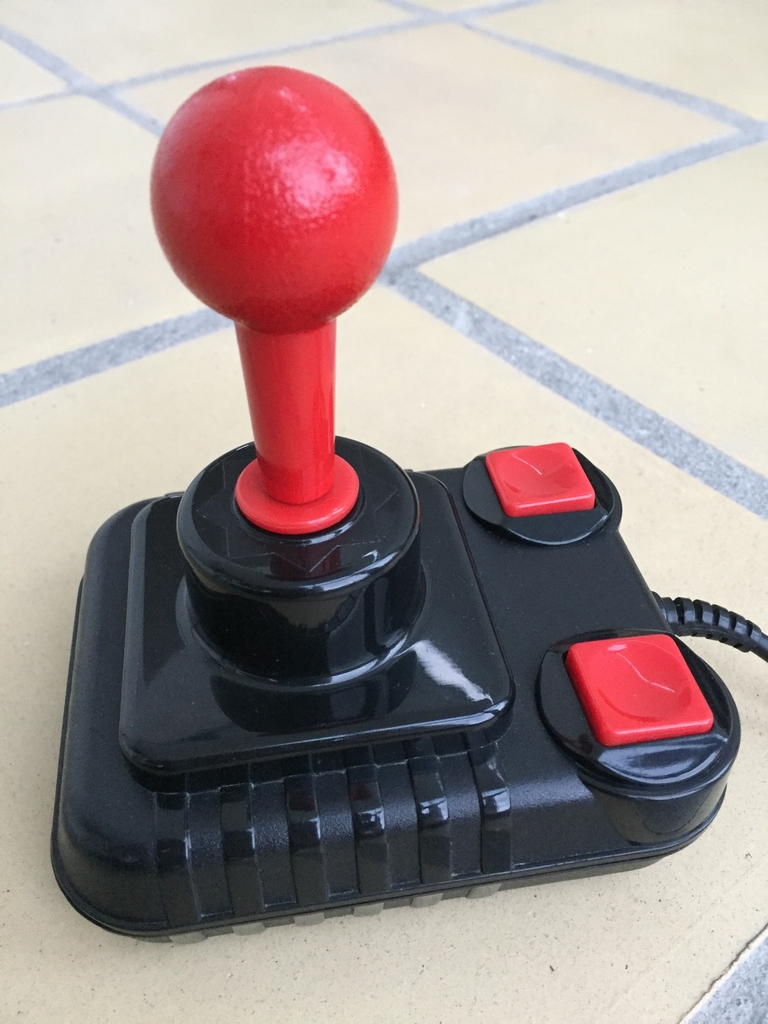
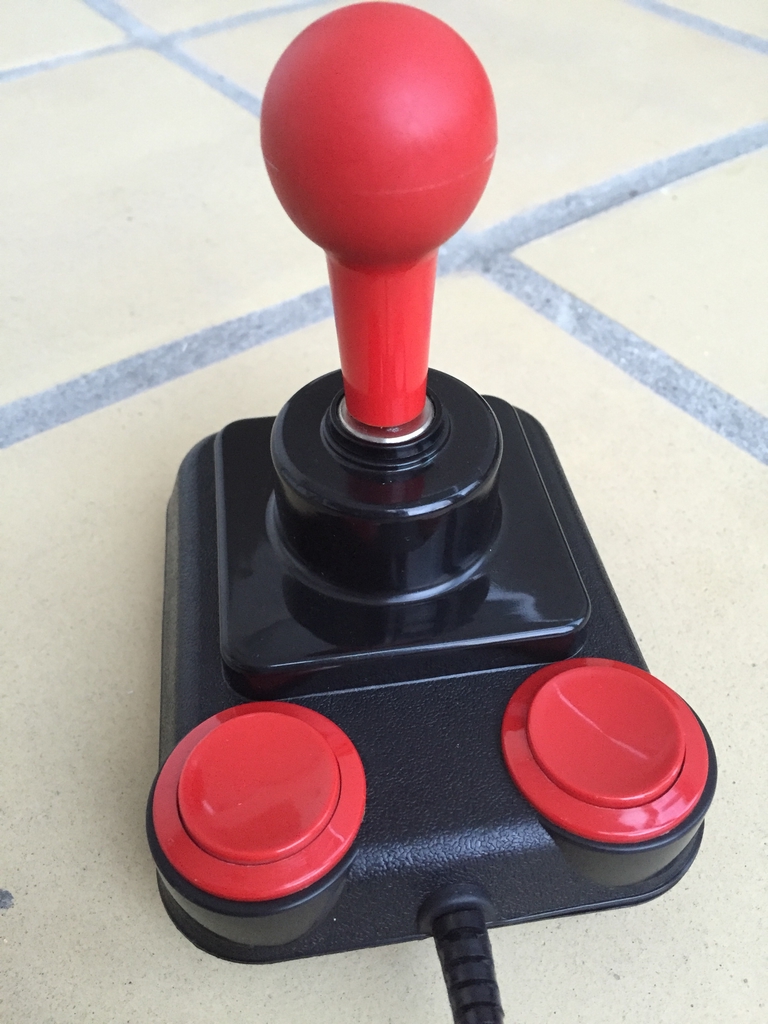
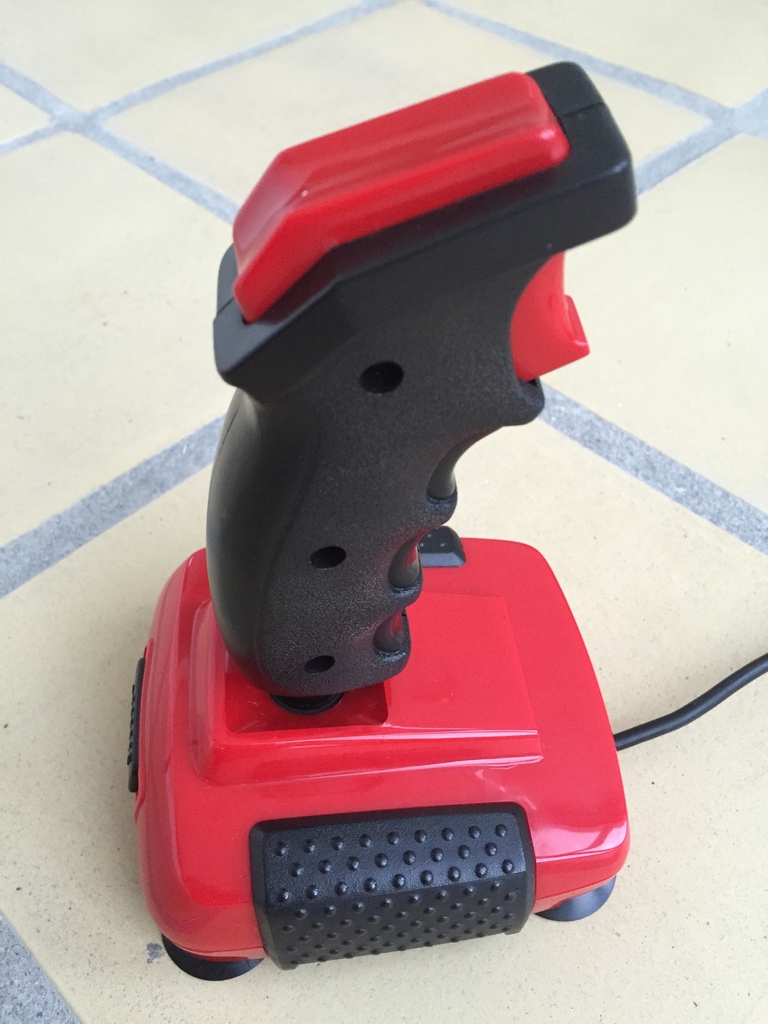
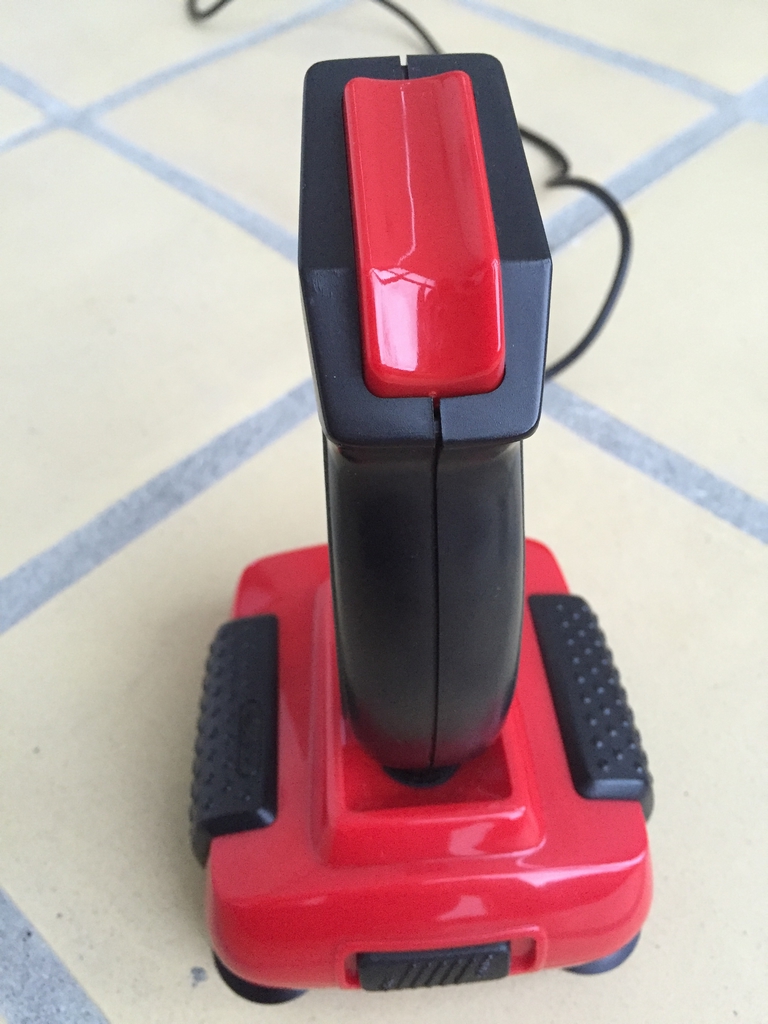
‘ZipStik’ Joystick
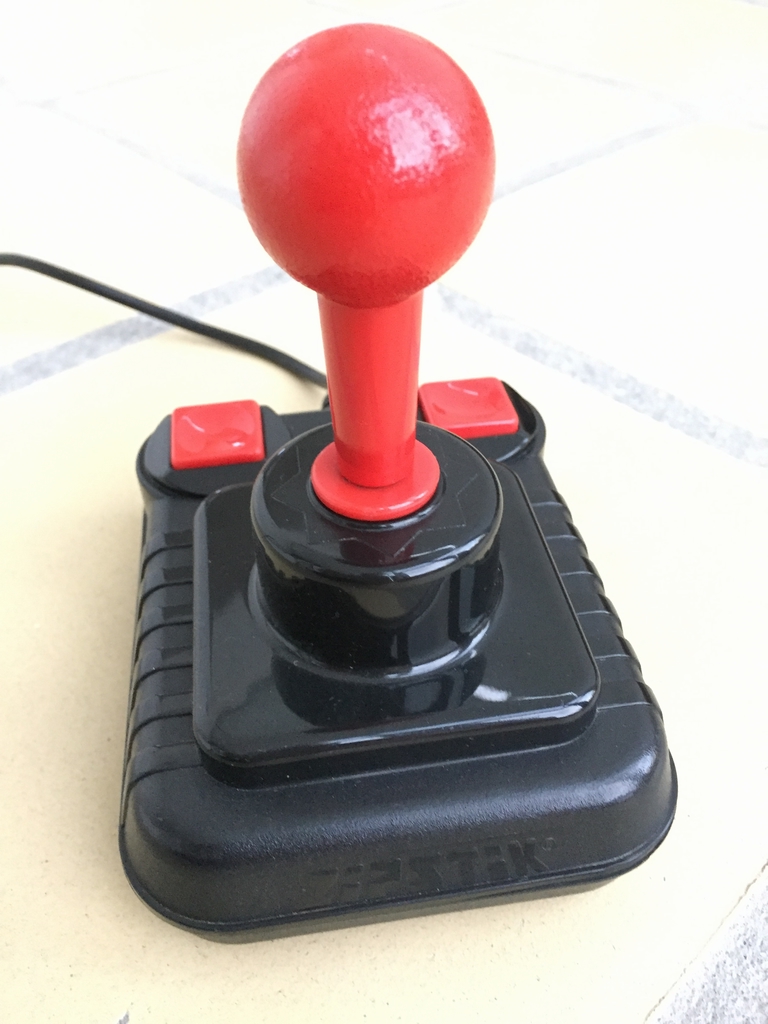
This is my all-time favourite joystick. I got this in the late 1980’s and it is still my joystick of choice, especially for platform games like Montezuma’s Revenge, Ollie’s Follies and Rick Dangerous. A variant of the joystick is he SuperPro ZipStiks which had yellow fire buttons and rubber suction cups on th e bottom. My ZipStik has red fire buttons and the rubber feet are still intact on the bottom. It is actually in a really great shape, even after all these years.
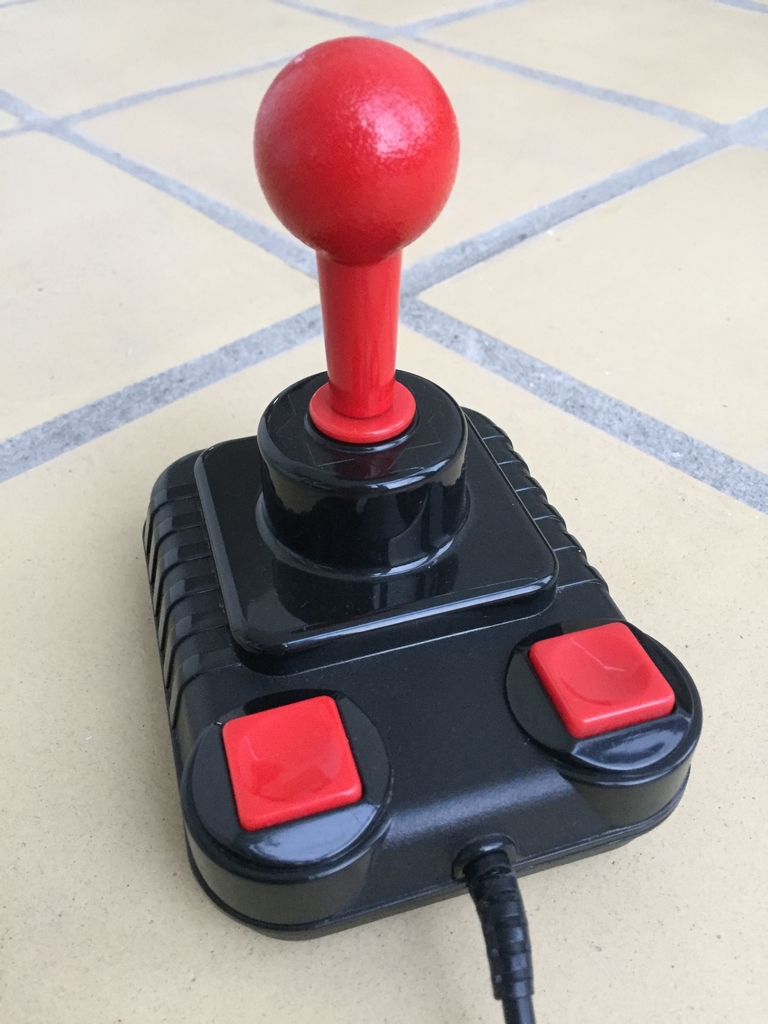

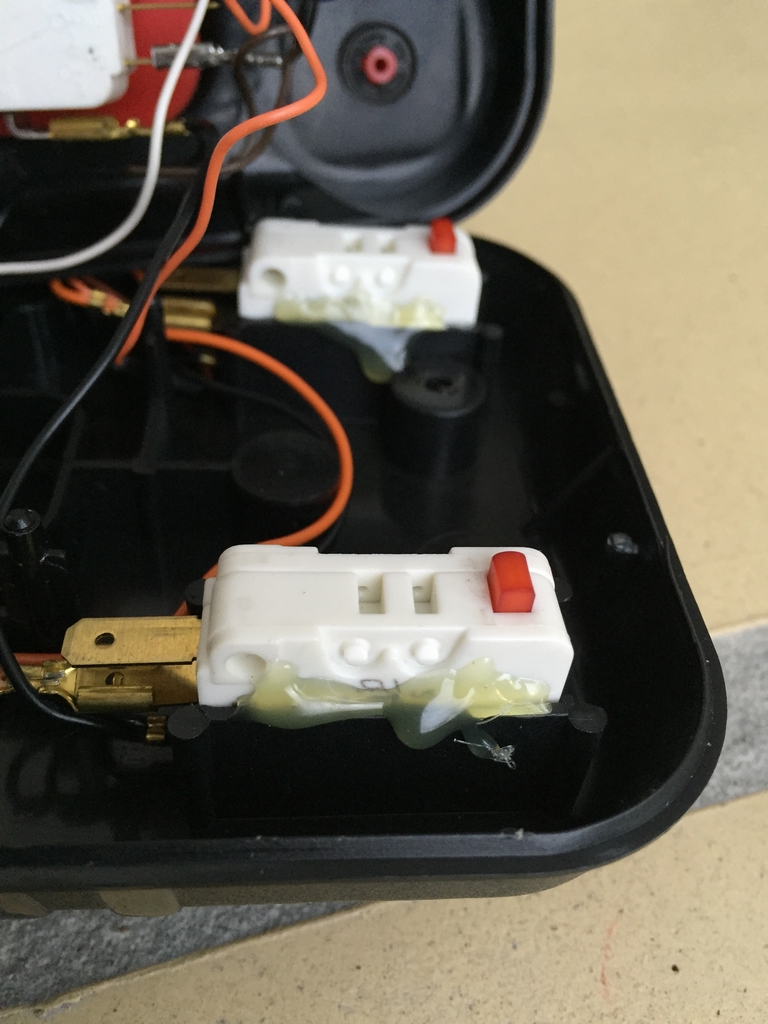
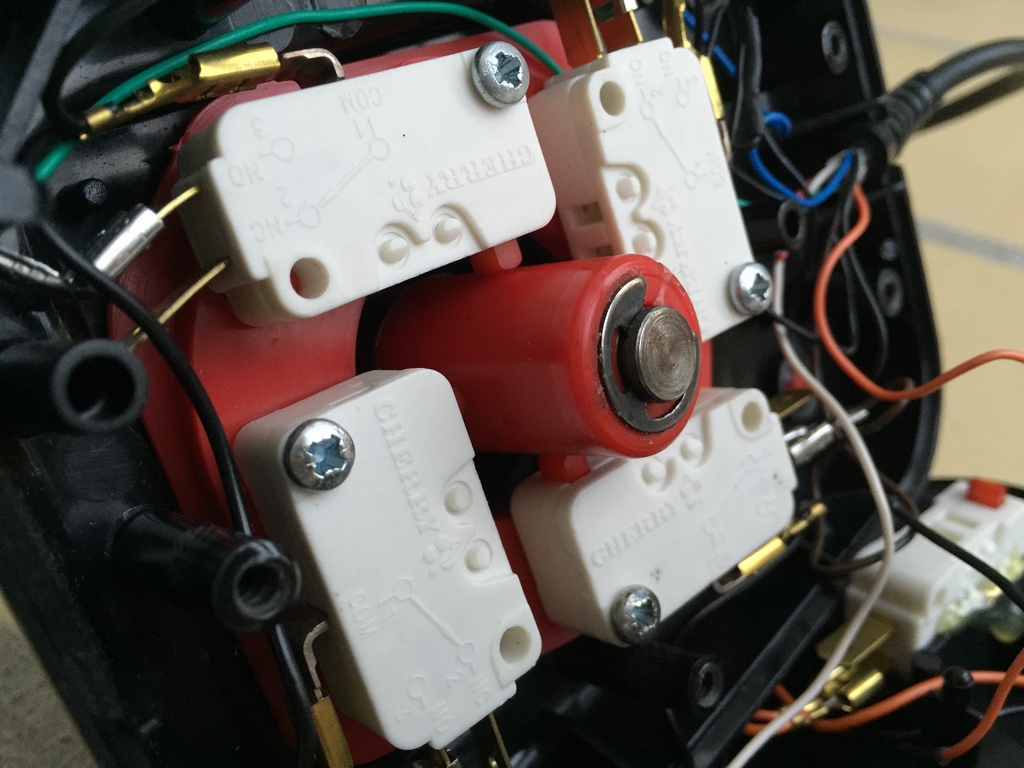
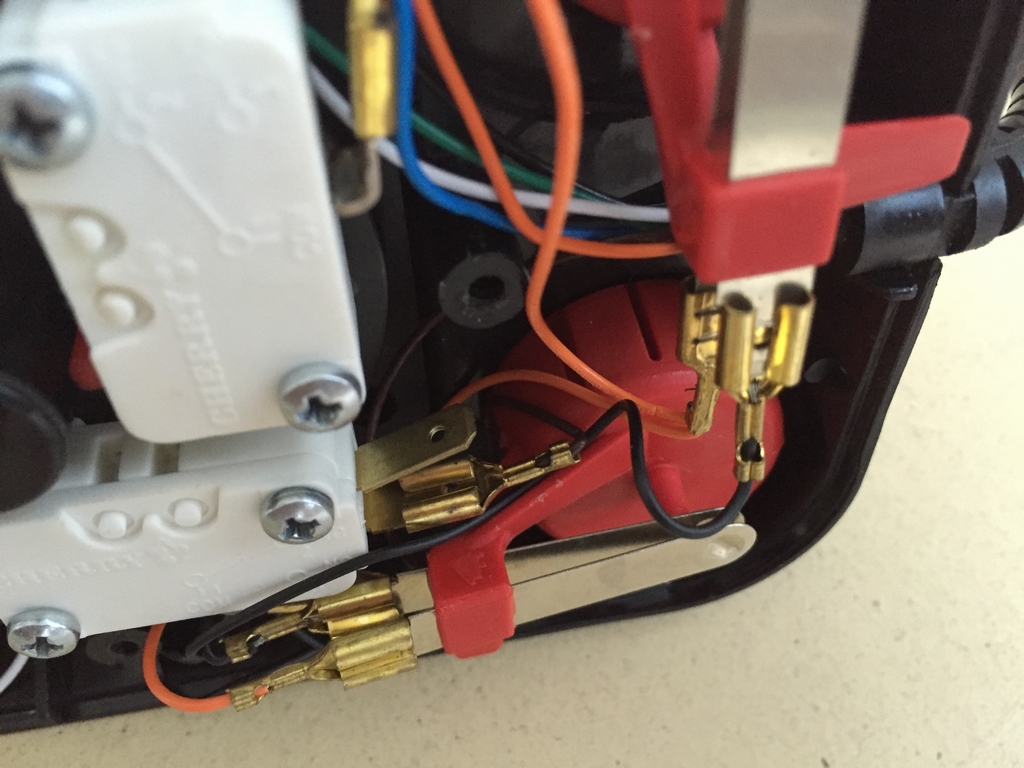
Unfortunately it did not want to take me to the right any more…So I exchanged all the micro-switches with Cherry D44X ones all the way around. Some hot glue was added to make the micro-switches for the fire buttons stay in place. The micro-switches for the stick were removed by loosing the screws.
‘Competition Pro’ Joystick
This is the runner-up of joysticks for the Commodore 64 in my opinion. Some might even argue that this is the best joystick there is. However, I think that the spring that forces the shaft back to its resting position is too hard and my hand muscles get tired after using it for a while. The fire buttons use leaf switches which does not give the same physical feedback as micro-switch based buttons do. Swapping the original micro-switches for new ones is not too big of a job really.
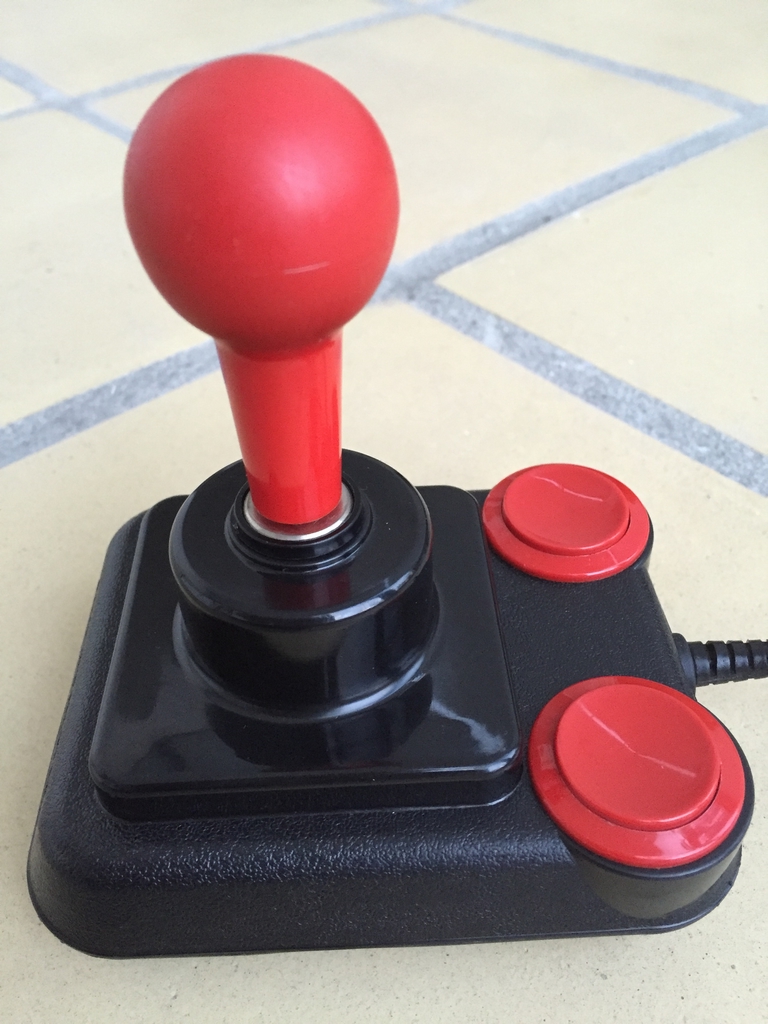

The fire button leaf switches are basically made from two metal parts that touches whenever the button is being pushed. Over time they may become separated to the point where pressing the firebutton does not make contact anymore. Some small pliers can be used to bend them just a little towards each other hereby reducing the gap between the contacts. A Q-tip with some rubbing alchohol can be used to remove any residue on the contacts.
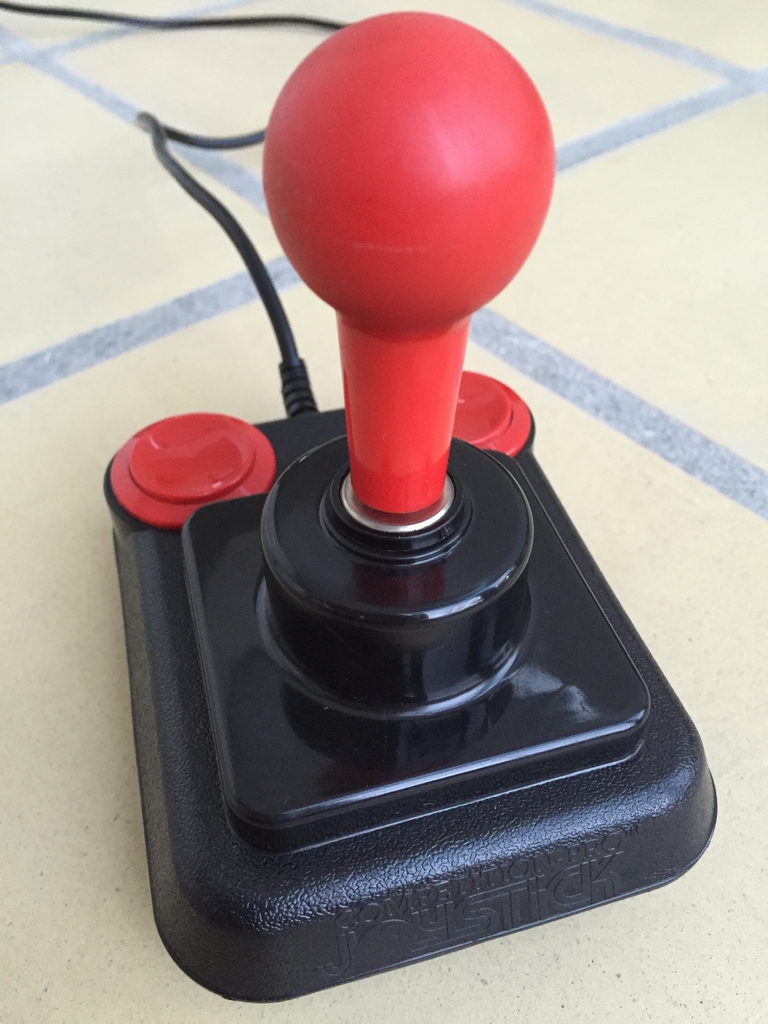
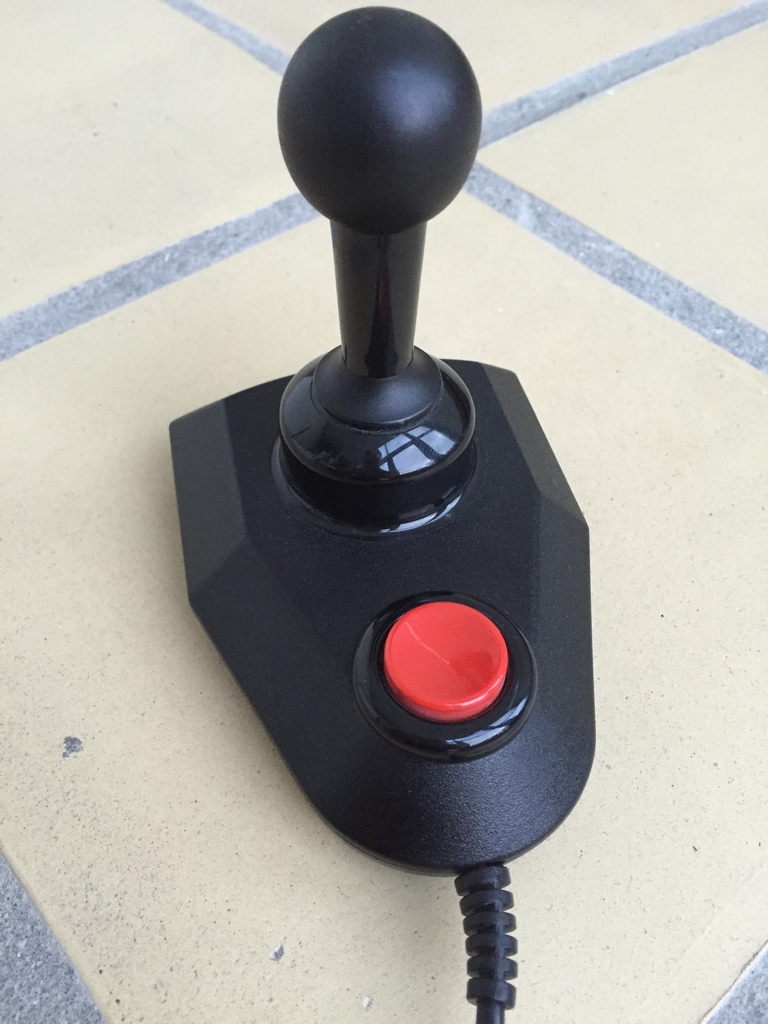
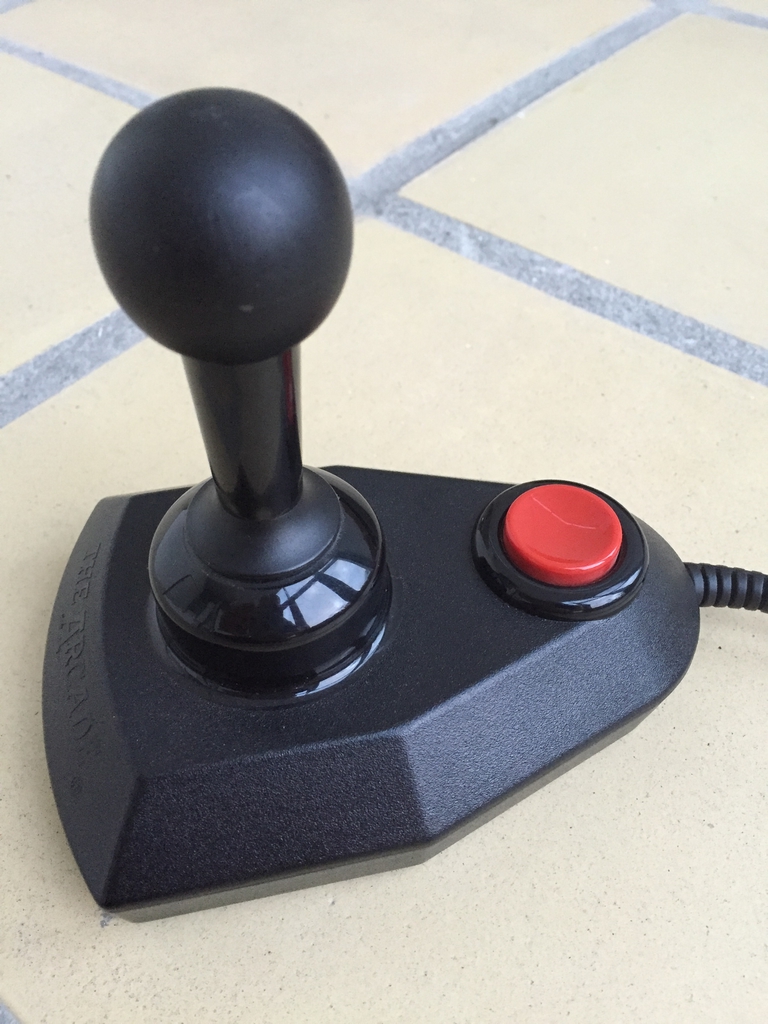
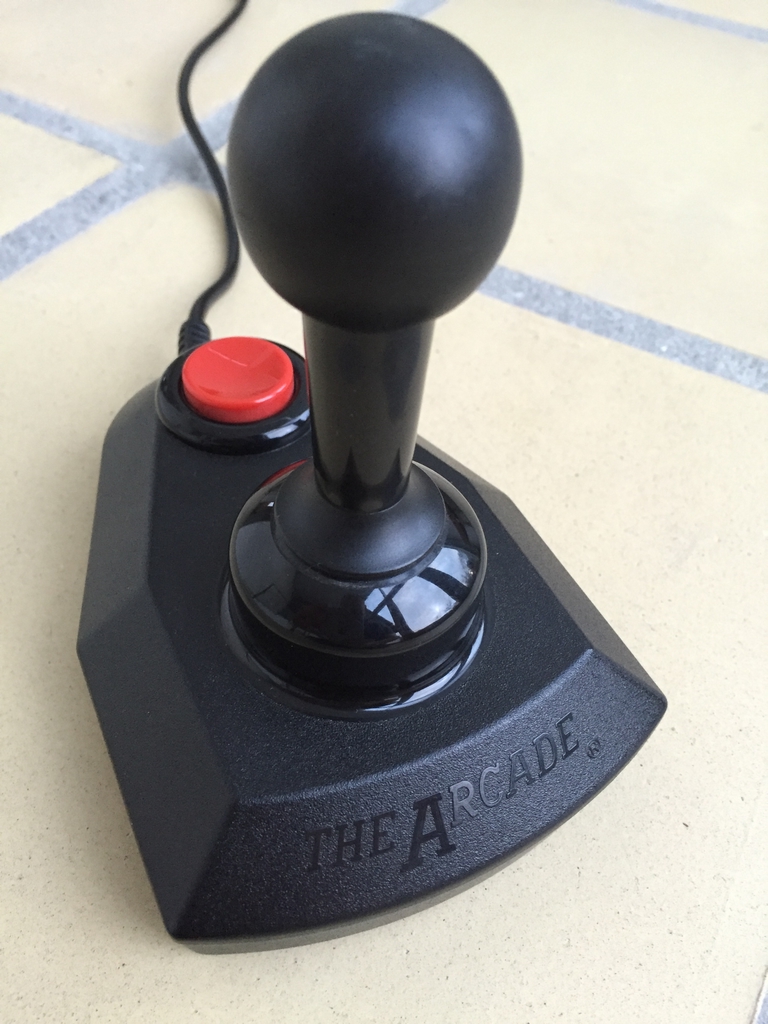
‘The Arcade’ Joystick
This is another joystick in the same category as the above. The copy I have is working flawlessly so I just cleaned it real good. The stick uses micro-switches while the fire button has a leaf switch like the Competition Pro. I have never gotten used to play with this stick. I just keep missing the fire button due to its location directly in front of the shaft.
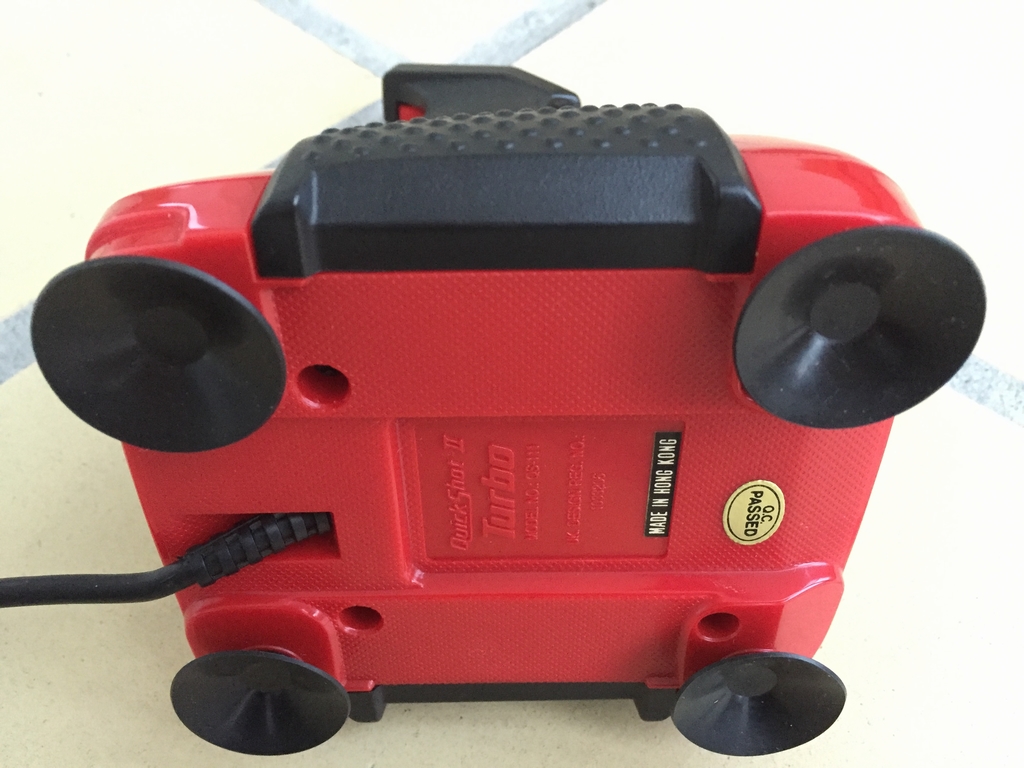
‘QuickShot II Turbo’ Joystick
This is the best joystick for racing games like Outrun or athletic games like Daley Thompson’s Decathlon where you need to move the stick from side to side really fast. This one has just been taken apart and cleaned on the inside as it was still working without any problems. So no exchange of micro-switches or anything.
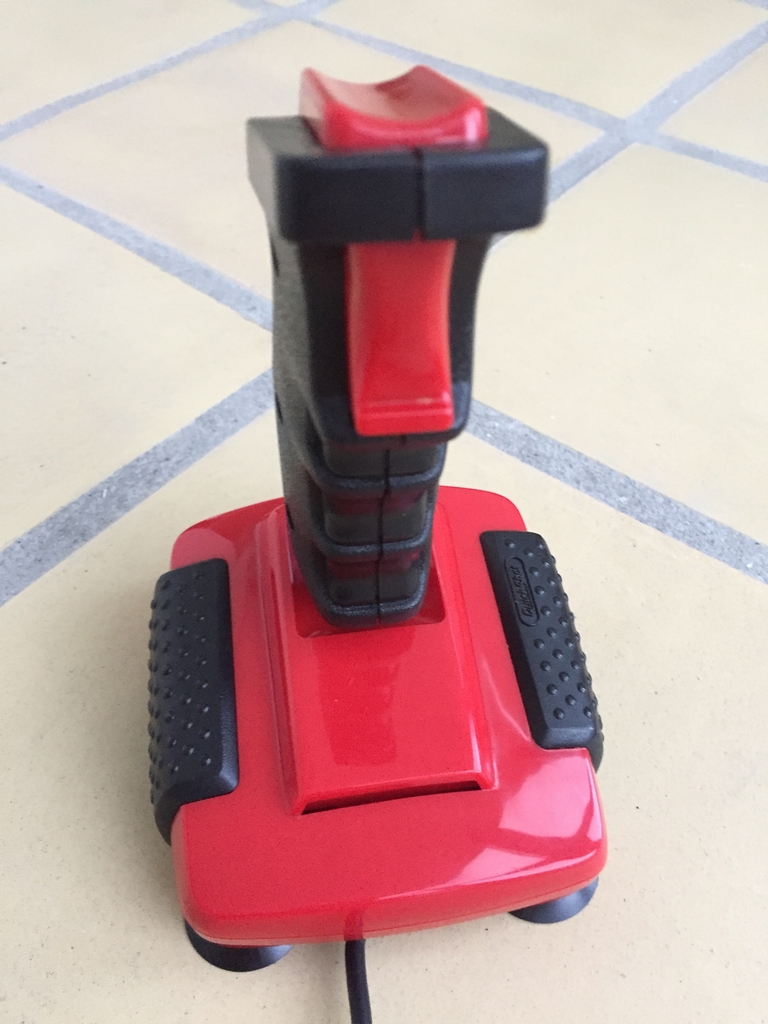
The rubber suction cups are really helpful for fixing it to a table when you have to move the stick from side to side for prolonged periods of time like in Daley Thompson’s Decathlon…
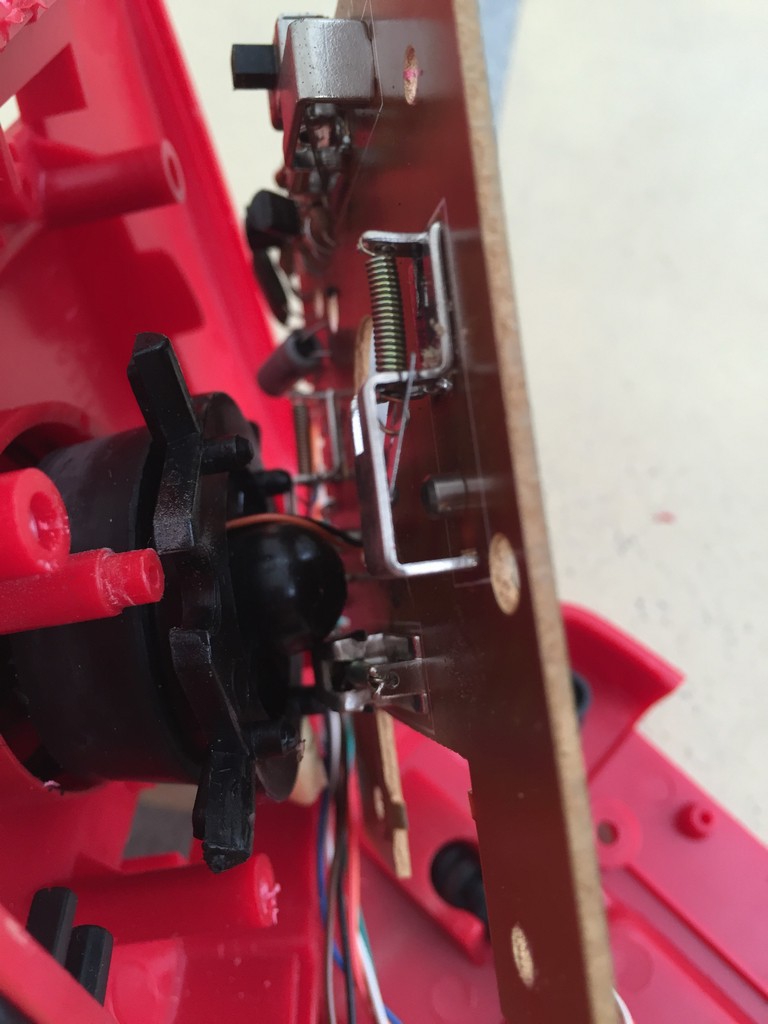
The QuickShot II Turbo joystick has no leaf switches nor micro-switches. Everything i custom made for the joystick and soldered on to the PCB. When moving the stick small stand-outs will push down on the little springs to make the connection. Care must be taken when cleaning the internals of the joystick.

© breadbox64.com 2016
Is there any way to upgrade my beloved Wico Command Control joysticks? I have had them since 1982. They have stood the test of time but are starting to show their age.
I don’t know if it’s possible to upgrade them per se, as the Wico Command Control joystick has leaf switch type contacts. These may be hard to find suitable replacement parts for. If the joysticks have response issues (won’t go to a specific direction or the fire buttons doesn’t work), you could try cleaning the contact points of the leaf switches with some contact cleaner. You may also have a wire that is partly broken. I had this issue with a ZipStik joystick. It was fixed by cutting the joystick cable a few inches in front of the entrance point of the joystick, stripping the insulation off and then rewiring everything (quite a big repair by the way). Best of luck!
Most of the Competition Pros have micro switch fire buttons. It’s odd that in the UK most people seem to have one of the early models. Some people prefer them since they can be tweaked for a higher fire rate.
Thanks for sharing. I’ve only seen the kind with the leaf switches 🙂 I would definately prefer to have microswitches in the fire buttons if I had the choice 😉 Modding is so much easier that way!
Any chance you know how to get a replacement spring for the QuickShot II Turbo? I have one which would work fine except one of the springs broke.
Hi Angelo, no sorry 🙁 My best guess would be to go on Ebay and try and find a spring in a suitable size.
These are all good joysticks, I know all of these four controller models.
Thank you for a great guide! Could you maybe add a few words on how to actually clean the internals on joysticks like the Quickshot II?
Hi Nikolaj, thanks! I usually use Q-tips soaked in rubbing alcohol to remove debris and gunk. If there are mechanical parts that are not inside an enclosure (like microswitches) I then apply a tad of SuperLube. This should keep the parts run for years without excessive strain 🙂
Hi MtnBuffalo, just wondering about your Red Zipstik, is that a modded version, or was that how you got it? I never seen one like that before, with the red stick, ring and buttons.
cheers
Hi Scott, The ZipStik came looking like that. I did replace the microswitches inside the stick but that is all I did. I remember it as being semi cheap in comparison to the Competition Pro which I find a little too stiff for my taste. I also had a few ZipStik’s with yellow buttons and stick part. That version usually had suction cups on the bottom that I found being in the way during gameplay as I like holding the joystick in my hands.
i agree with the Compeition Pro , a little to stiff for me as well , i think is also due to hard rubber bearing inside the shaft which is less forgiving. Would be great if someone could make replacement ones ! ? (slightly softer ones)
I also prefer the suction caps removed , just love the feeling of the Zipstik , is more manoeuvrable and much better than the Competition Pro in my opinion. Im jeaous of your red one , as i said never seen a ‘Red’ before .
Are there anything better than the cherry D44x microswitches ? wouldn’t mind pushing the boat out if there were better ones around that cost a bit more ?
cheers
There are quite a few microswitches which can be used for the ZipStik. ArcadeworldUK has a heap of switches to choose from. I just happende to have the cherry ones when I did the repair. On arcadeworldUK, you can also find info on the differences among the switches: link.
The Sanwa ones look good but the review at the bottom says prefer the cherry as they are slightly softer. Will stick with the Cherry ones.
Going a bit of topic just wondering what you thought of the c64 mini and full size commodore they have released recently (last few years) , havent really paid much attention to them , are they a pile of junk or worth getting ? as a commodore fan .
Cheers
You’ll be in pretty good hands with the Cherry’s 🙂
I haven’t had the opportunity to test the new commodores yet. However, I think it’s a neat way for users who have fond childhood C64 memories but don’t want the hassle of fiddling around with the old electronics. Personally, I think the tinkering part with the old C64 hardware is the best part of the hobby 🙂 Wouldn’t give it up for the world!
might get a mini for curiously but agreed , tinkering with the old c64 is the best !
What is the difference between CHERRY D44X 63mm and 48mm? I don’t know the type I should use 🙂
Hi SviRu, I believe the numbers are 4.8mm and 6.3mm… They refer to the terminal size of the Cherry swithces. If you get the 4.8mm they will fit both sizes of the cable shoes in your joystick 🙂 Good luck with the repair!
Hi. I have just bought an old Competition Pro that has the same type of shaft that you have on the pictures: There is no retainer ring at the bottom end of the shaft. Do you know how can I disassemble it?
The switches and the buttons come off easily but the inner plastic part behind the switches cannot be pulled off because of the shaft. I would like to disassemble it completely to remove the rubber bearing to have it softened with petroleum jelly or silicon spray.
That joystick with those springs always broke quickly, those springs did not last long! Cheap junk, looks nice but is rubbish! I always bought those things for 20 guilders (10 euros) around 1985, after the umpteenth one that broke, I invested and bought The Arcade for 80 guilders…. it never broke! Much, much better. I played then everyday on a Commodore 64.