
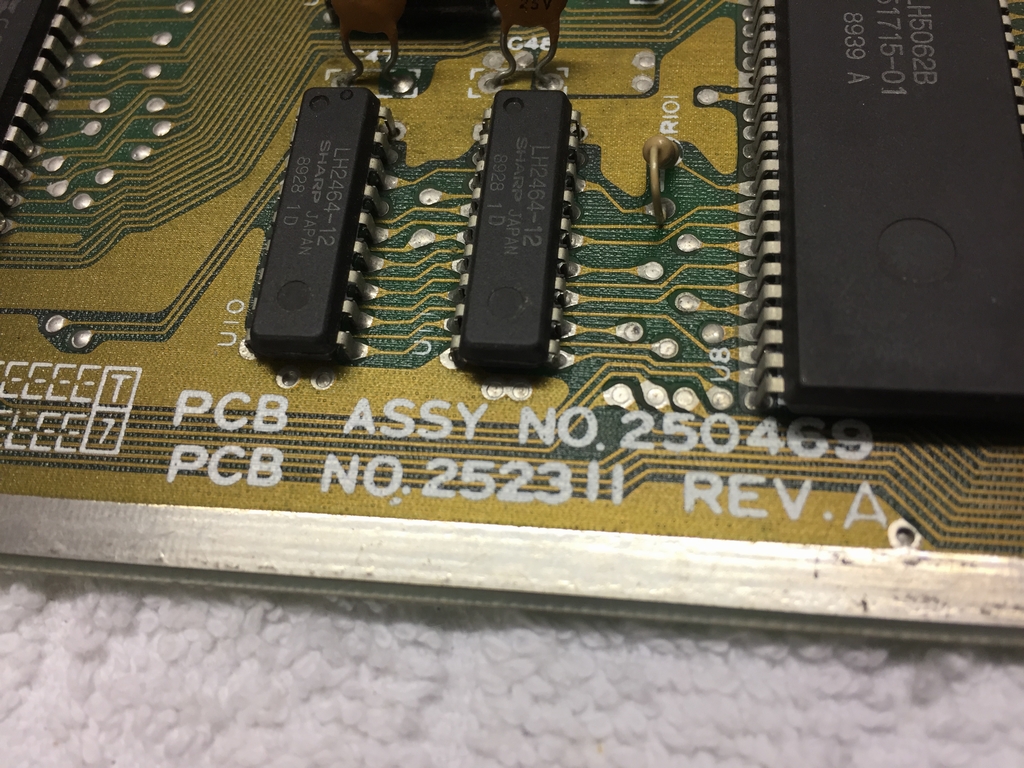
This is an Assy no. 250469 Rev. A short board. The machine would boot normally but some of the keys did not work correctly.
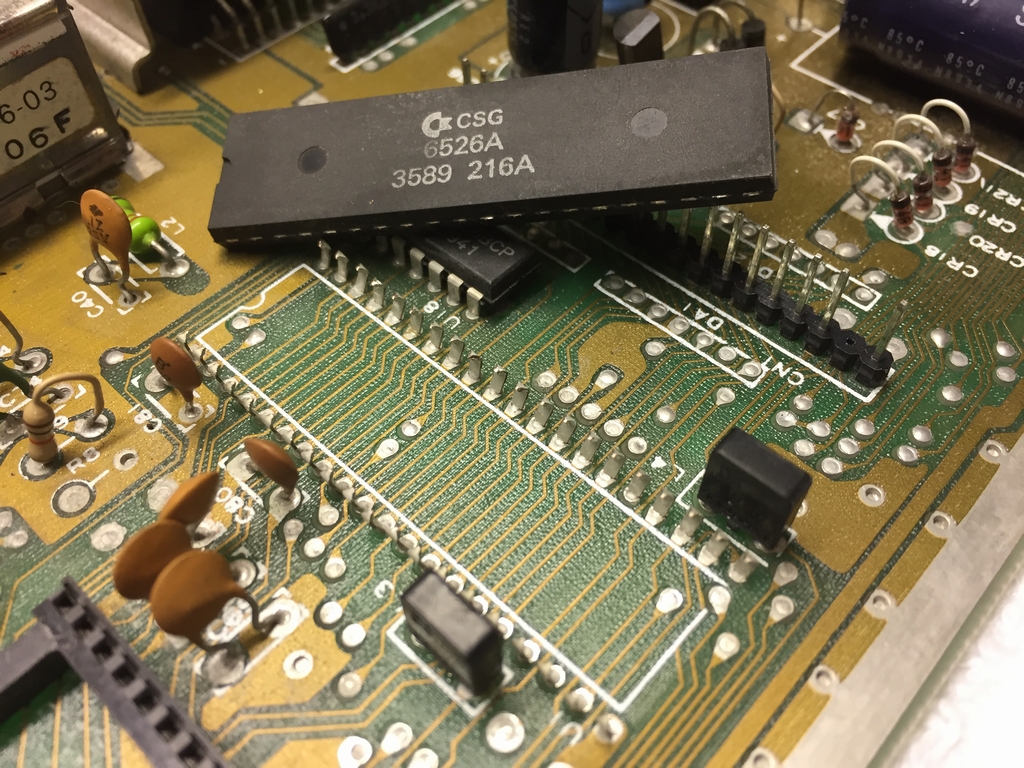
A broken CIA 6526 chip at U1 may cause some keys to fail. I therefore swapped the chip with a fresh one that I knew worked.


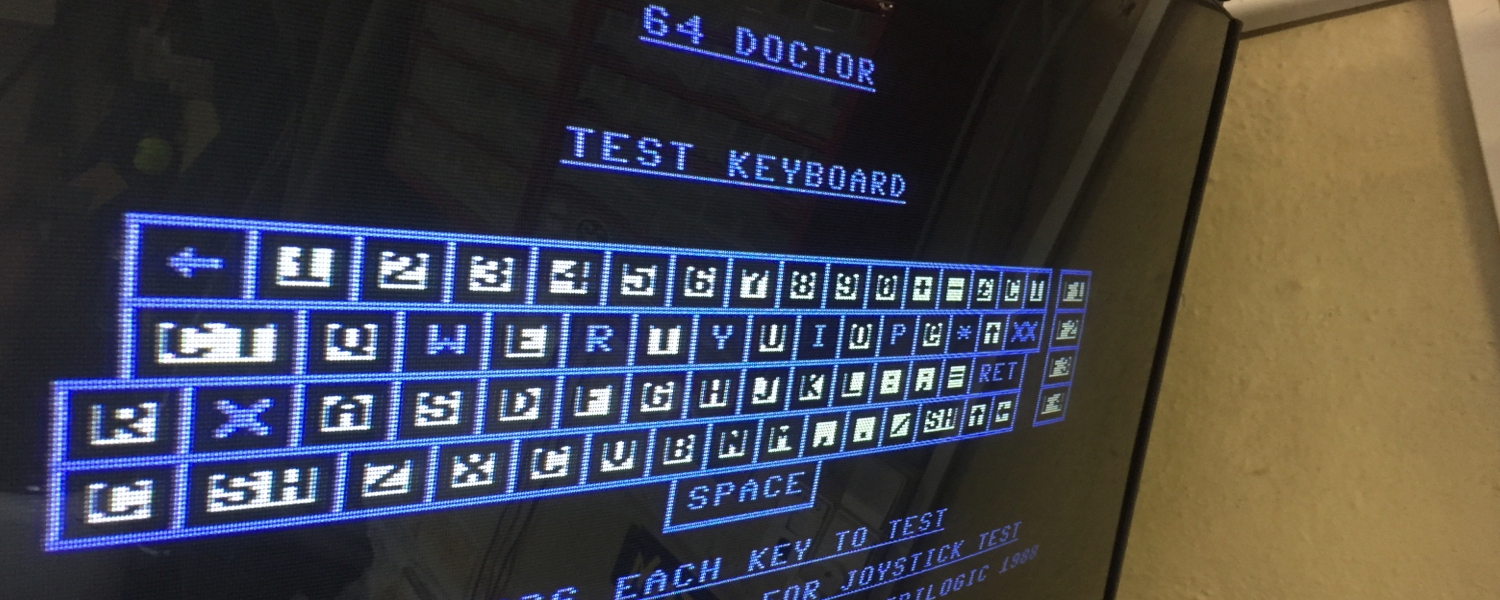
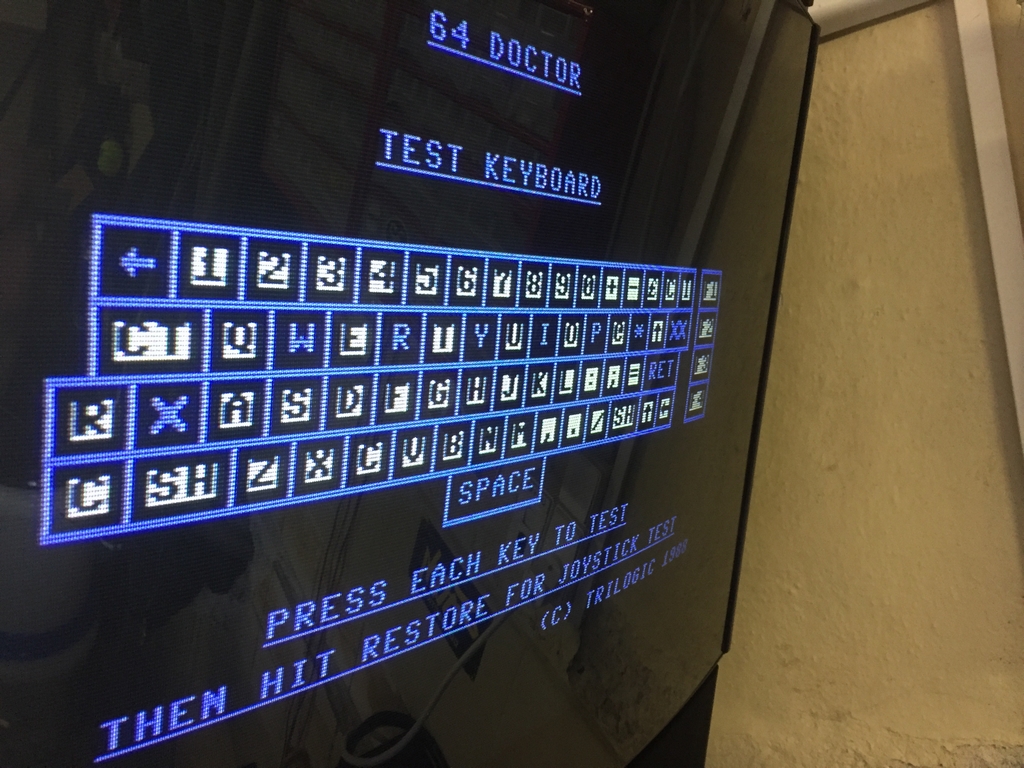
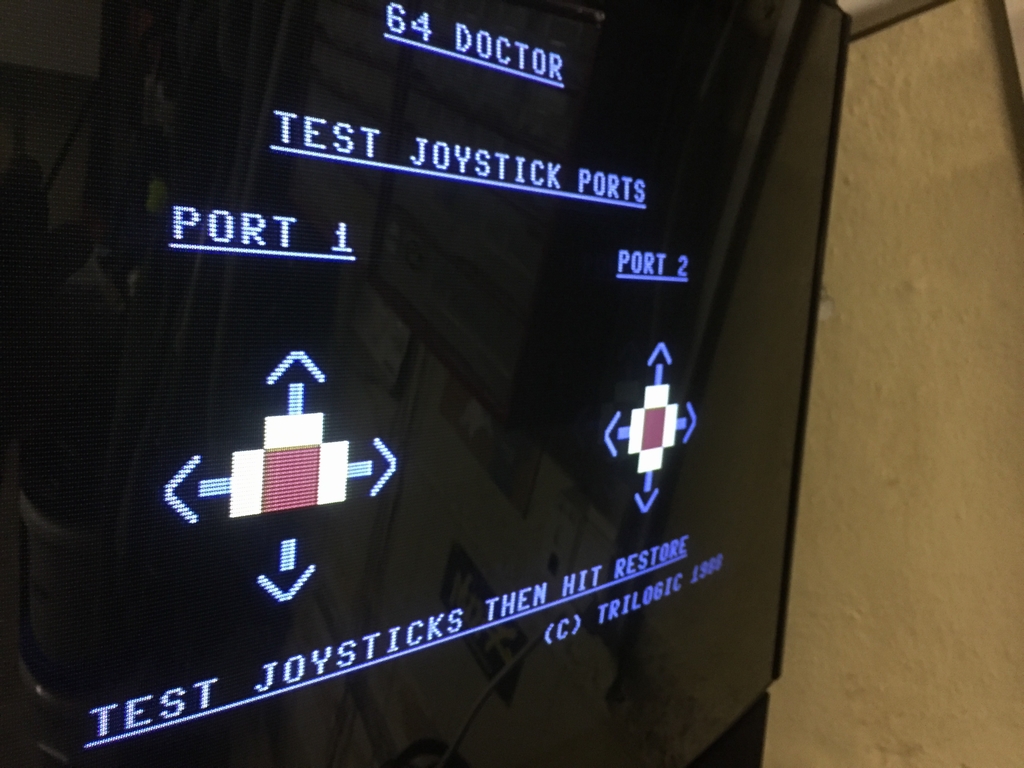
However, that did not change anything – the fault was still there. I then popped in my 64 Doctor cart (which I should have done in the first place!) and it soon came clear that the missing keys were ‘←, W, R, Y, I, P, * and Return’. Thus, every other key was not working on the second keyboard row. Furthermore, joystick down in Port 1 was also not working. Maybe there was a broken trace somewhere….
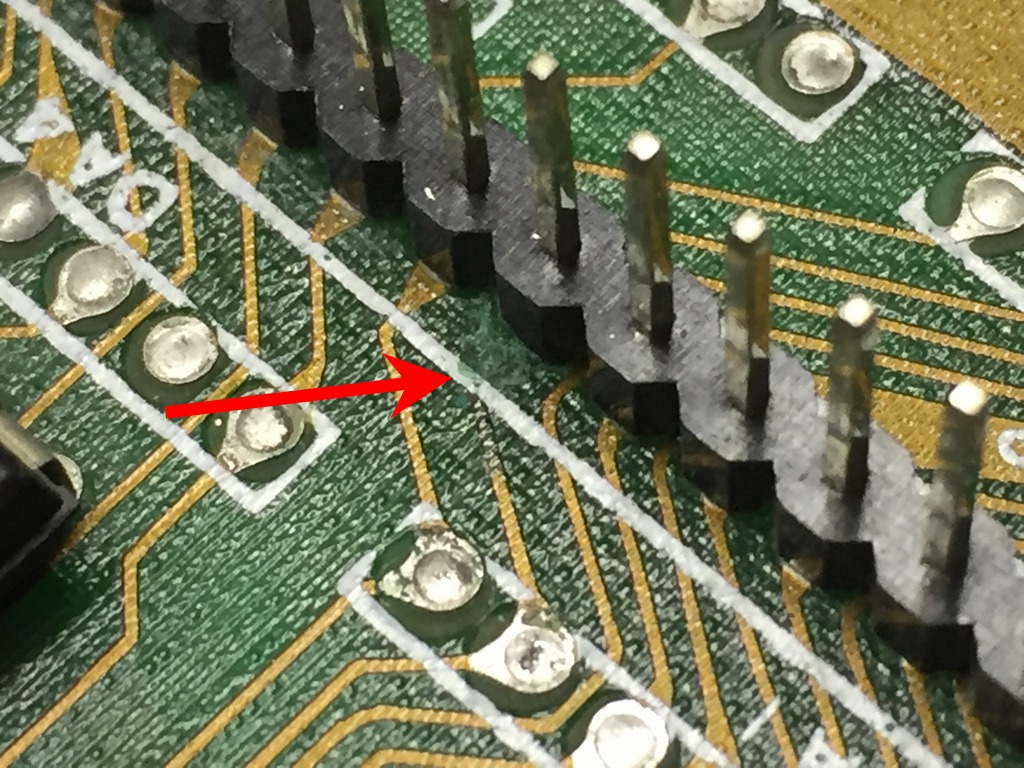
I therefore looked at a schematic of the keyboard and found that those specific keys and joystick ‘down’ in Port 1 are all connected to Row 1 of the keyboard matrix. This corresponds to Pin 11 on the male keyboard plug on the motherboard. Furthermore, this specific pin is supposed to be directly connected to Pin 11 on the U1 MOS 6526 CIA chip. The information was found here (link).

And guess what – I found the broken trace!
A piece of wire was soldered to the backside of the board…

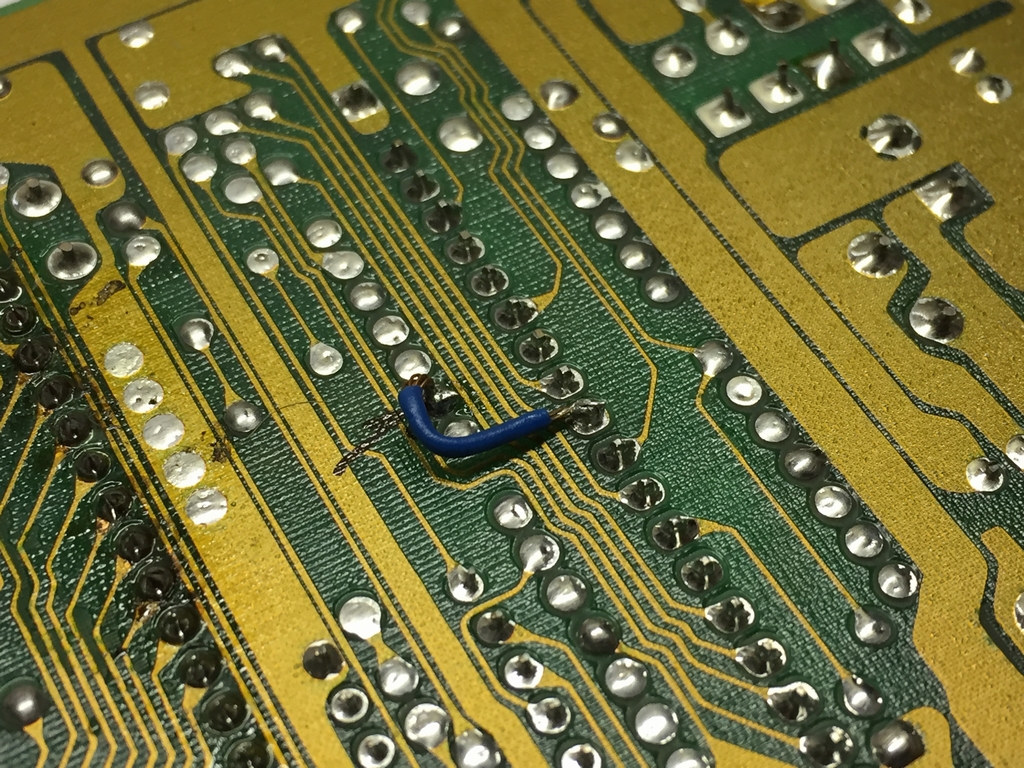
…and the machine was up and running again even though I wasted a CIA chip in the process. I guess thinking should always come before soldering…

© breadbox64.com 2017
How was the trace broken? Looks a bit like sub-surface corrosion but I dont see any on the pins or anywhere else.
I have no idea how the trace was broken. It was just a machine that I had in for repair 🙂
Your repair method destroys a lot of perfectly good chips.. I understand sometimes IC chips can’t be removed cleanly, but why make an effort before grinding the legs off?
Hi Fuzzybad, you are absolutely right! Cutting pins and removing IC’s that turns out to be fully working is not the best approach for fixing broken C64 motherboards! At the time I did most of the reapir’s I did not have access to a proper desoldering station. Removing them with solder-wick and/or a hot airgun gave med quite a few boards with broken traces and bent ICs. I now have a proper desoldering station with a vacuum pump, so the old chips can be removed gently (and quick) from the boards and re-inserted if they turned out to be OK 😉
I like your last comment that you have invested to a desoldering station and perhaps in the future you could save some of those old ICs. What I would also suggest to invest is a Scope or if you want to save some space then perhaps a Scopemeter. At least it helped me to trace some of the clock signals and understand that even if it comes out OK from the 8701 and VIC it still goes in to 8500 but never came out (Phi0/Phi2 signals on Pin 1 and 39) – so that would explain why a black screen might need to replace the CPU…