
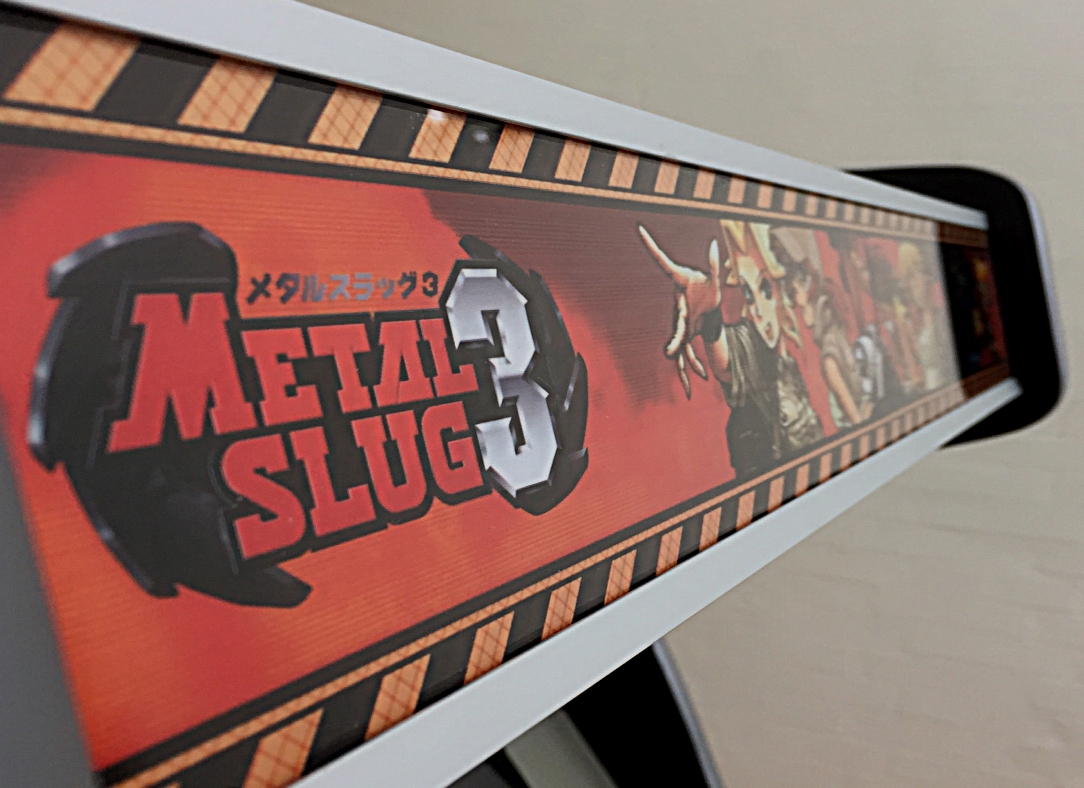
The Marquee
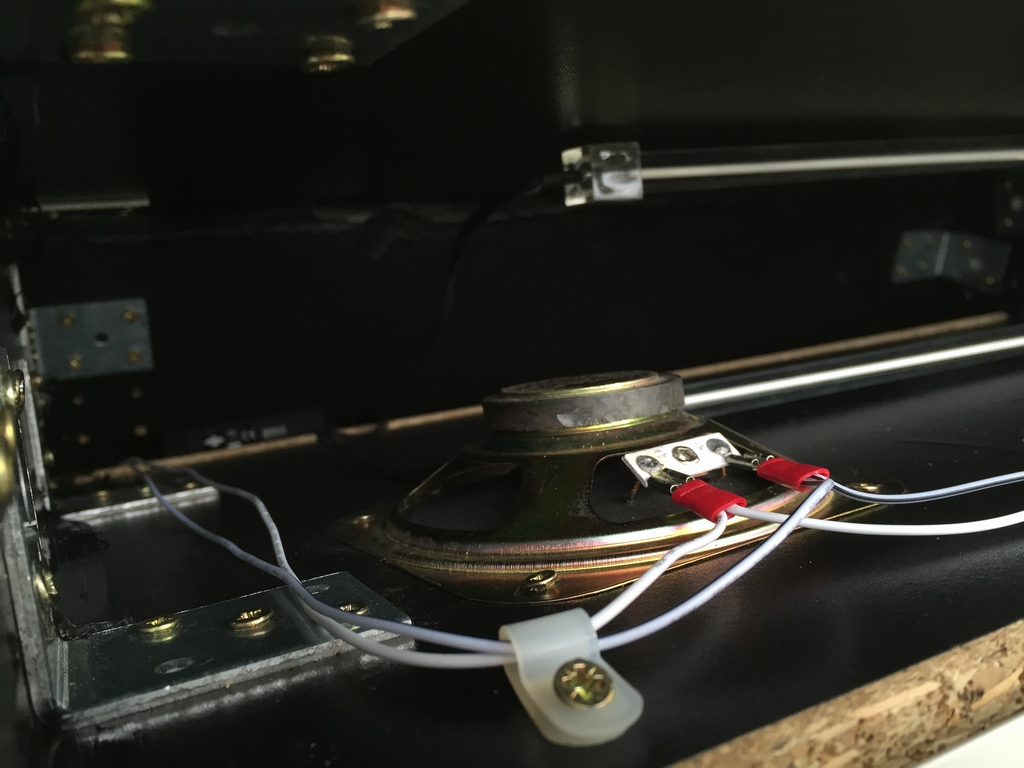
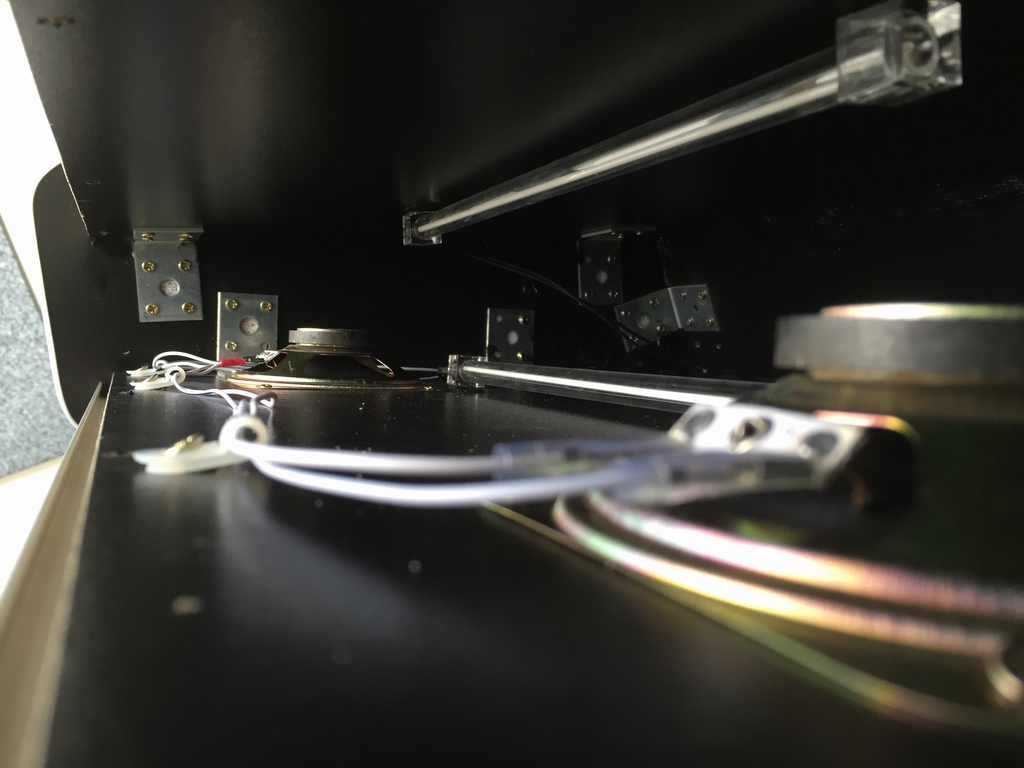
Loudspeakers mounted behind the marquee.
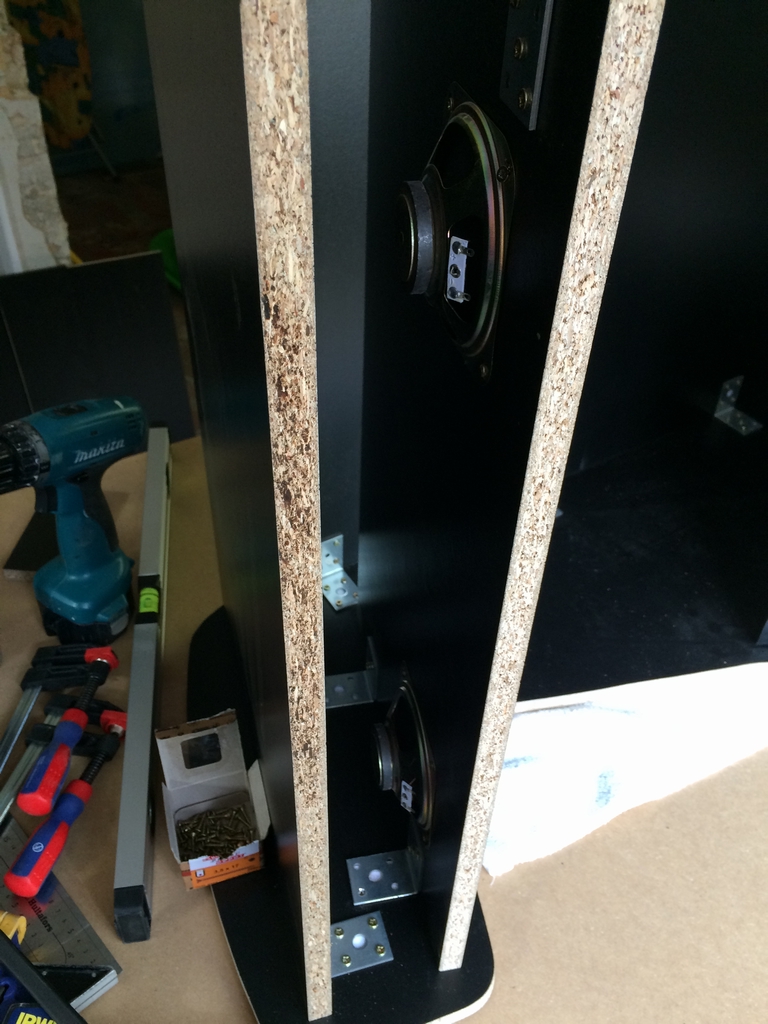
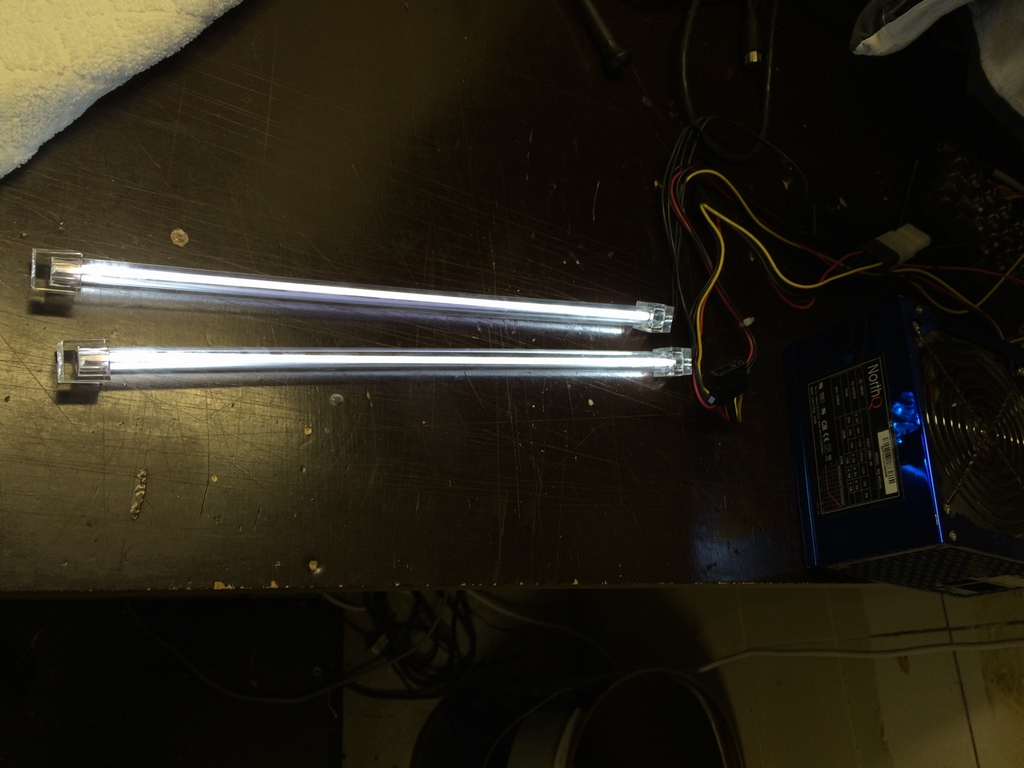
The game sounds are in mono, so I daisy chained the loudspeakers. In the background, two white 12V cold cathode lights can be seen. They are for lighting up the inside of the marquee.
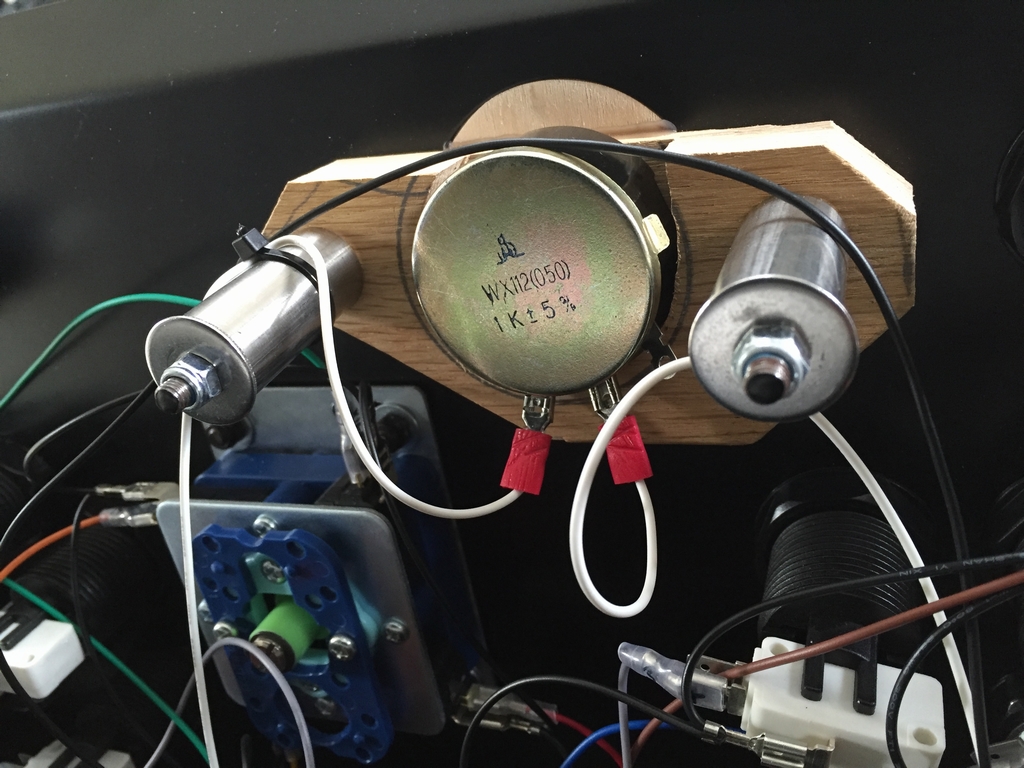
The signal cable to the loudspeakers was passed through a 1000Ω linear potentiometer. This makes it possible to adjust the volume during gaming.
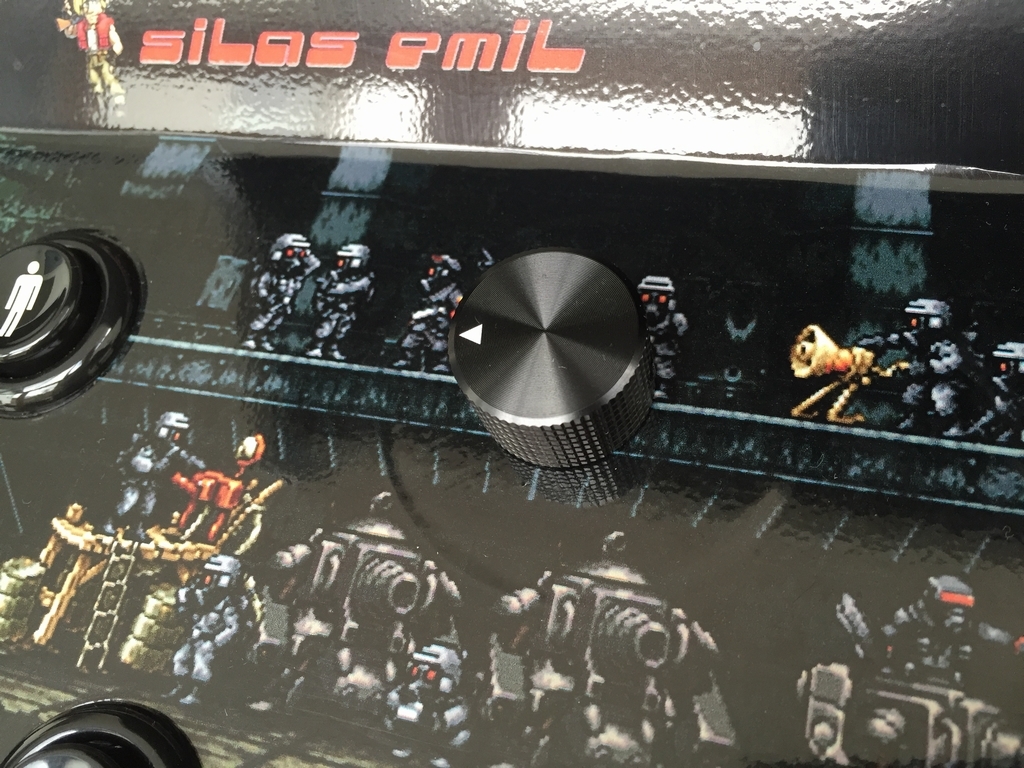
And a nice looking black aluminum knob to finish the volume mod.
The two cold cathodes for lighting up the marquee.
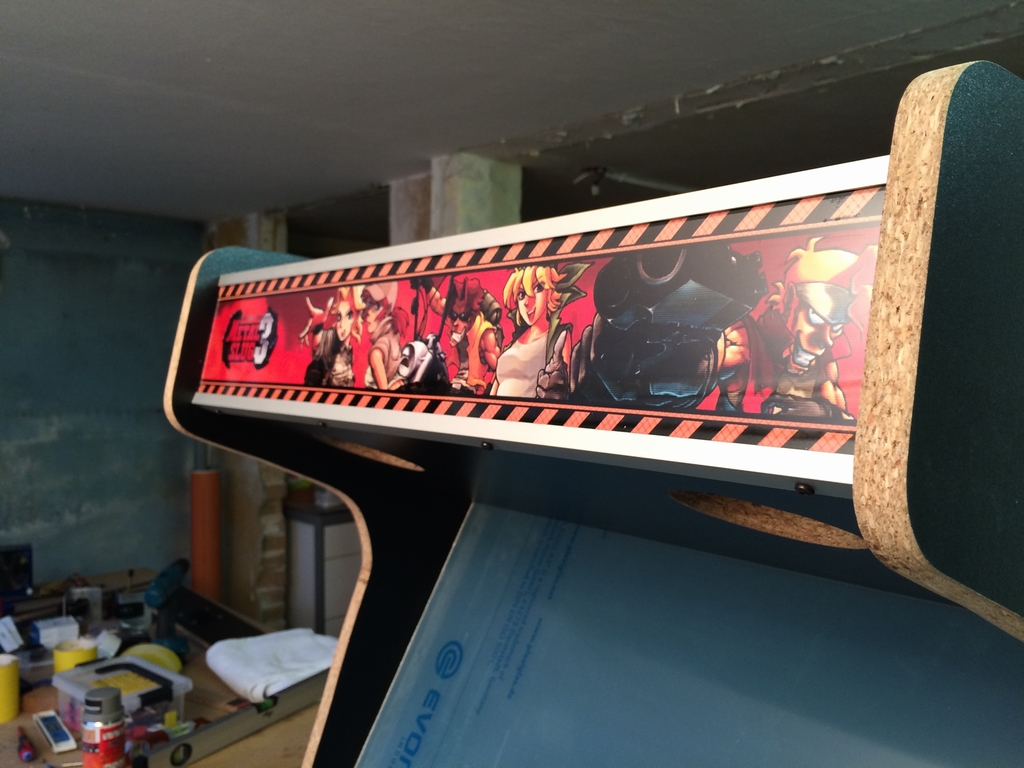
Finally, the marquee graphics was mounted between two sheets af acrylic material. The marquee vinyl was printed by rockstarprint (link). Two aluminum rails hold the marquee in place with some black screws.
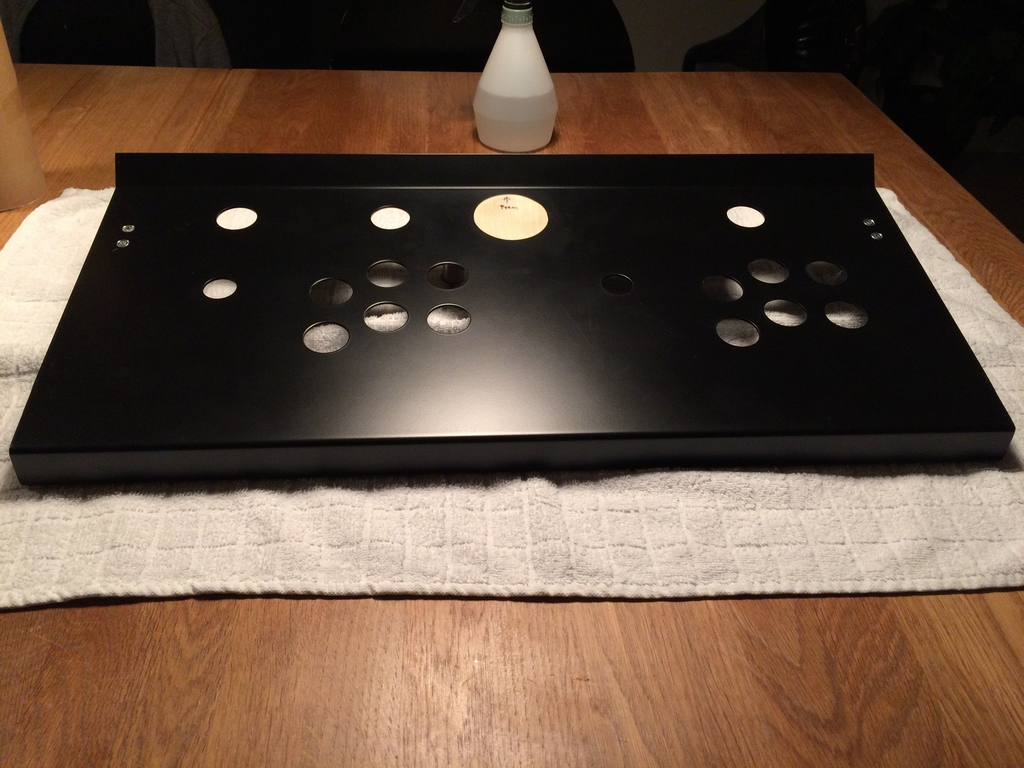
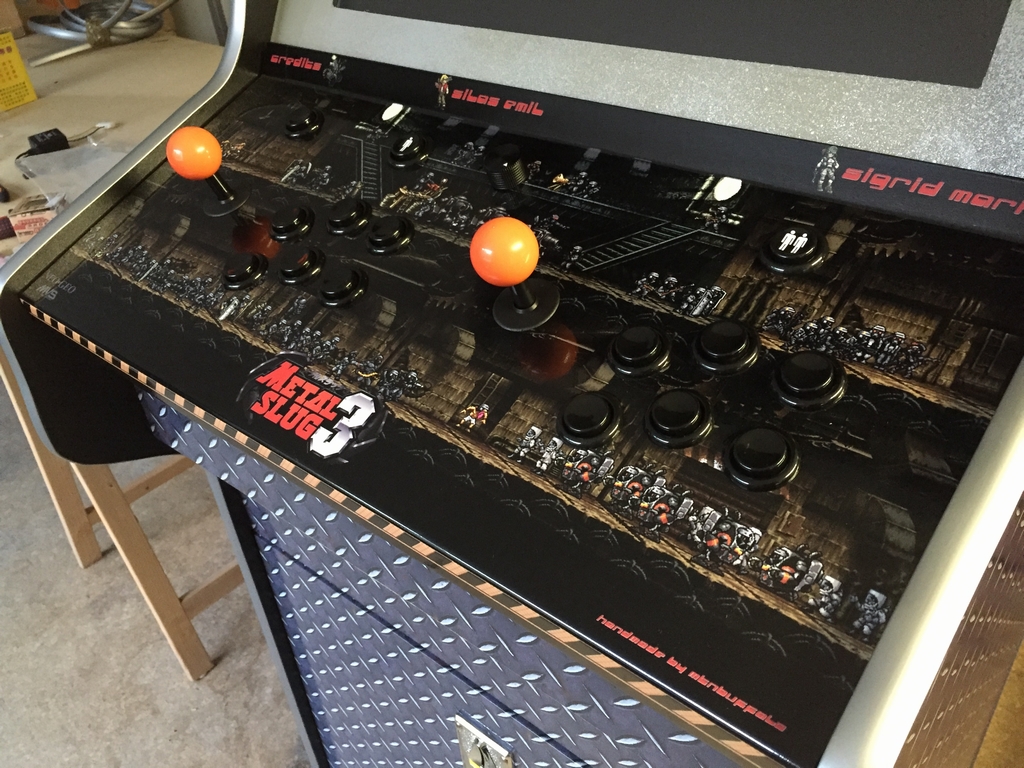
The Control Panel
The control panel was handmade by a guy who really knows how to weld! I got it from another guy who got it from the welder-guy as part of a pinball deal… He has only made a few of them, so I guess I got lucky. However, the control panel was made to also accommodate a trackball. As none of the games in the final machine support this, the hole was blanked out with a piece of wood.
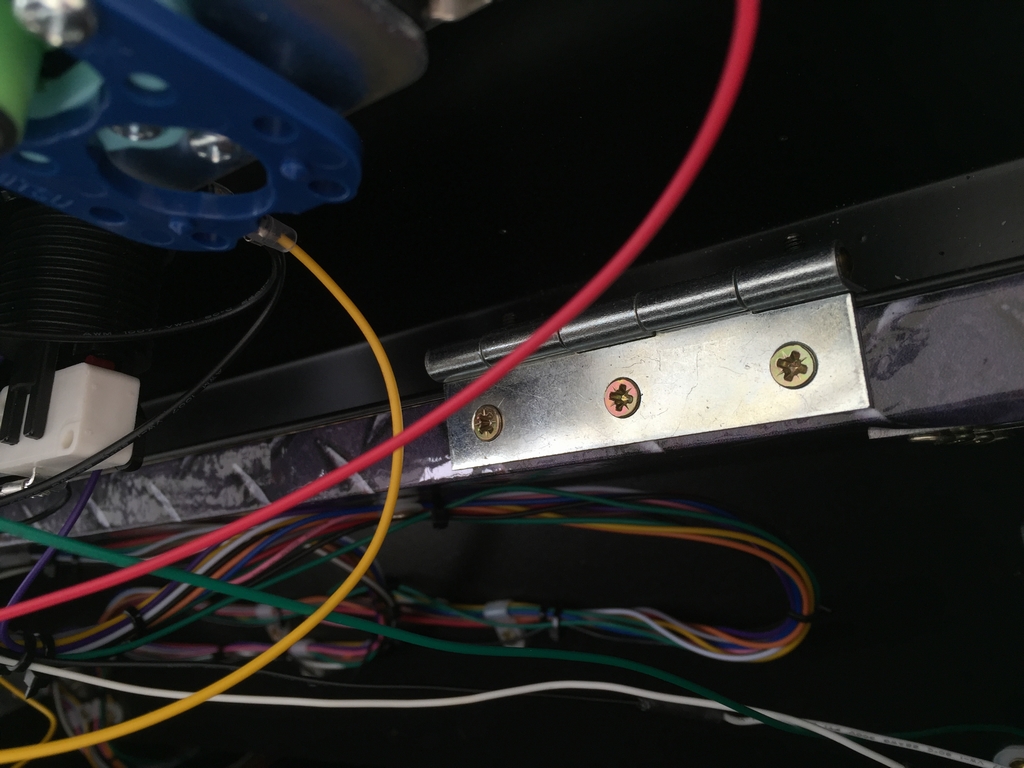
A couple of hinges were mounted at the bottom of the control panel to make maintenance easier.
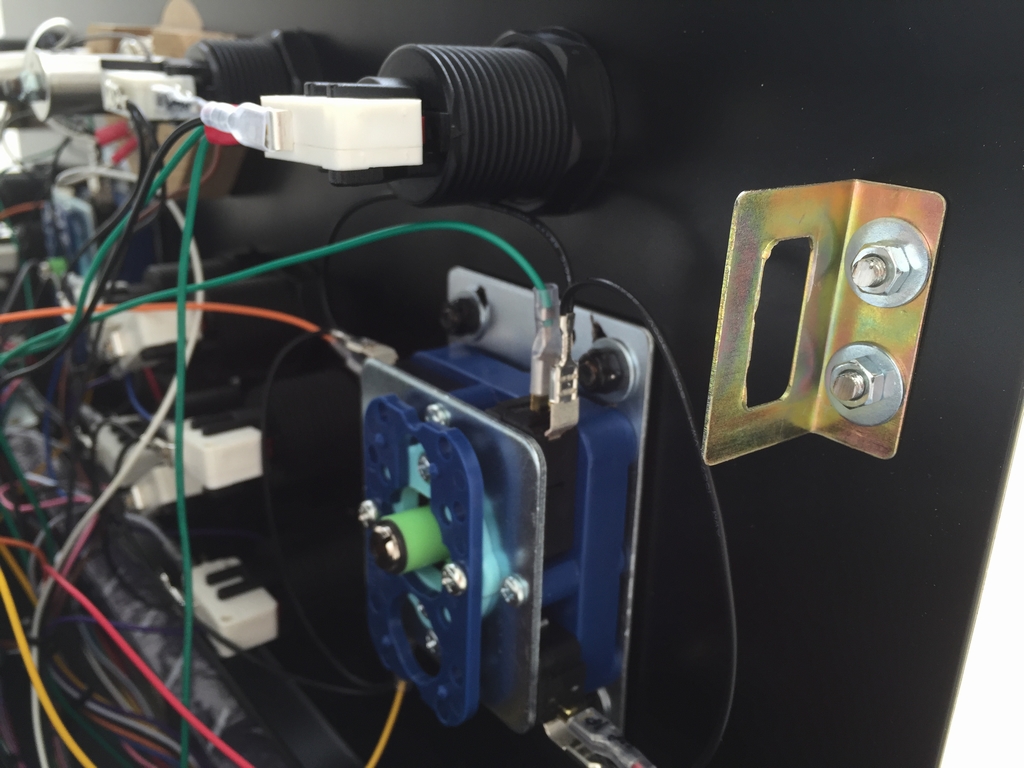
Latches were mounted on each side of the cabinet to strap the control panel down.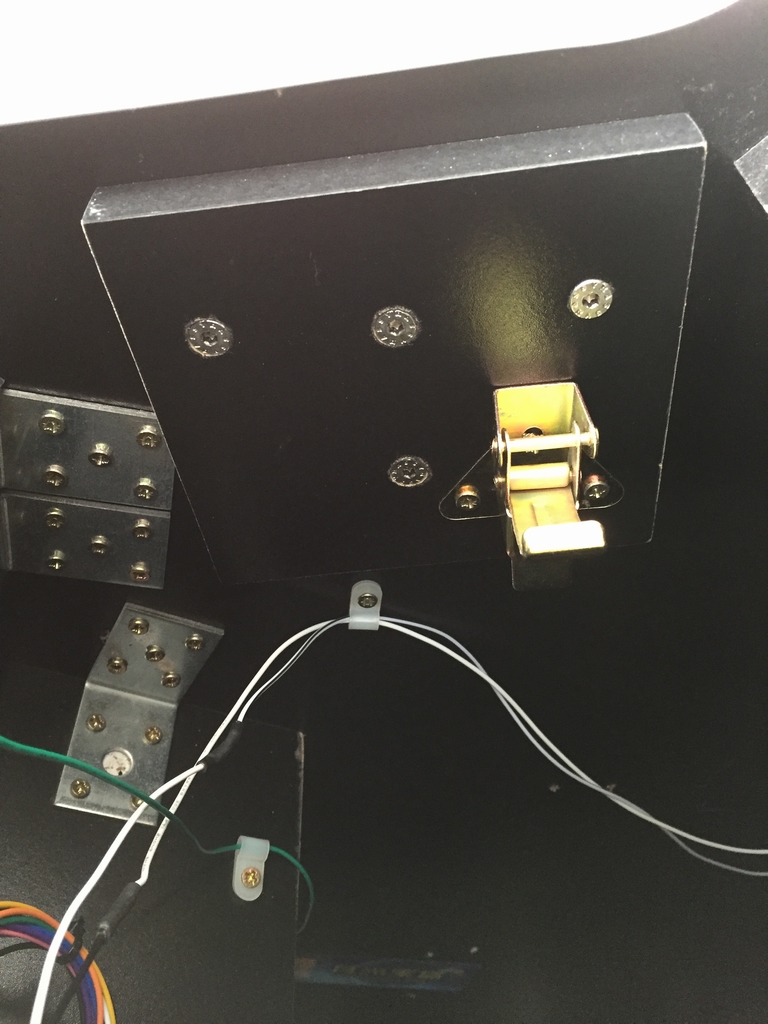
…and here is the finished control panel with a Metal Slug inspired vinyl overlay. The control panel graphics was also printed by rockstarprint (link).
The Power Supply Mod
A cheap way to power an arcade machine is to use a left over ATX power supply unit (PSU). If two of the cables are shorted, the PSU will run without being connected to the motherboard of a computer. Easy peasy 🙂
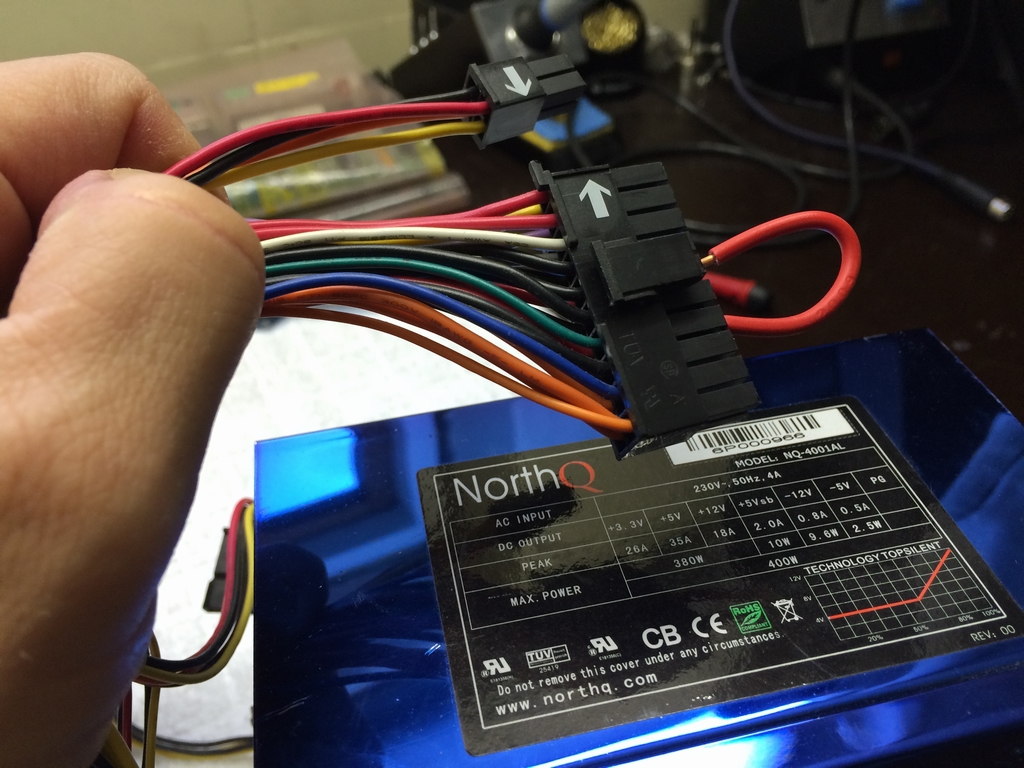
As I just needed 5V and 12V for powering the electronics of the machine, all unnecessary cables were removed.
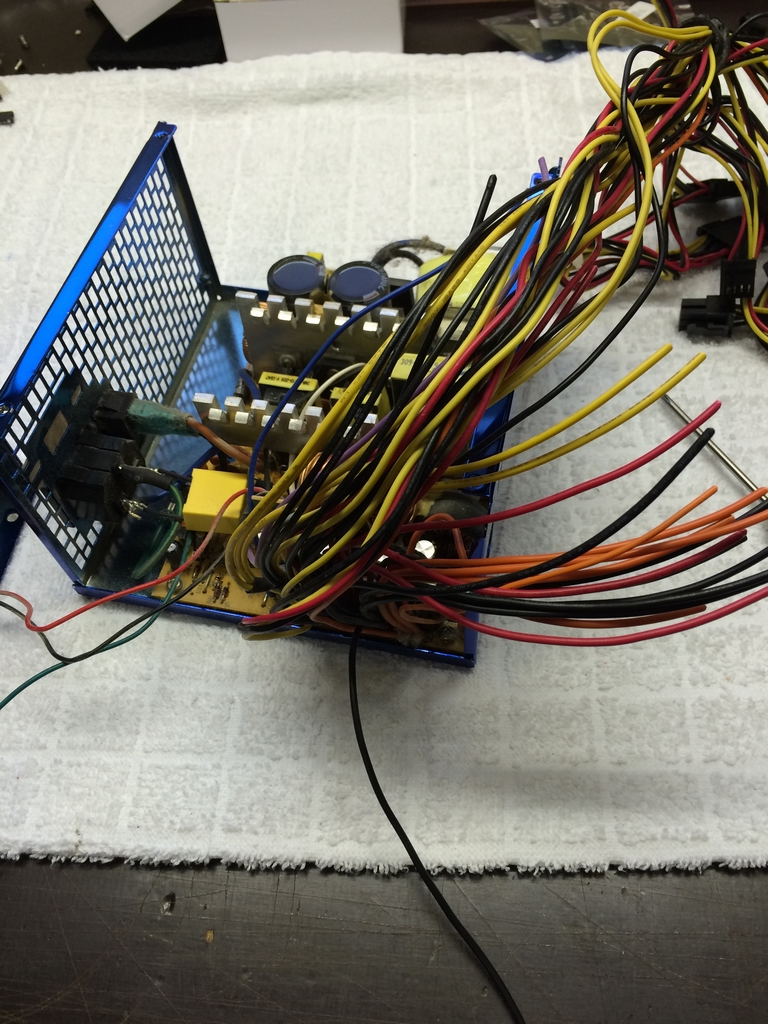
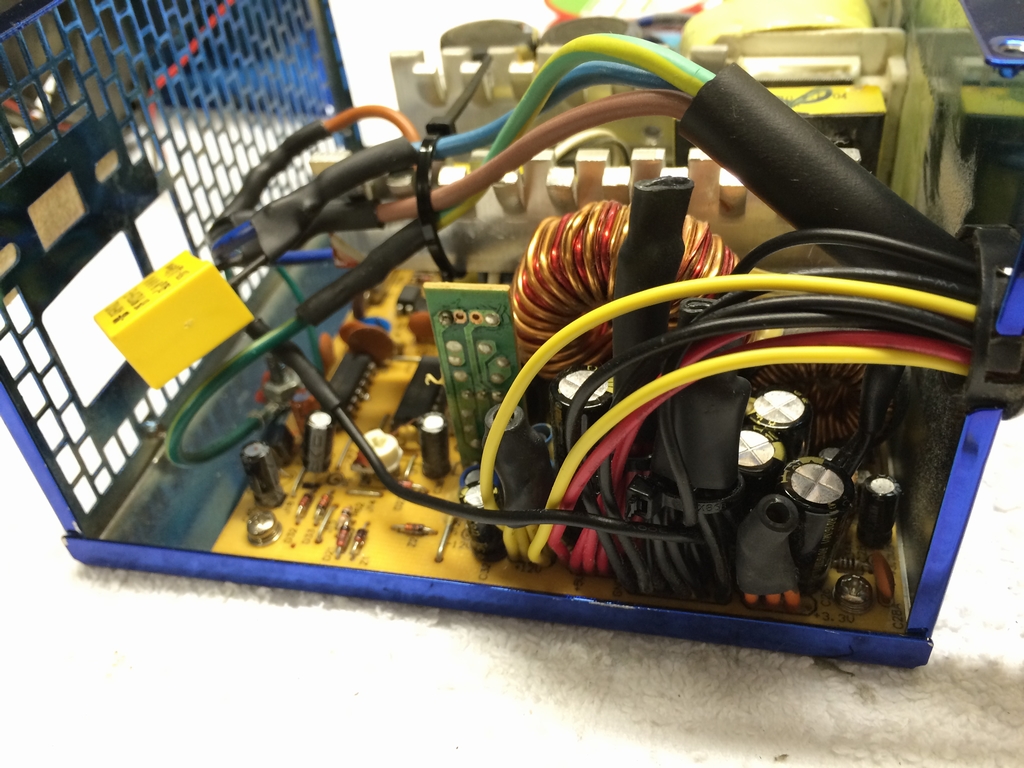
An appropriate sized power chord was addded to the PSU and all cables were guided out the back of the PSU case.
The PSU was mounted to the bottom right side of the cabinet using some metal brackets. The black box on the upper right is a 520-in-1 ‘Pandora’s Box 3′ games box that I got from China. It has a VGA output so it’s really easy to run it on a modern LCD screen.
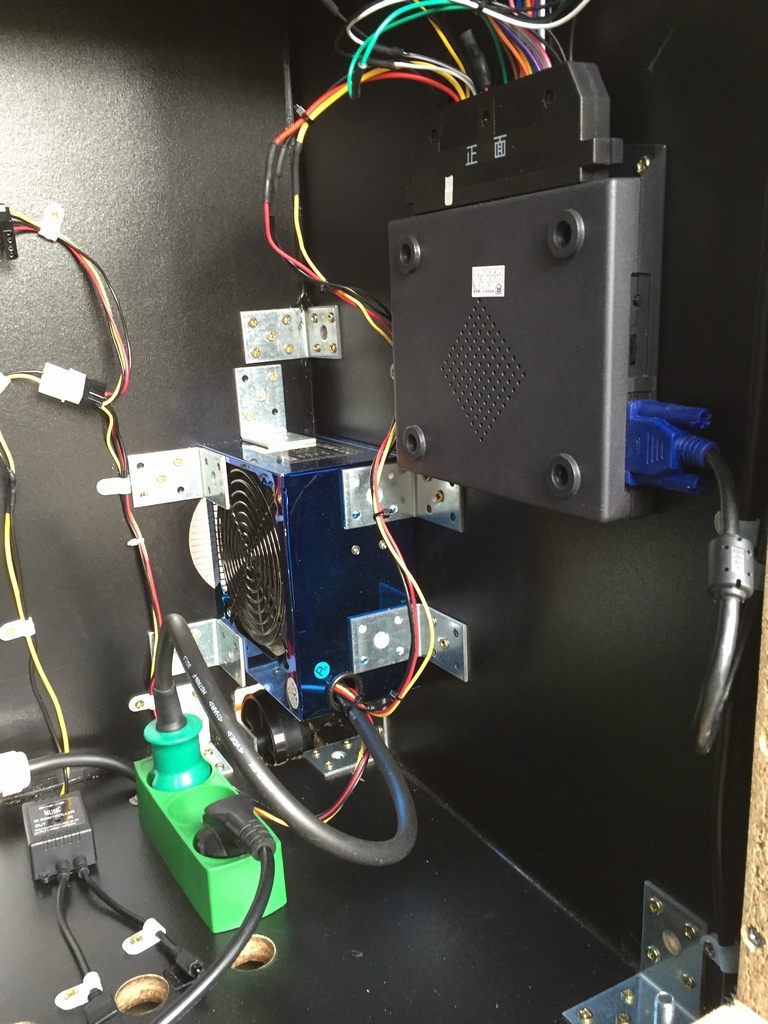
The Wires & Electronics
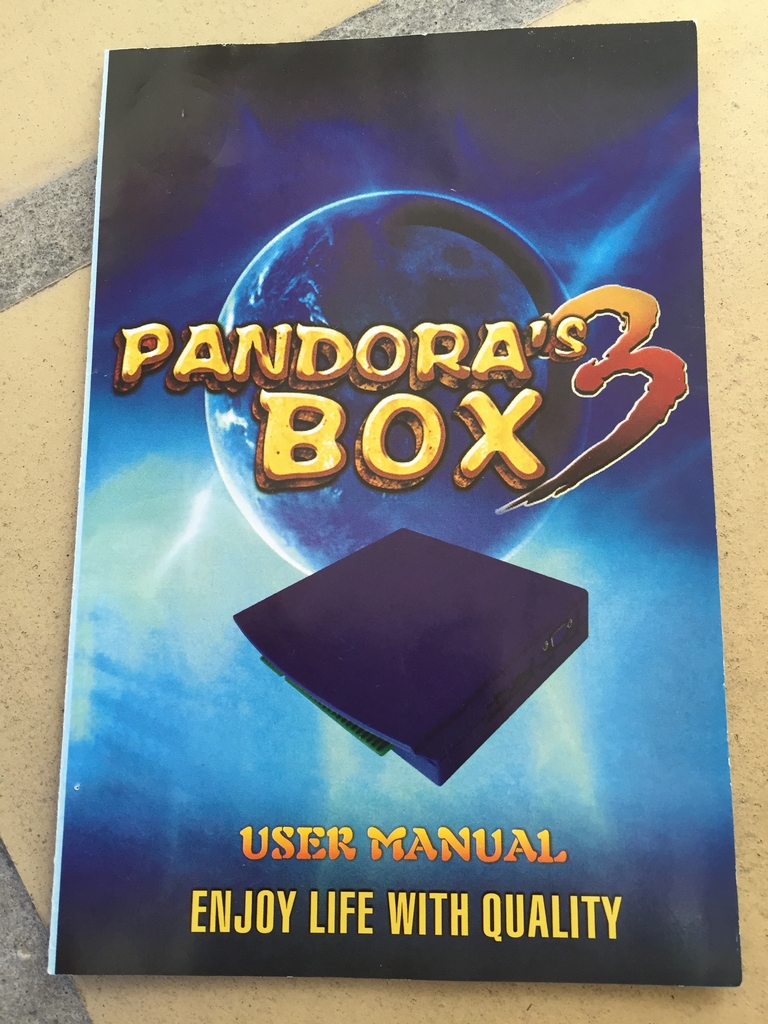
The games in the machine come from an ‘Pandora’s Box 3’, which holds 520 arcade games on a on a single JAMMA board. The manual of the device includes a wiring diagram to make the cabling easier. I chose this solution to keep everything as simple as possible. You never know what a 6 year old will do to the hardware… And if it breaks, swapping in a new game board will be easy.
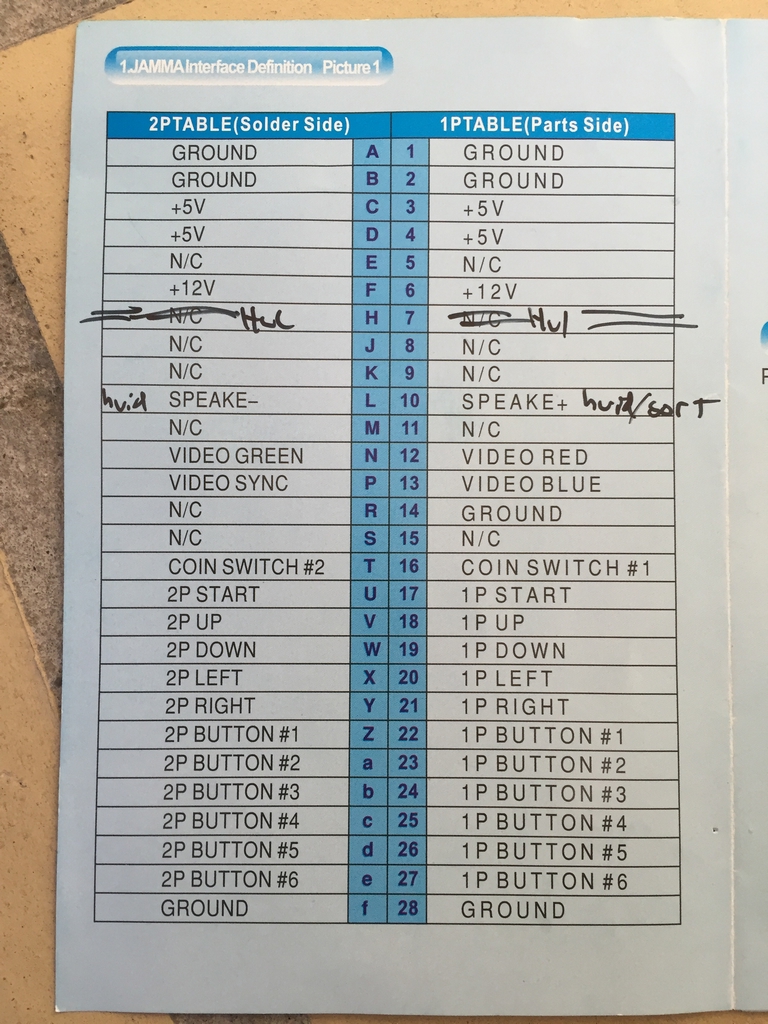
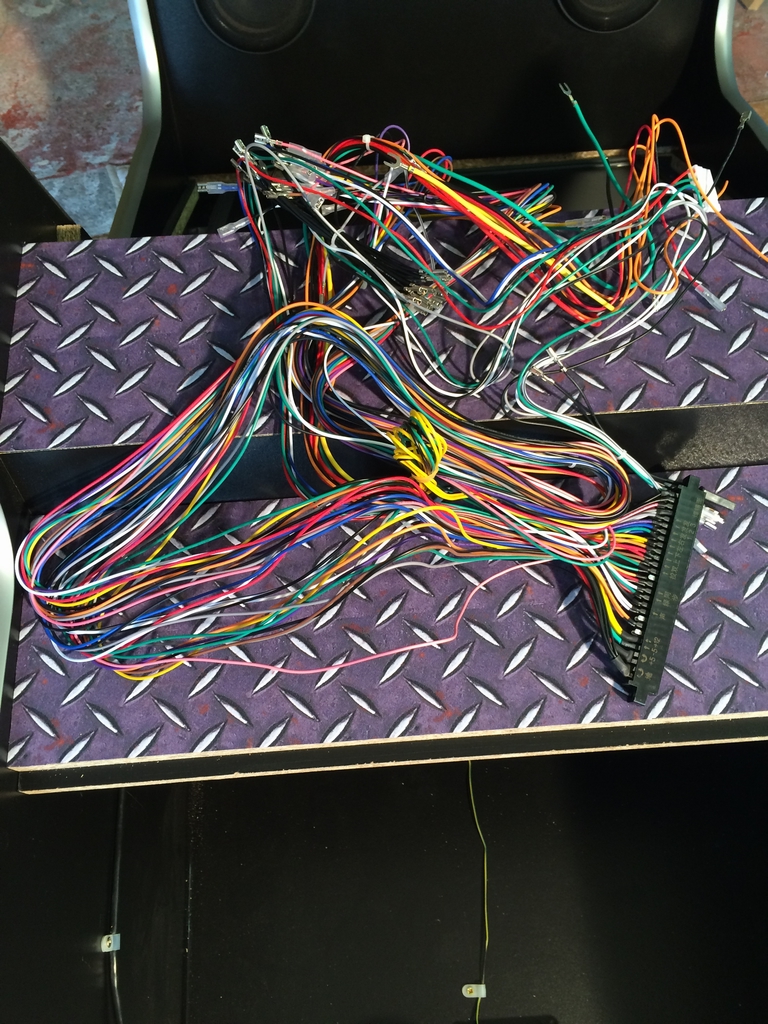
I got a JAMMA harness with six buttons for each player here (link). It looks quite messy with all the cables, but by following the manual, it was pretty easy to get all the wires connected correctly (the setup menu of the board also has a submenu for testing all the connections).
The gaming hardware of the control panel consists of two Seimitsu LS-32 joysticks and Happ standard buttons with E-switch micro-switches. This combination should be good enough for most games.
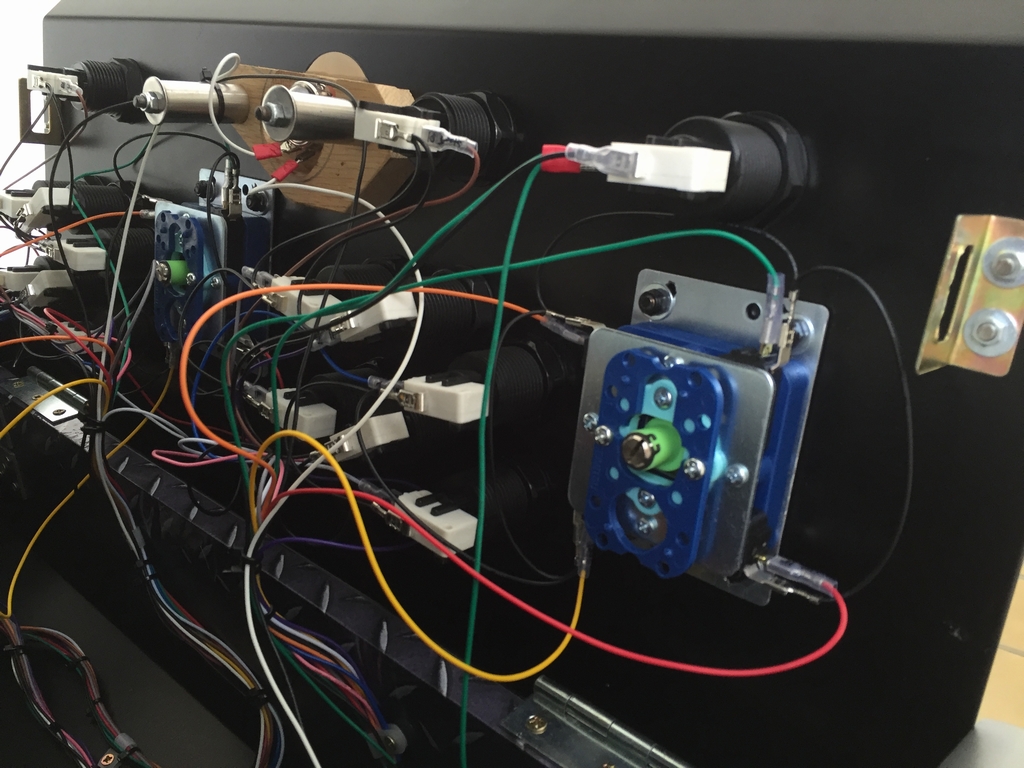
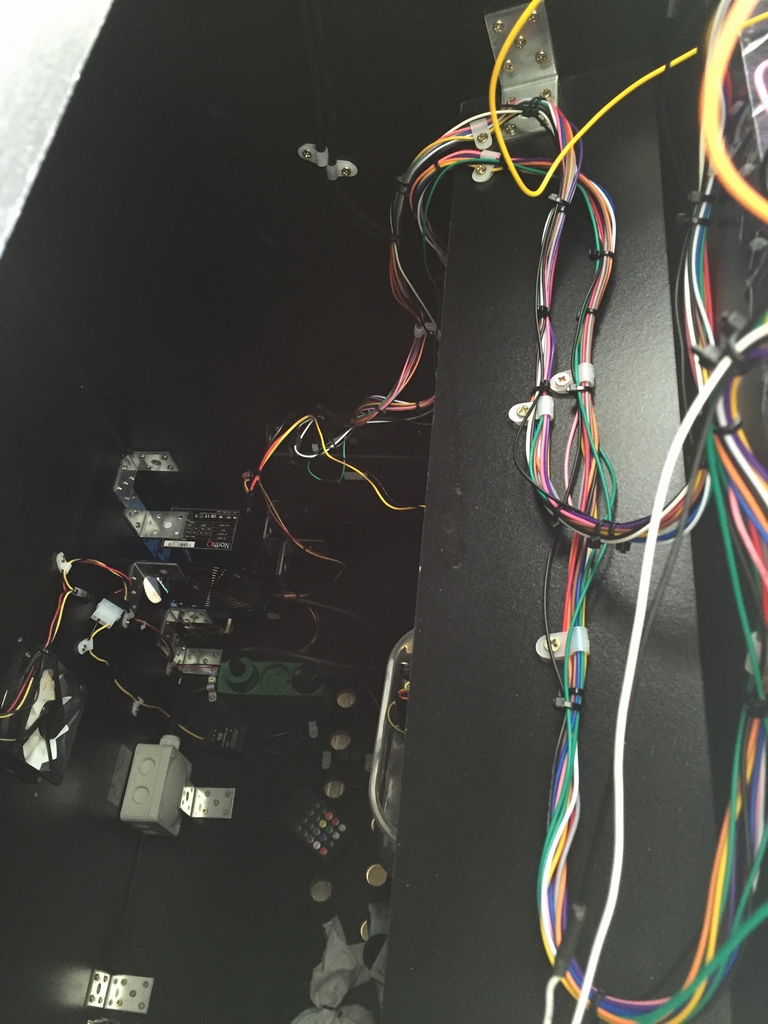
Everything is kept as neat as possible using cable ties.
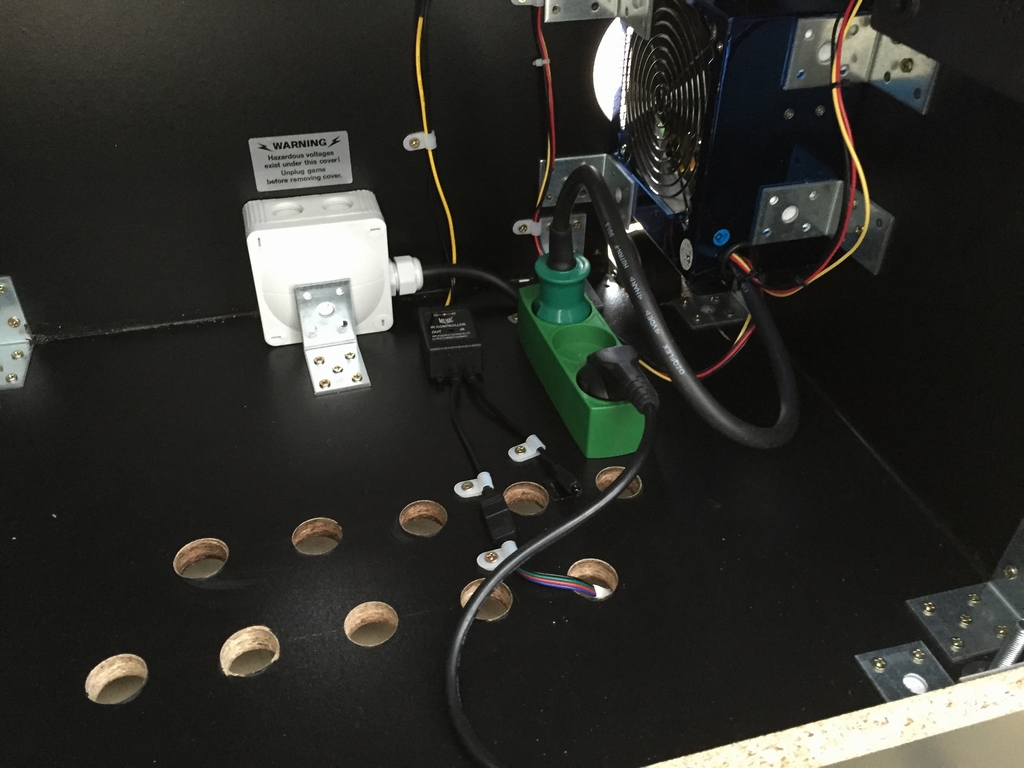
For powering the cooling fans on the rear of the cabinet, this little device was installed. It can power up to six 12 V computer fans.
This is a picture of the mains power (placed in the grey plastic box) and the PSU. I mounted a bracket in front of the box to make it as hard as possible to open it. My nephew is pretty creative with a screwdriver and I don’t want to electrocute him – safety first!
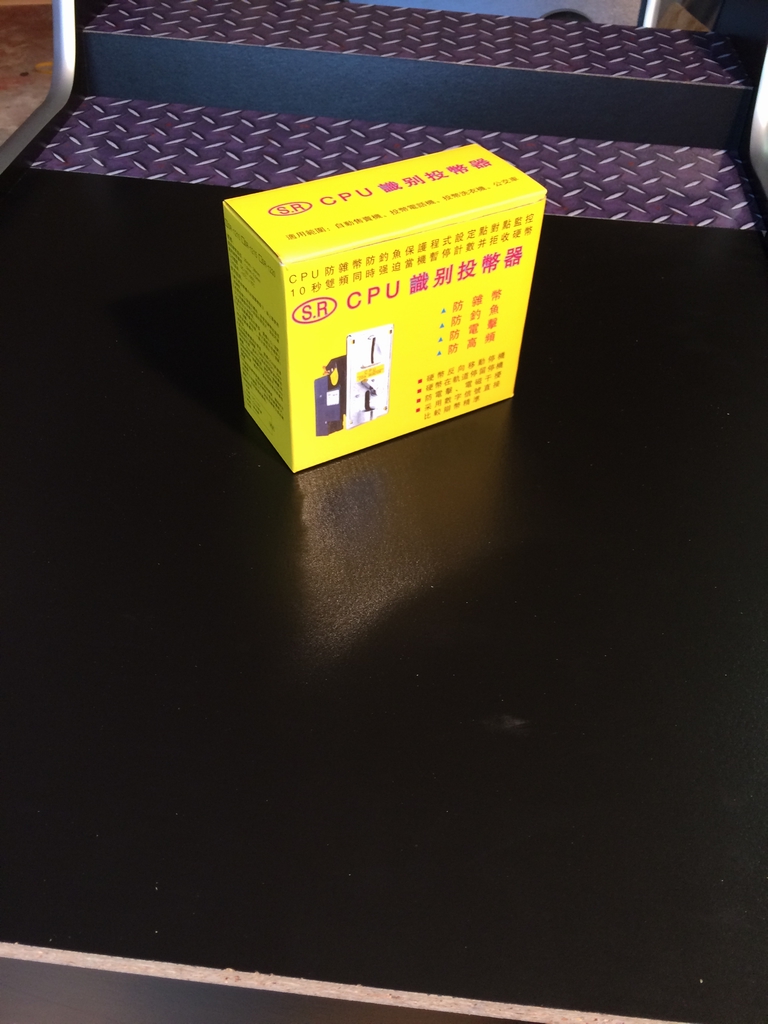
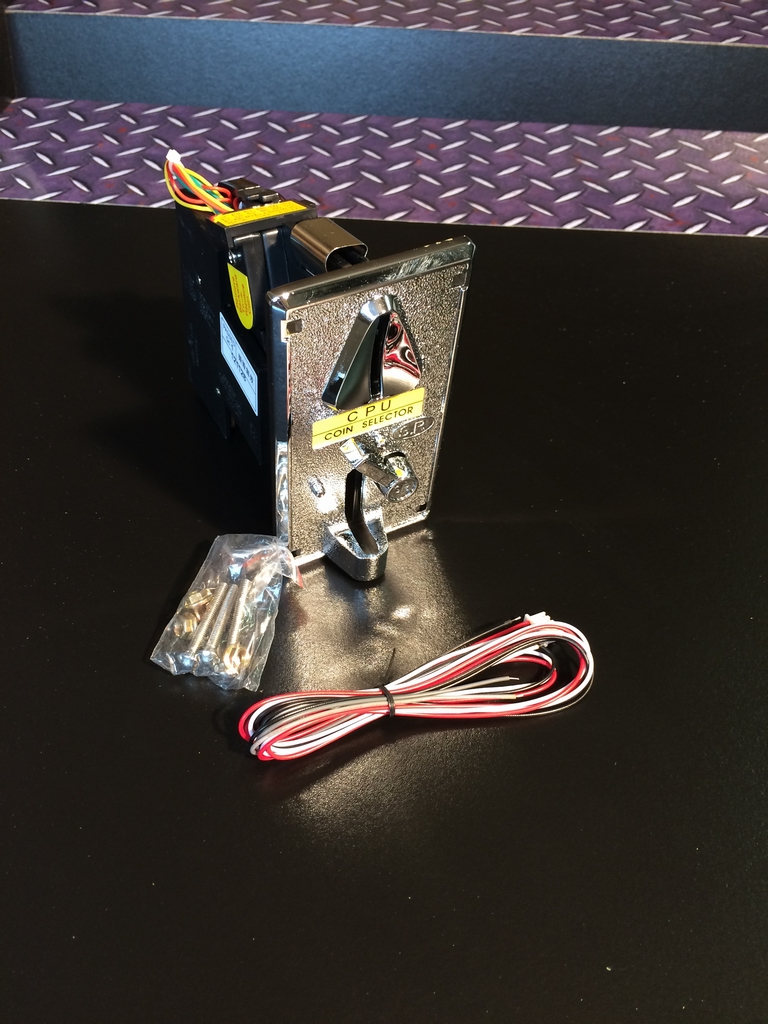
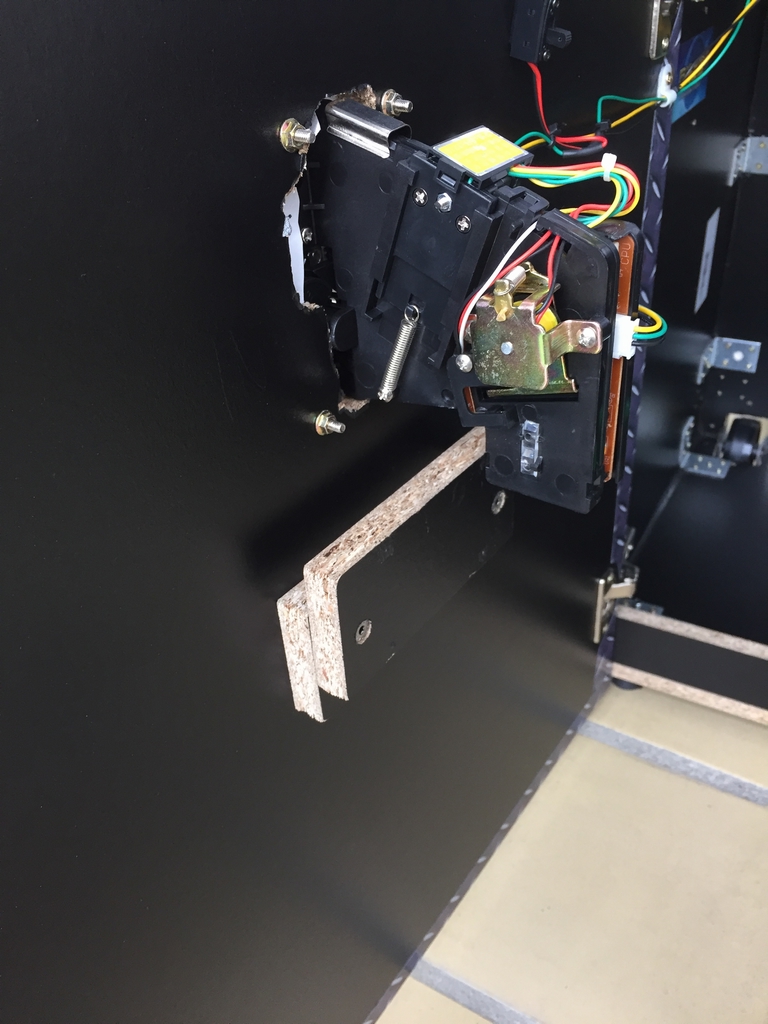
The Coin Mechanics
An arcade machine is not an arcade machine without a coin mech!
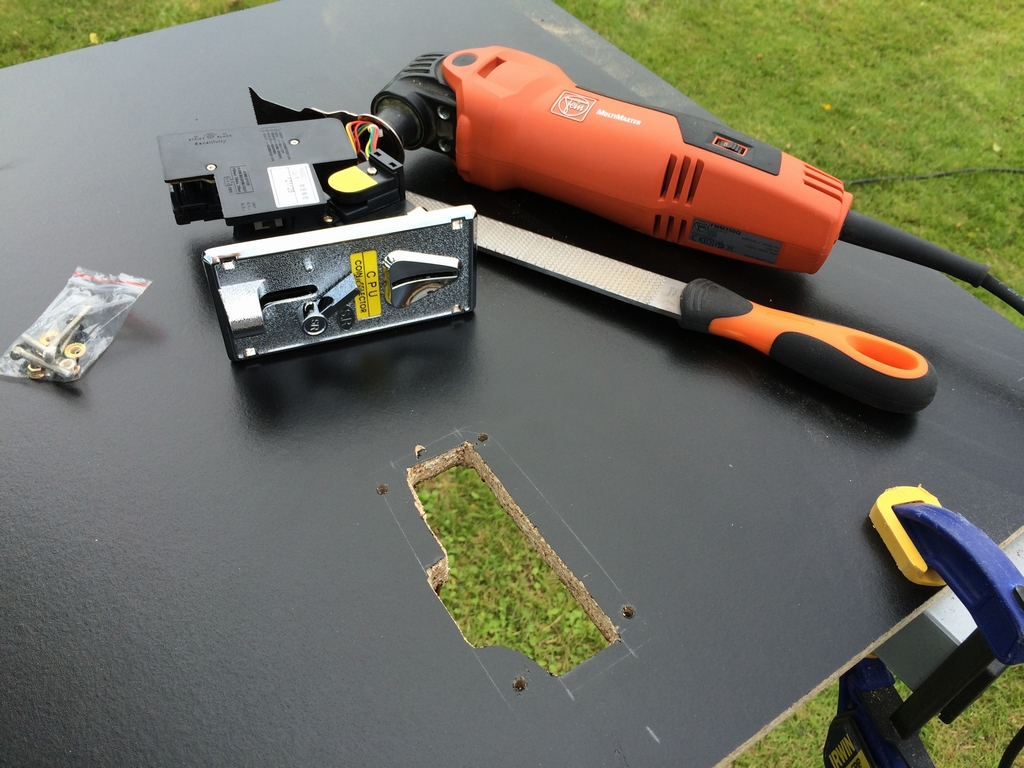
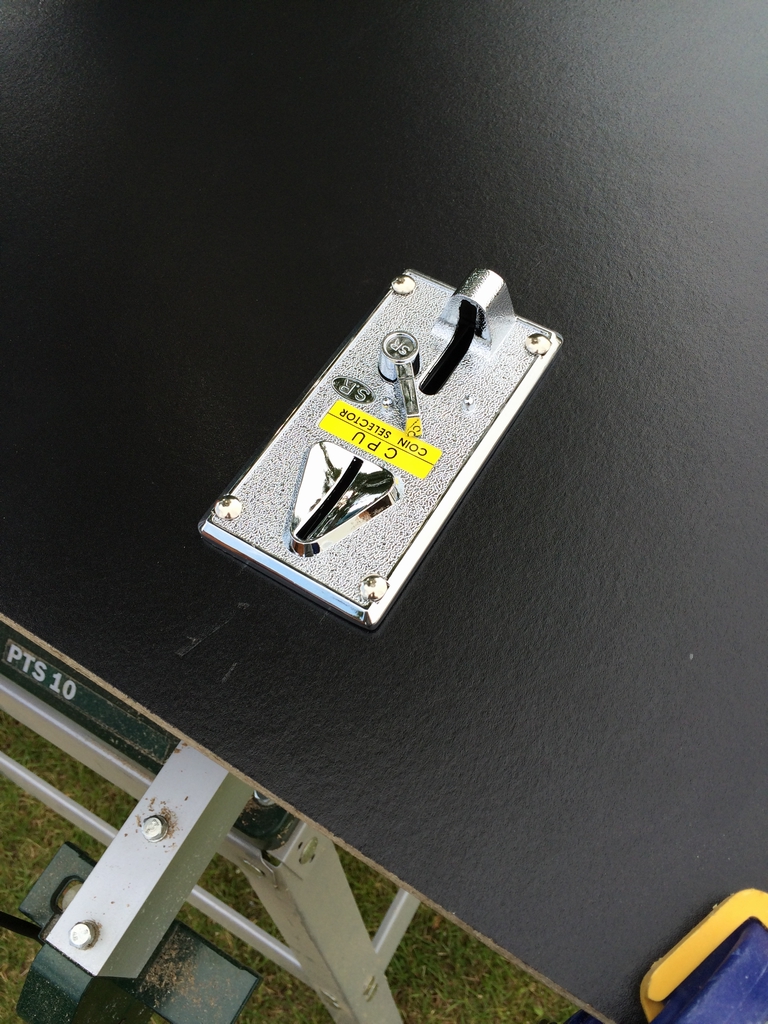
Cutting out the hole was pretty easy using a Fein MultiMaster.
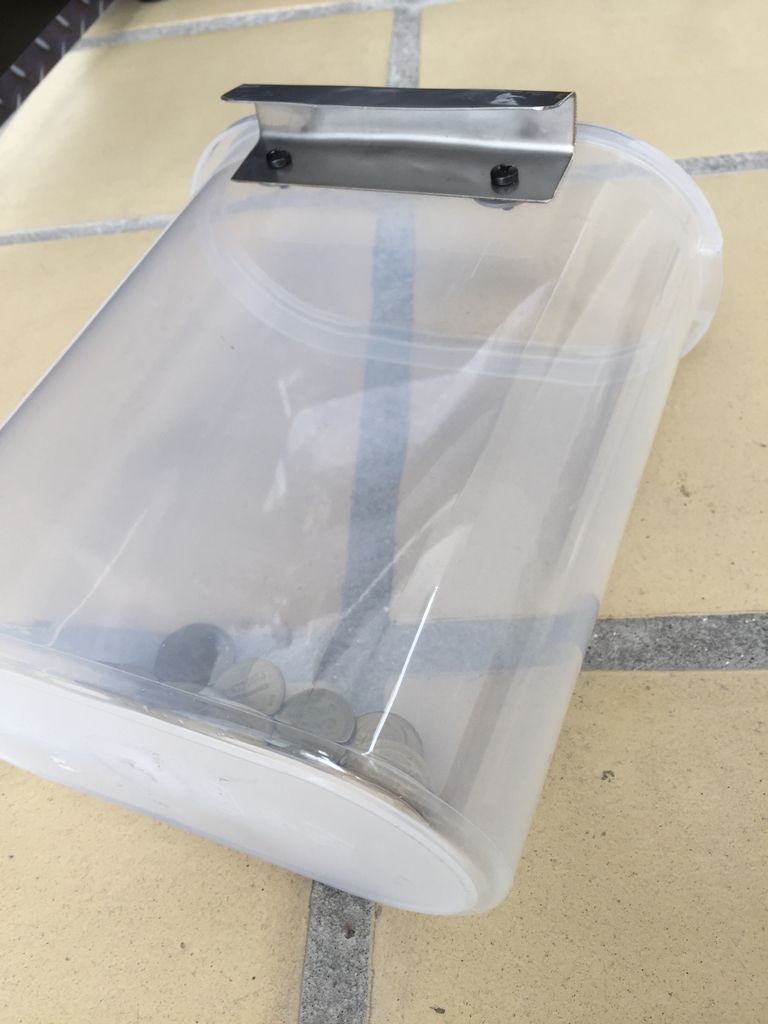
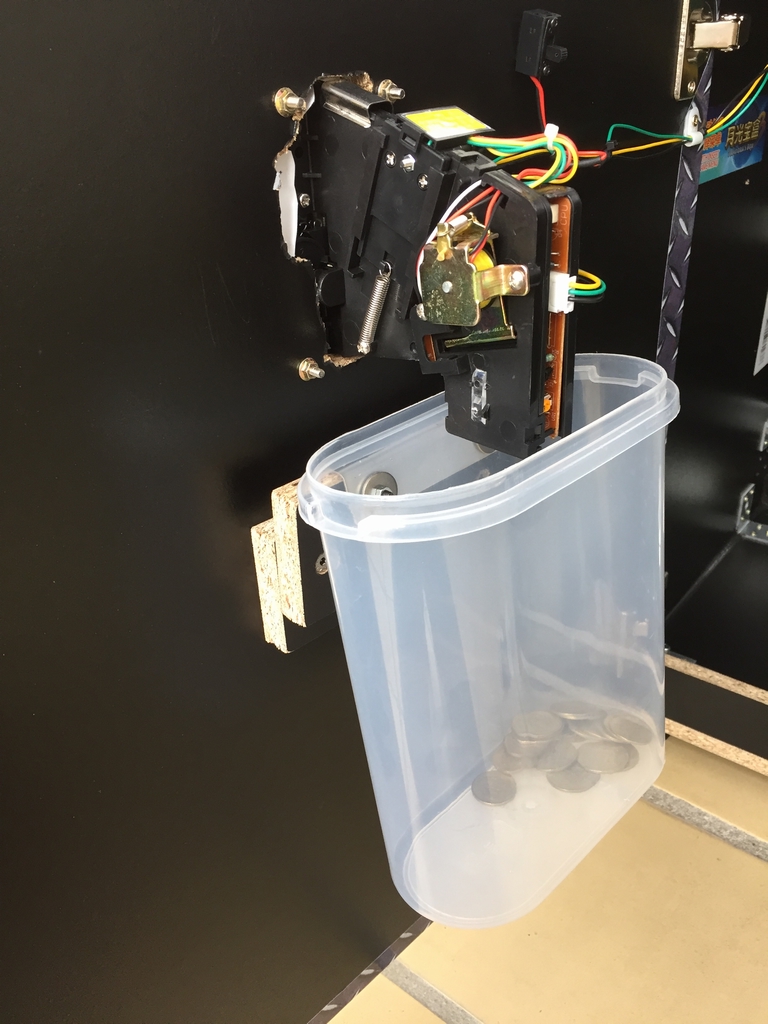
This is the backside of the kickplate door. Two pieces of wood were used to hold the coins bucket. The coins container was made from a cheap plastic box I found in the kitchen…
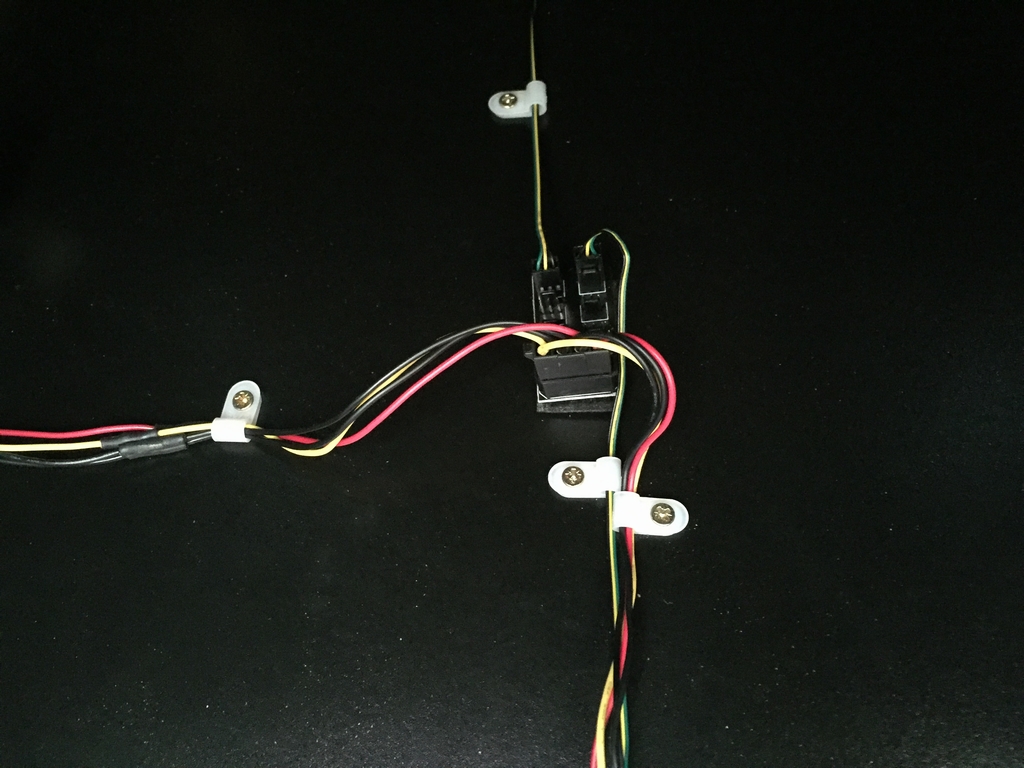
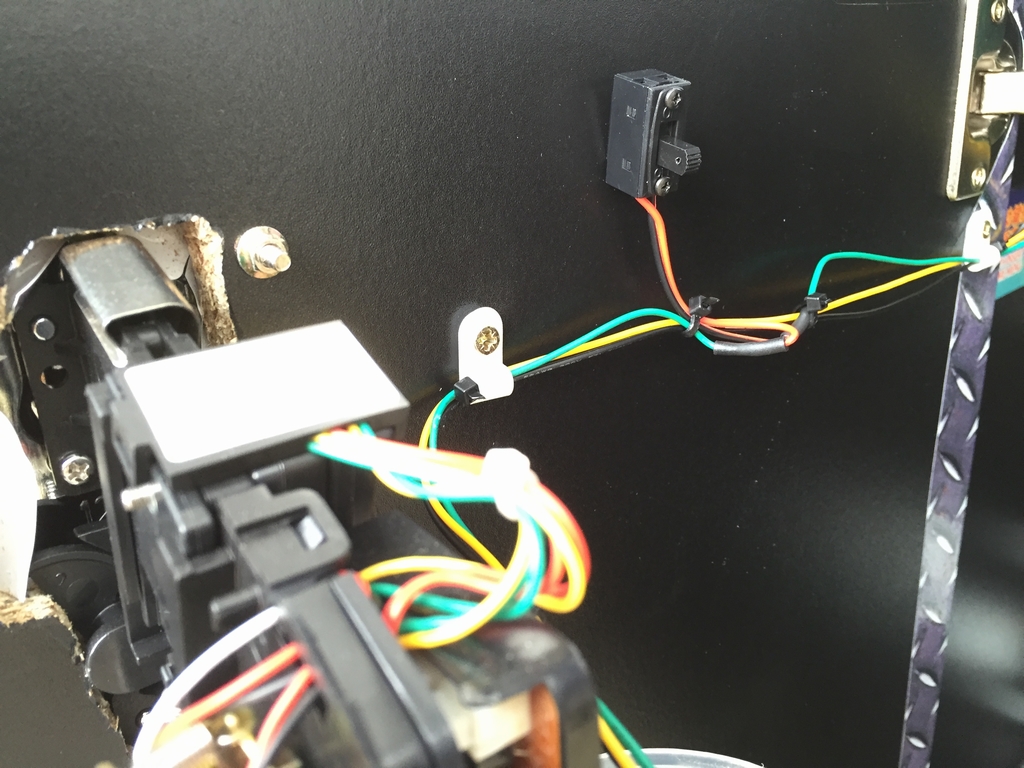
A coin-up button is placed on the control panel to add credits without using the coin mech. However, if a player wants to use the coin mech, a little switch was placed next to the coin mech to switch between the credit button on the control panel and the coin mech on the kickplate.
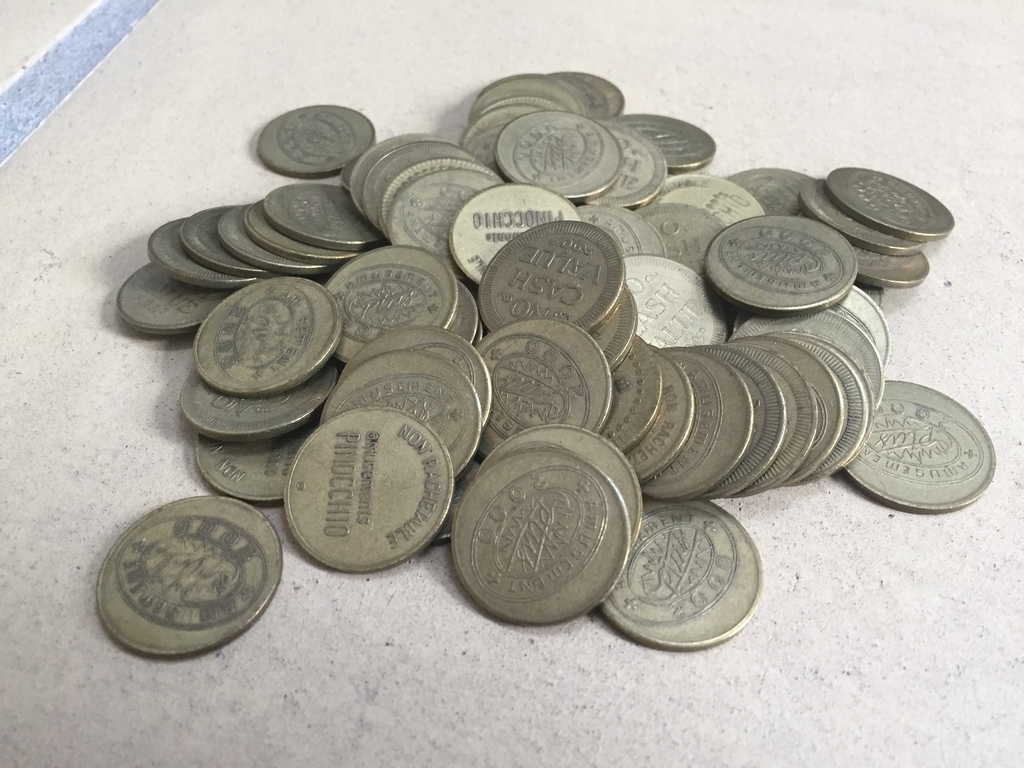
…and some tokens for the coin mech…
f****ng beauty! I’m a serious gamer too, and I also build arcade cabinets (MAME) using old PC’s.
Thanks ricardo86 🙂 Glad you liked it.
Hello, where did you find that Metal Slug 3 marquee? It’s exactly what I need for my own project 😛 The website you linked to doesn’t have it in the list of marquees they sell.
It’s because rockstarprint just printed the marquee for me. The actual print can be found here (link). Good luck with your project!
Thank you very much. This is what mine looks like for now (link) but I like yours better 🙂
No problem and thanks 🙂
Do you have blueprints of all your woodwork?
Hi BaNZ, I don’t have any blueprints of the woodwork. I simply used my standard arcade machine (link) as a template and adjusted the shape to fit the larger control panel.