
My six year old nephew recently told me that he was saving up money to get a Sony PlayStation 7… I have heard of a PS 4, but at my age it’s socially acceptable not to be completely up-to-date with the latest console versions… Curious as I was, I politely asked him to elaborate. It soon came clear that the PS7 he was talking about was an up-right arcade machine like the Monster Arcade Senior (link)… So I decided to be a ‘hero’ and make him one (which also gave me an excuse to get some more power tools…). Would be kinda rude not to make him one, right?
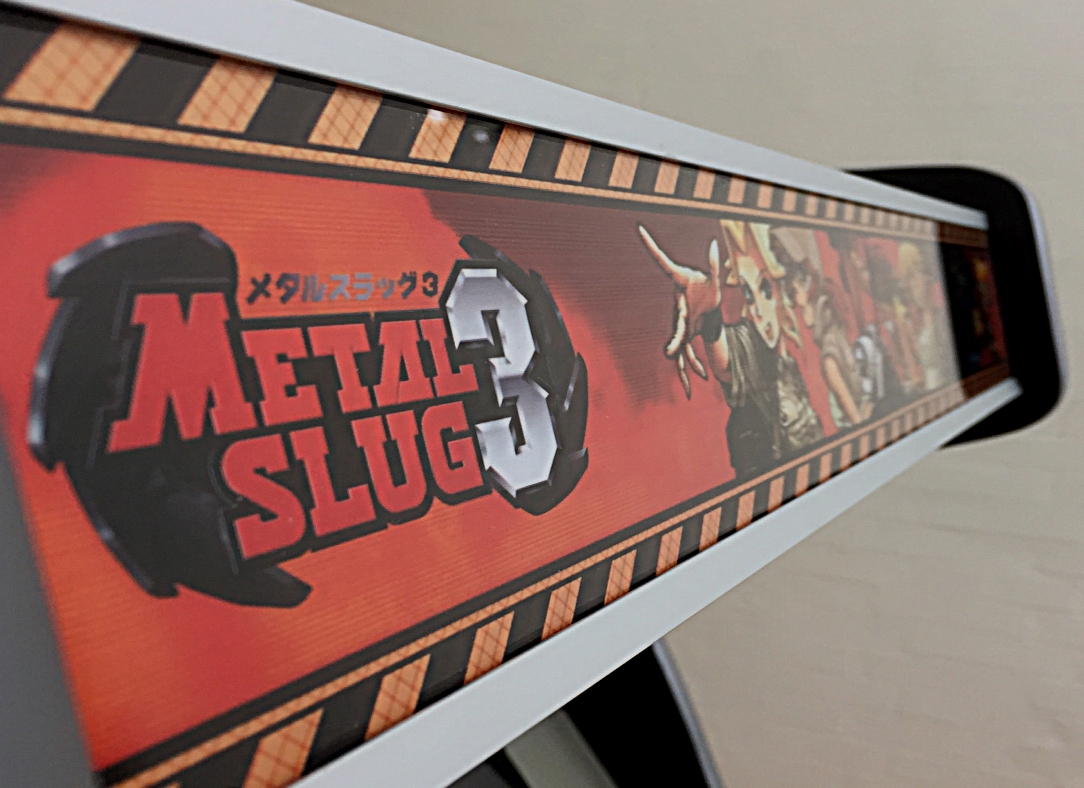
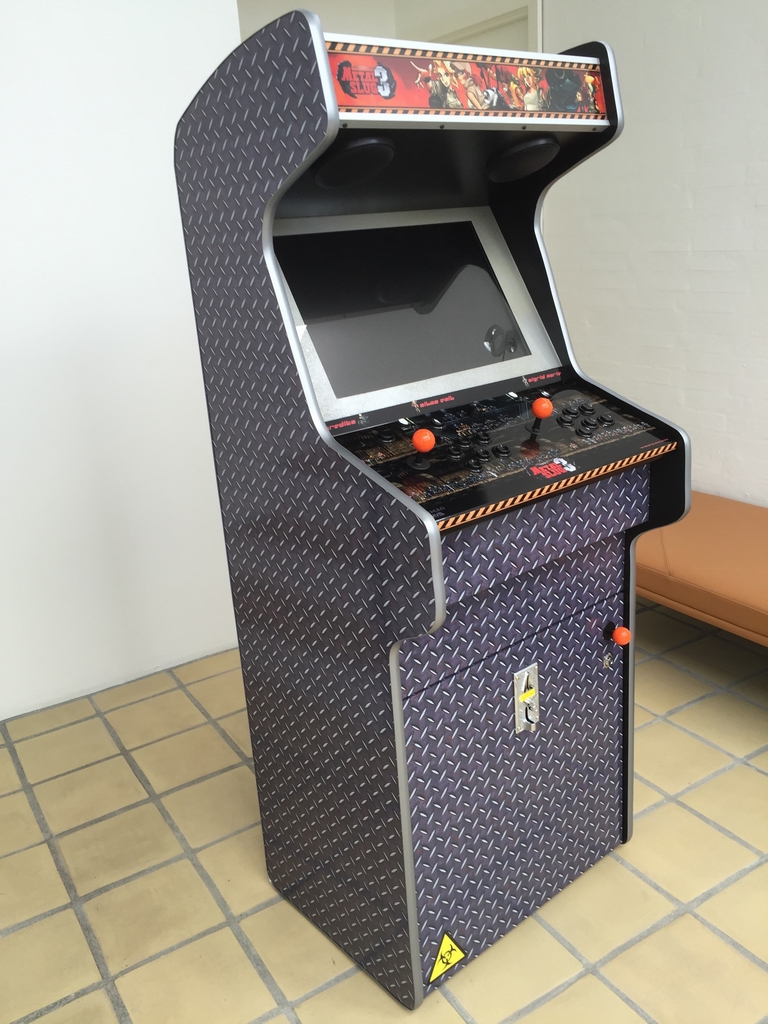
Before the build I had to decide on a theme. In this context, I really enjoy playing the Metal Slug series from SNK (link). It is not that I am particularly good at playing any of the Metal Slug games, I just like the pace of the run and gun game series. Furthermore, the games can be played alone or in co-op with a friend (or nephew). I therefore wanted to make an arcade machine inspired by the Metal Slug universe. To wave the carrot a little – this is how the finished ‘Metal Slug Arcade’ machine looks like. More images can be found at the end of this post.
Building an arcade machine is never a straight forward job. I have therefore split the creation of the machine into smaller sections:
The Arcade Cabinet Build
The Marquee
The Control Panel
The Power Supply Mod
The Wires and Electronics
The Coin Mechanics
The Vinyl Wrap
The Light Mod
The Finished Machine
The Metal Slug Nephew
The Arcade Cabinet Build
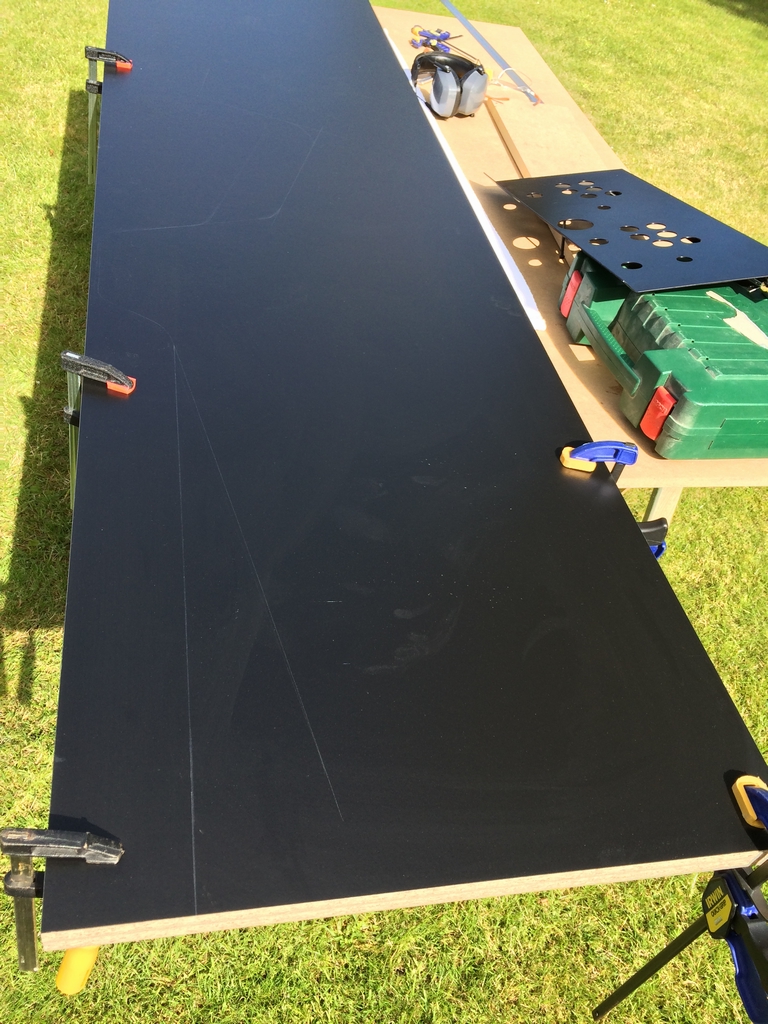
The arcade machine cabinet is made from three 250 x 80 cm (8.2 x 2.6 ft) black 16 mm (0.63 in) melamine faced particle boards. This way I did not have to paint the cabinet after the build. I used the Monster Arcade Senior cabinet as a template for the side panels. I placed one of the particle boards next to it and drew the contours with a pencil. I then modified the outline a little to accommodate the larger control panel and the kickplate area so a door could be inserted at the front of the cabinet.
Two of the particle boards were clamped together before using a jigsaw to cut out the cabinet sides. I used a blade made for sawing in this type of material so I could get some clean chip-free cuts.
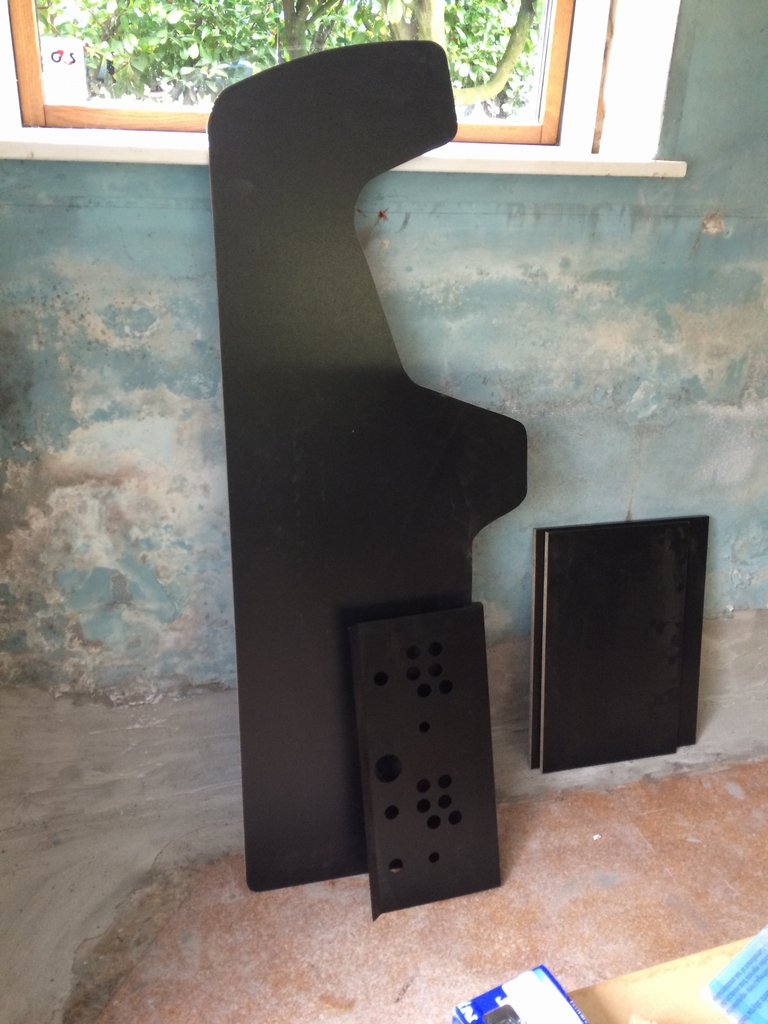
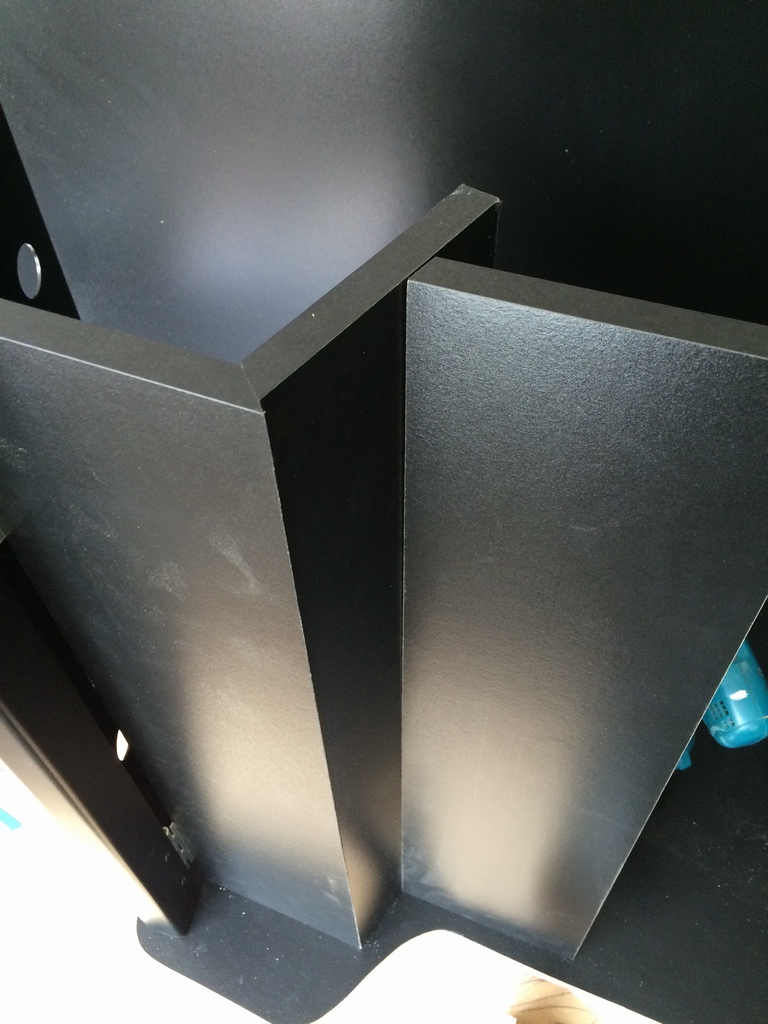
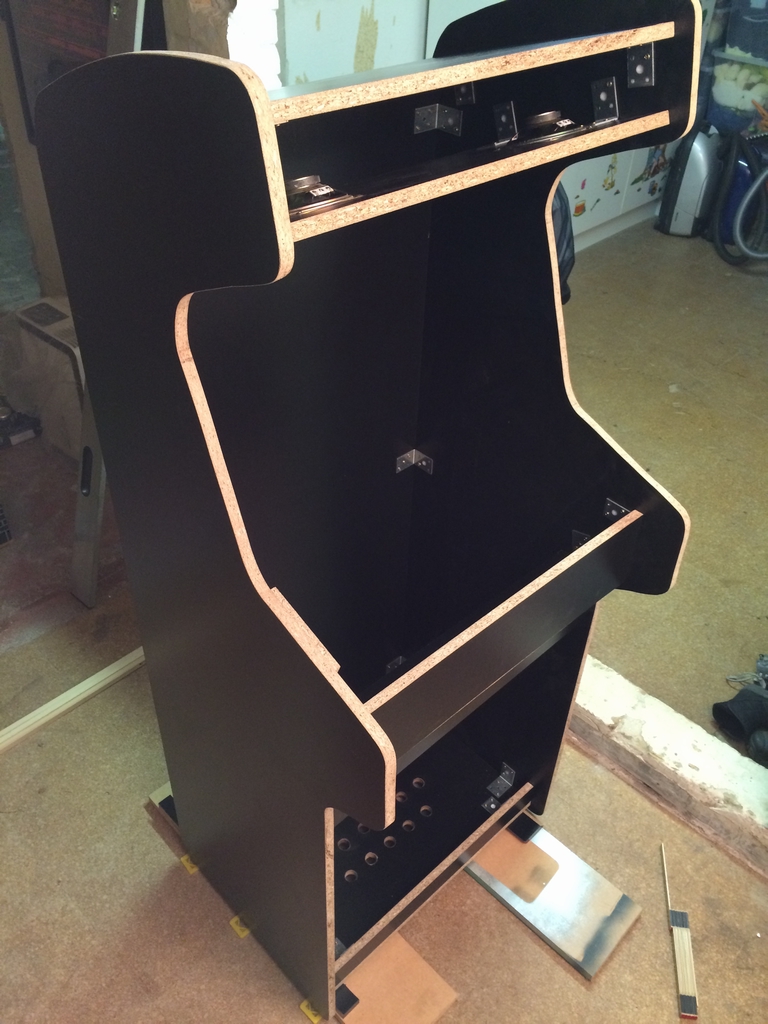
This is how the finished sides of the cabinetlook like. The metal control panel is placed in front of the sides. The two plates to the right are for the top and bottom of the cabinet.
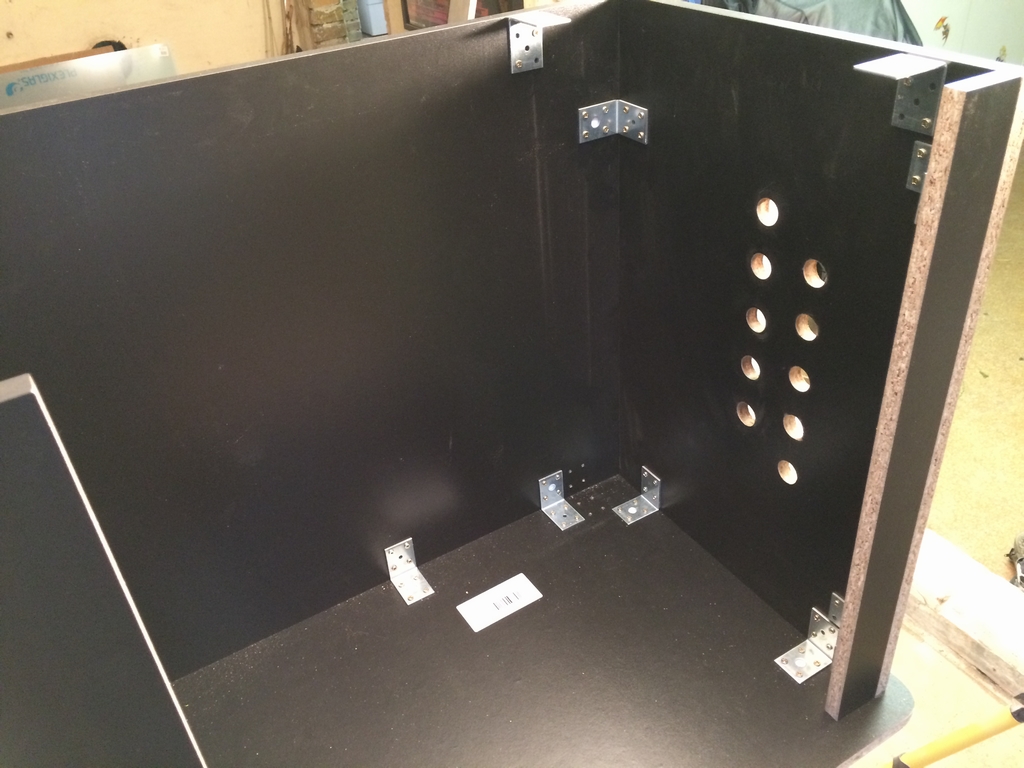
I used metal brackets and 3.5 x 17 mm (0.14 x 0.7 in) screws to hold everything together.


I bevelled the rear edge of the top plate to make it look a little nicer.
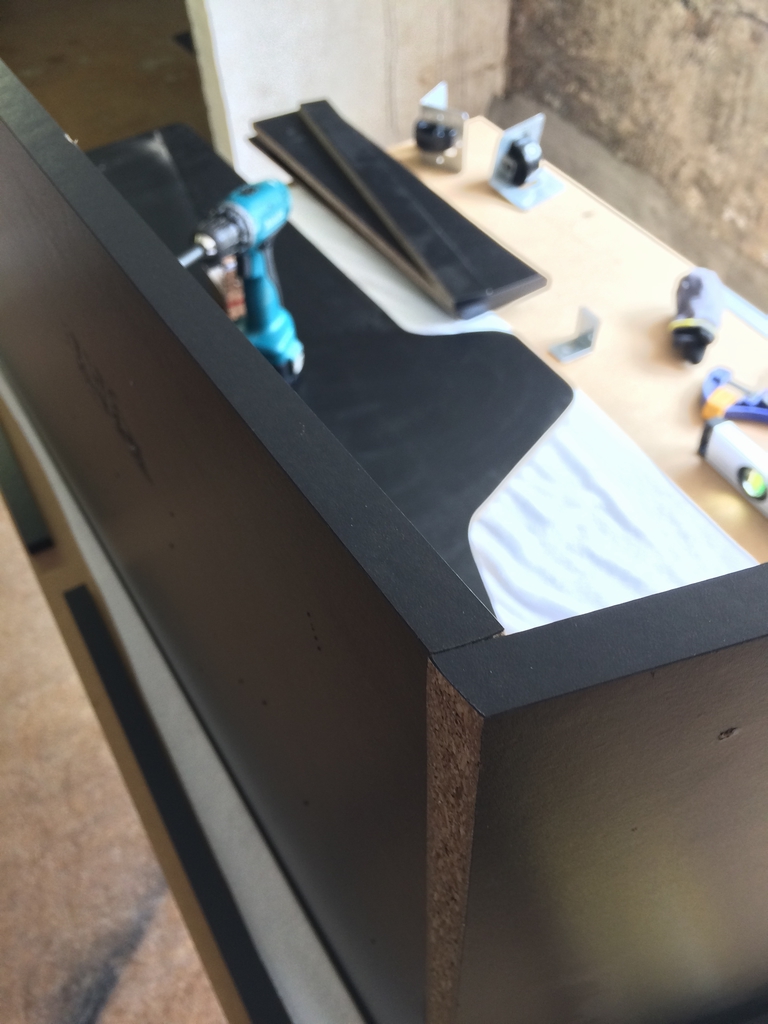
A 30 mm (1.2 in) Forstner drill bit was used to make some ventilation holes in the bottom plate of the cabinet.
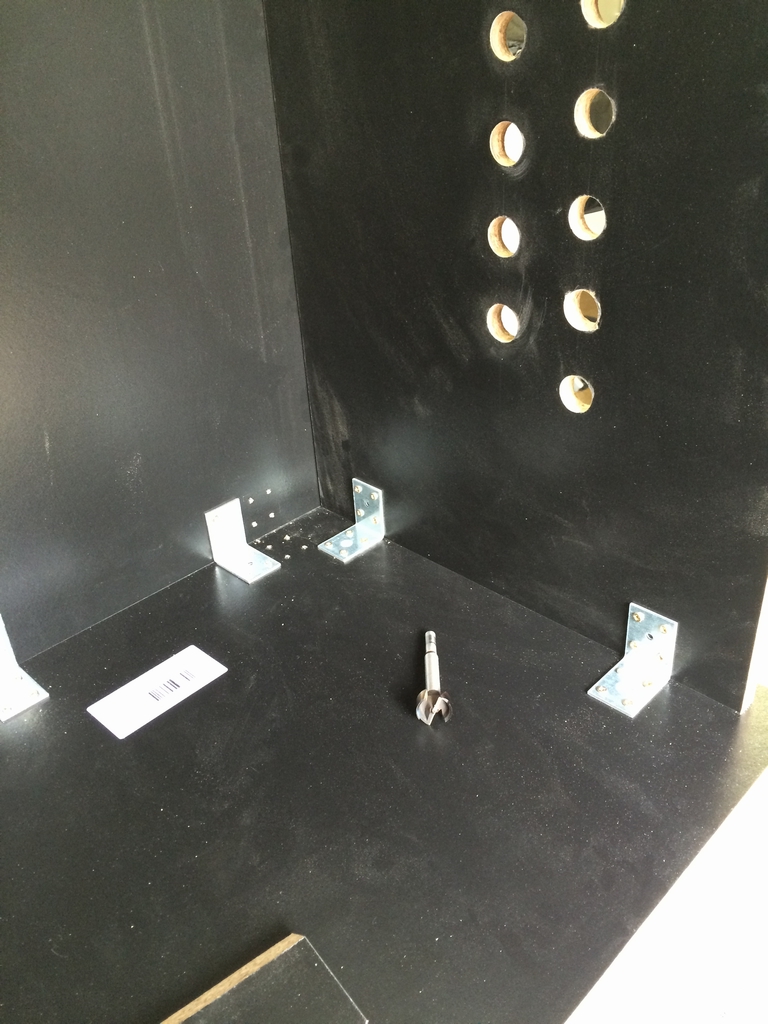
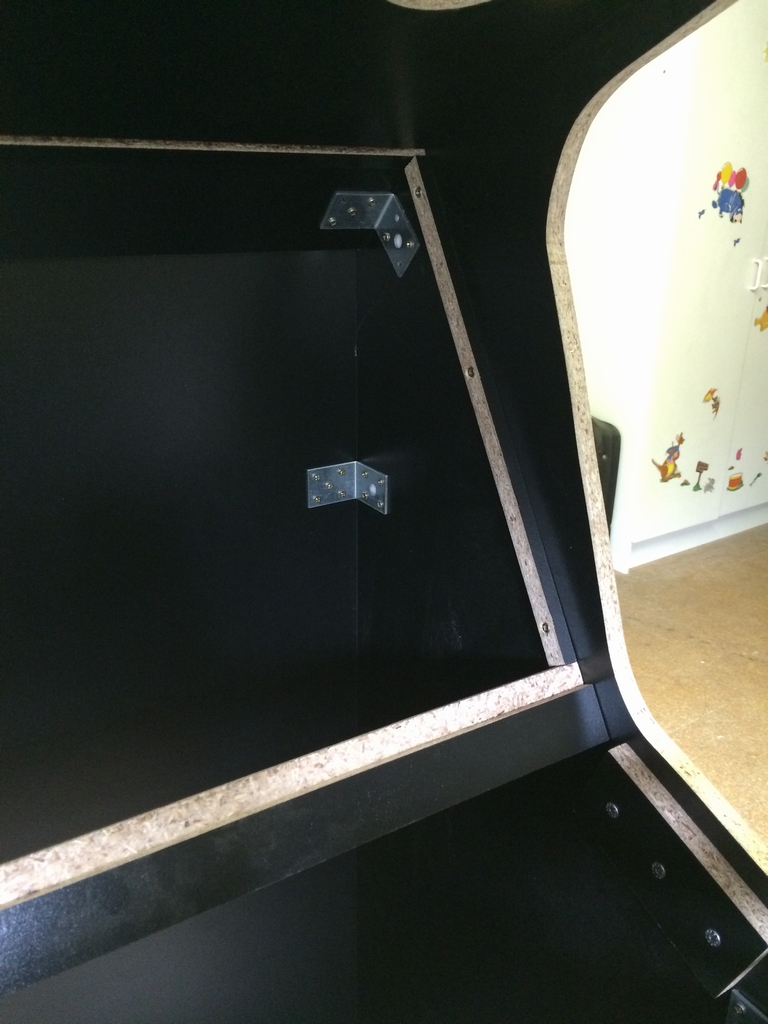
The area under the control panel.
To ease the mounting of the right side board, I pre-installed some brackets.
The bottom plate of the marquee with holes for the loudspeskers. The loudspeakers are the real aracde ones. They are really cheap (8-10 $ a pair) and no extra amplifier is needed to drive them – after all, it’s just gaming sounds, so no need for fancy loudspeakers…

…and the machine was standing by itself after approximately 3 hours of intensive arcade building 🙂
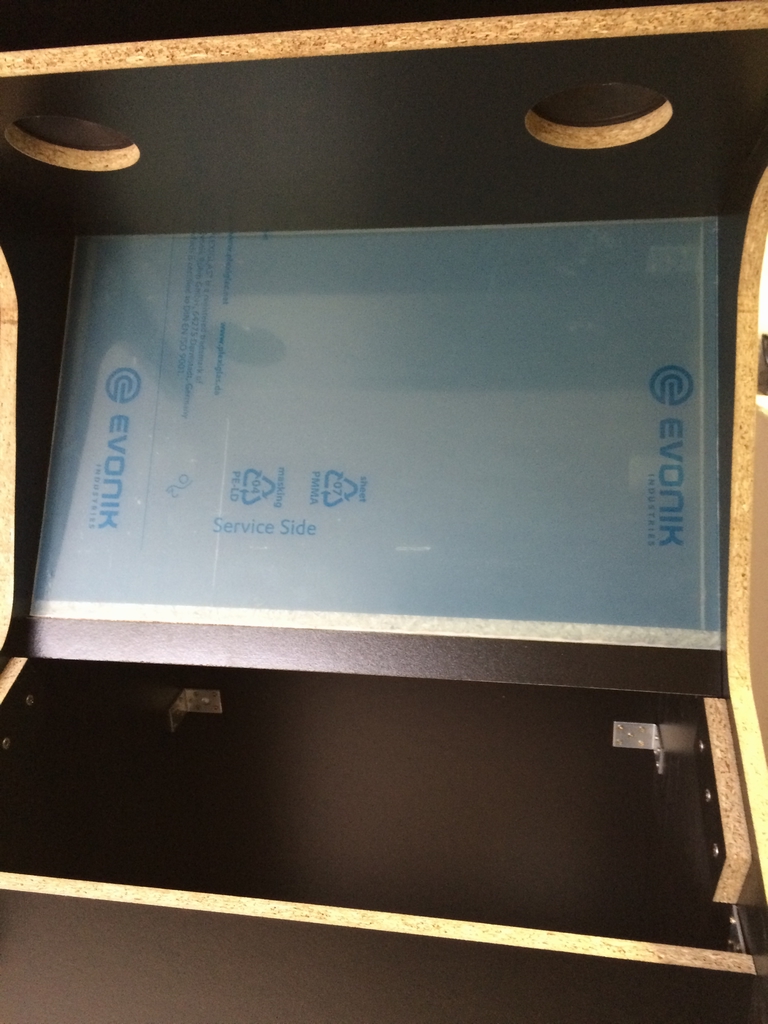
I wanted to install a 3 mm acrylic sheet in front of the LCD monitor. To do this, I cut a 10 mm wide and 8 mm deep groove into the bottom marquee board (the one with the loudspeakers). This way I was be able to push the acrylic sheet up and into the groove for a nice finish. The bottom of the acrylic sheet would rest on the wooden horizontal stabilizer which had also been cut a little.
The 24 inch LCD monitor was mounted using a simple VESA 100 bracket. The bracket was attached to a 20 cm (7.9 in) wide particleboard.
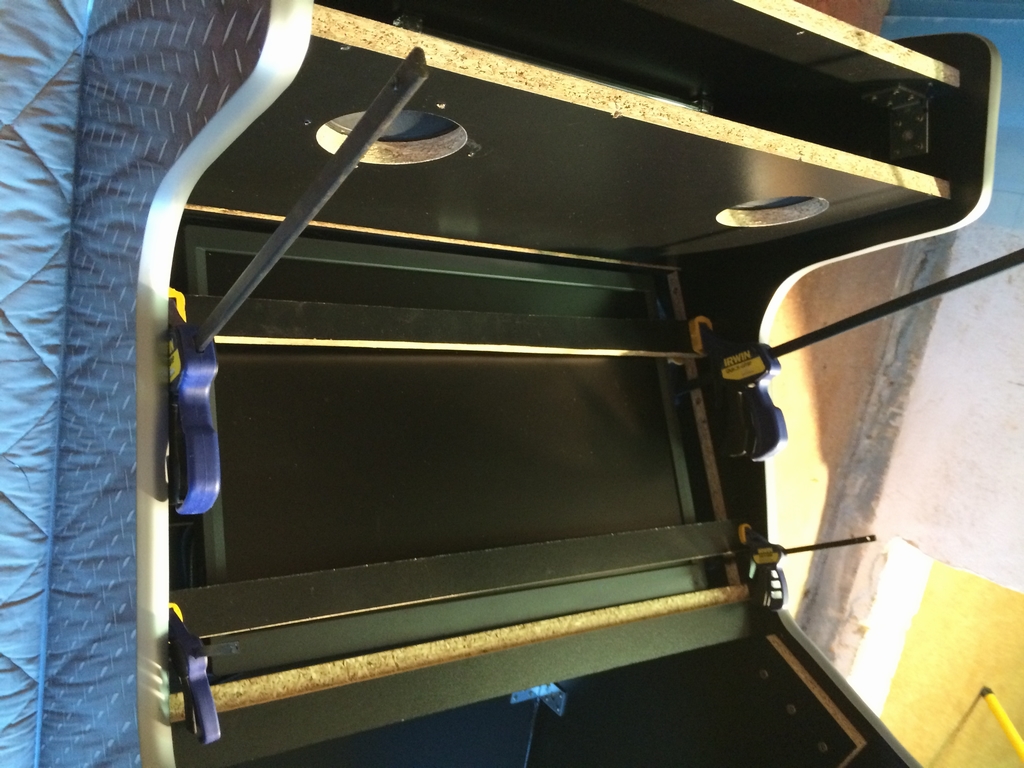
To ease the installation of the LCD screen, I used two pieces of wood and some clamps. This way the monitor could be pushed into place from behind and aligned with the cabinet – we want things to be leveled, right?
And finally the acrylic sheet was mounted in front of the LCD monitor.
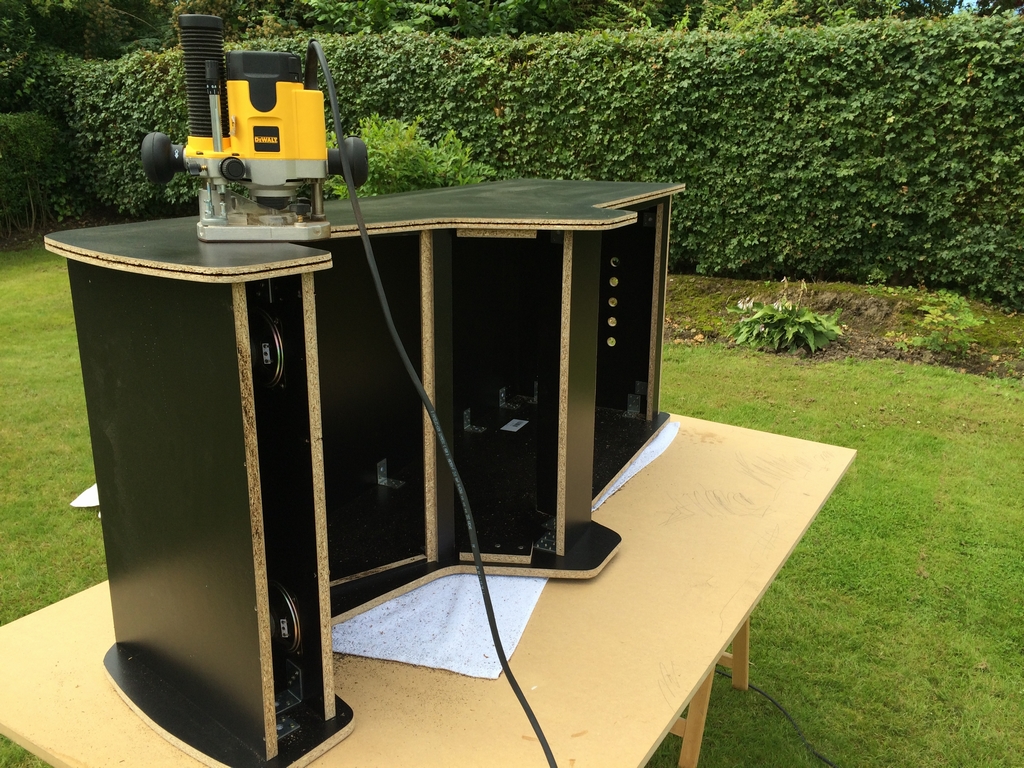
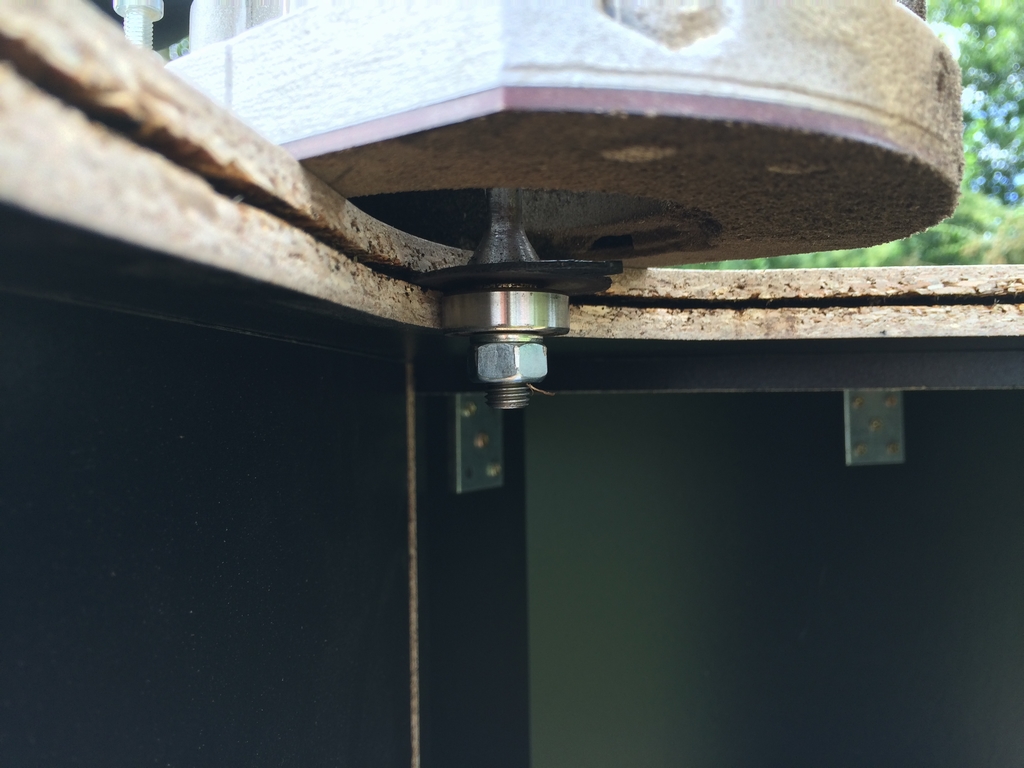
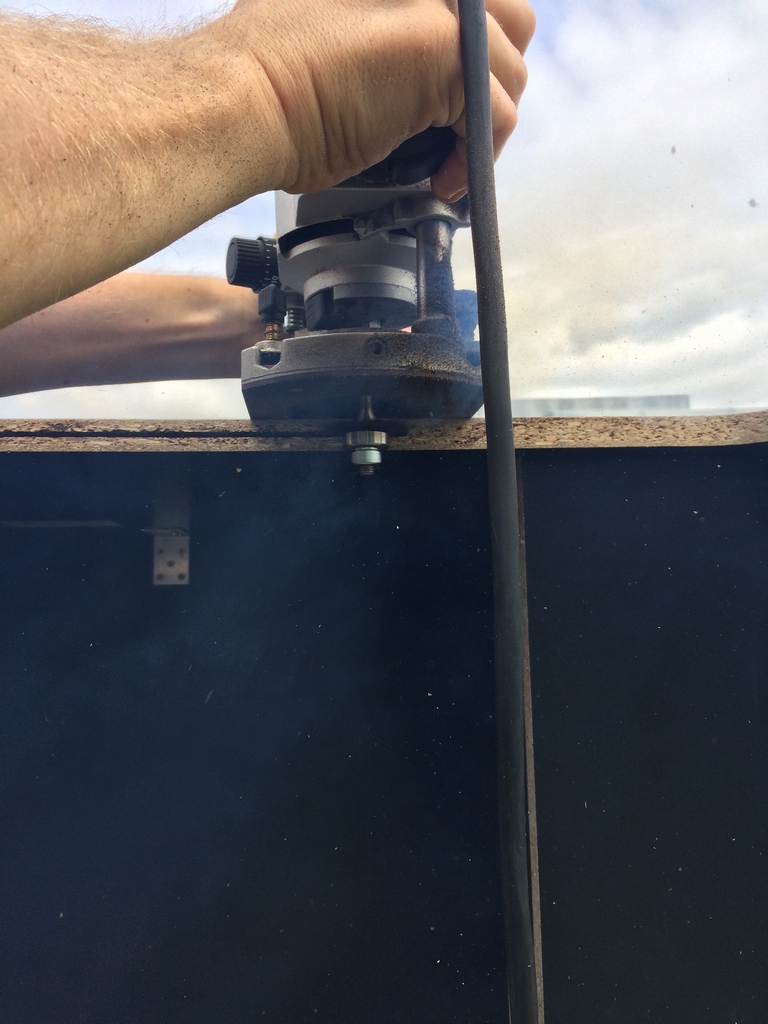
I then moved the cabinet back into the garden for cutting the T-mold slots with a router.
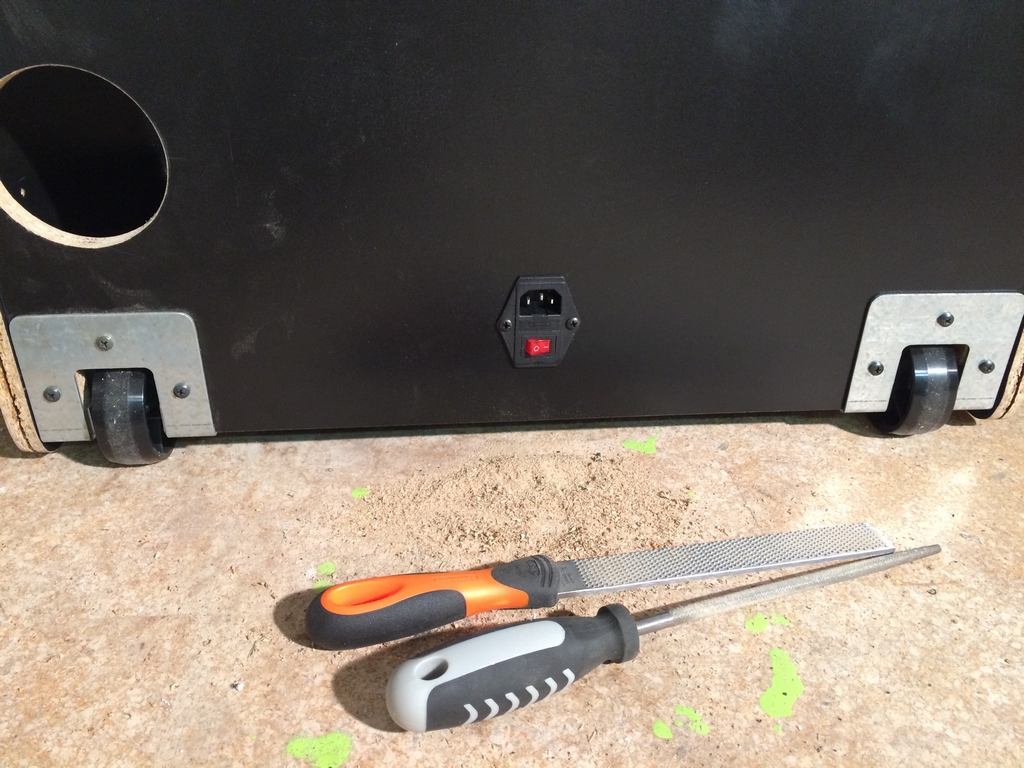
A couple of arcade wheel was mounted on the back of the cabinet. This way it can easily be moved around by just one person.
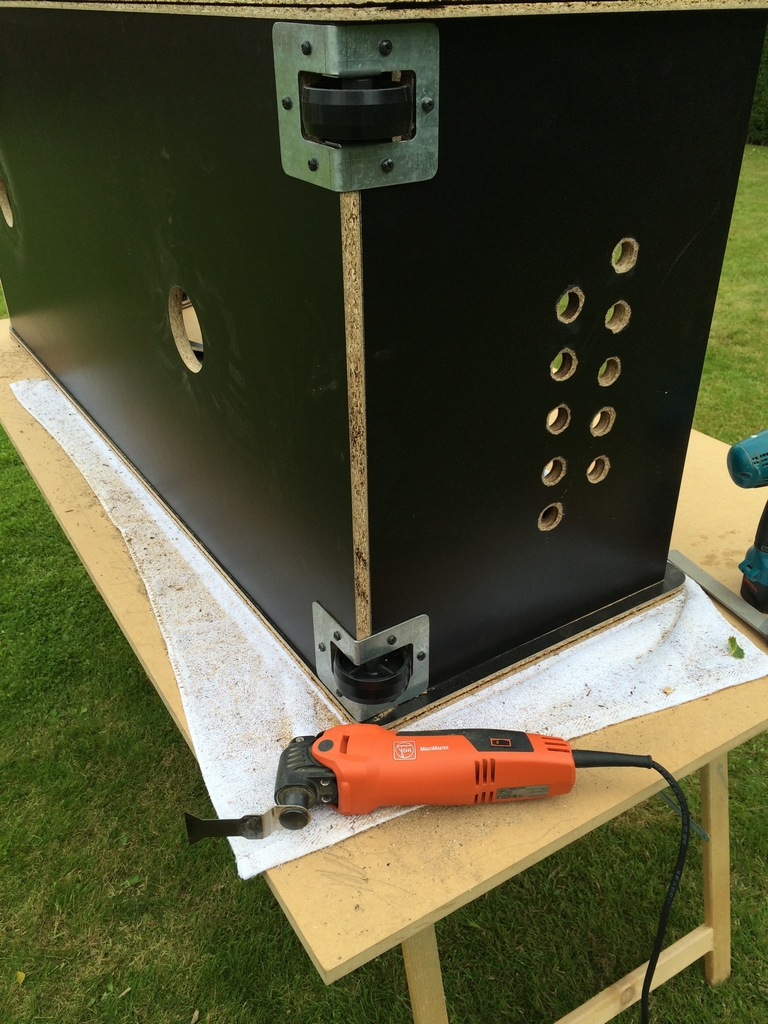
The power connection was placed at the back of the cabinet.
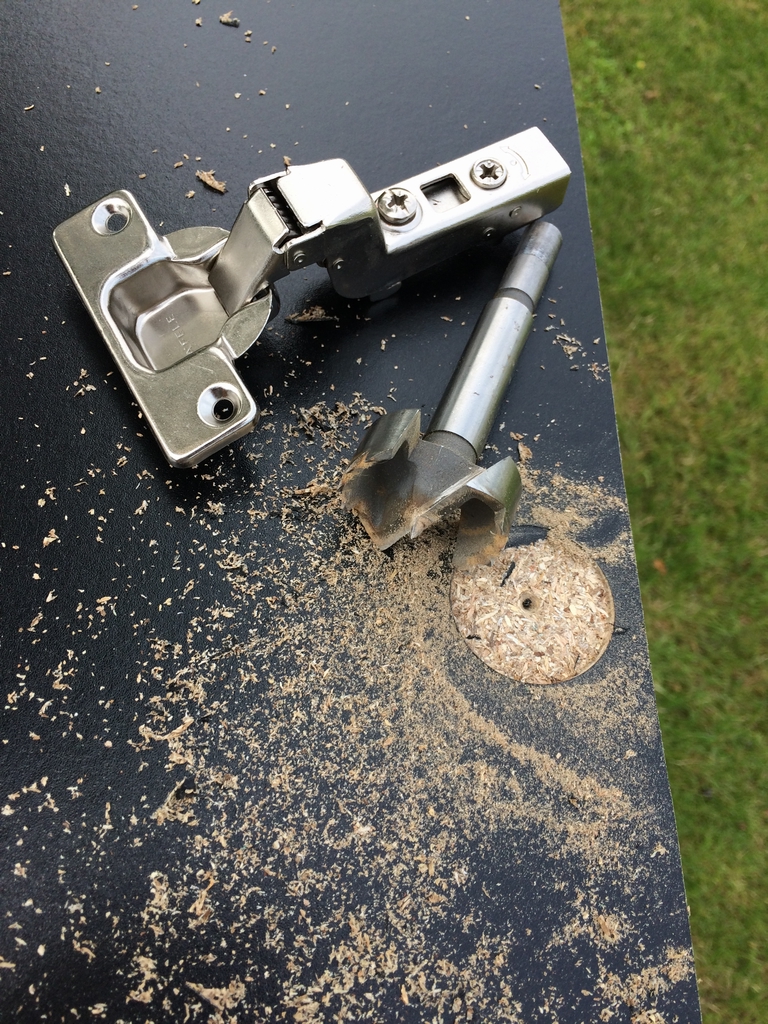
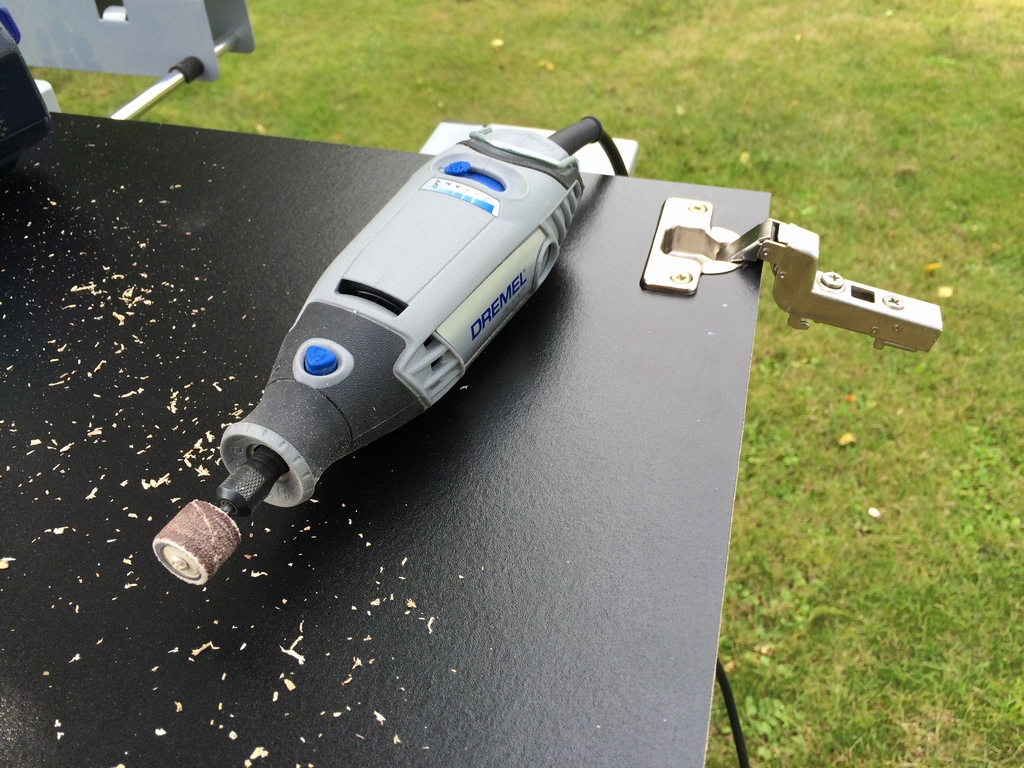
The hinges for the front door were installed using a Forstner drill bit and a Dremel.
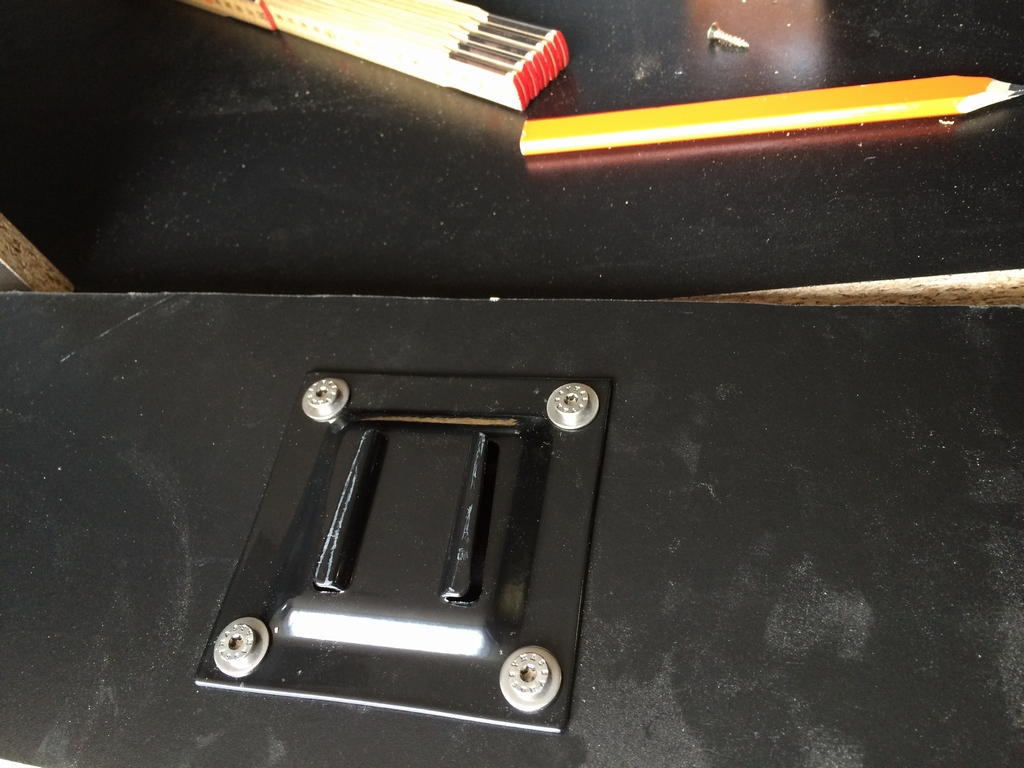
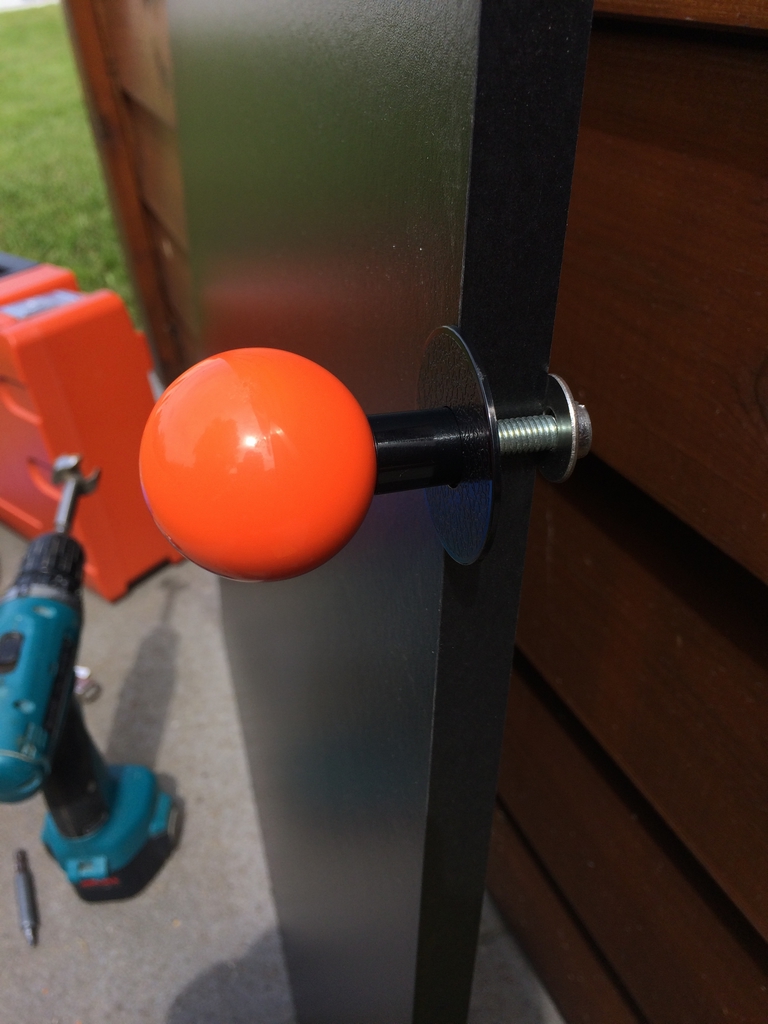
The kickplate door knob was made from an orange Sanwa balltop, a dustwasher and a shaftcover that was cut down in size.
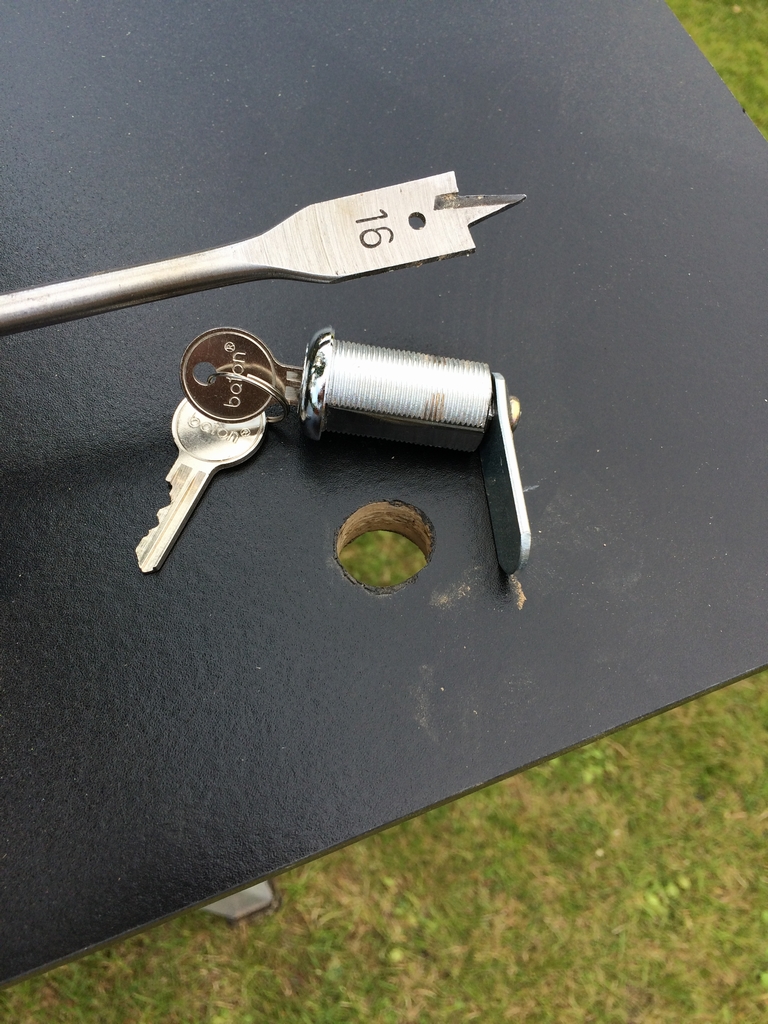
And finally a small lock was mounted into the front door.
f****ng beauty! I’m a serious gamer too, and I also build arcade cabinets (MAME) using old PC’s.
Thanks ricardo86 🙂 Glad you liked it.
Hello, where did you find that Metal Slug 3 marquee? It’s exactly what I need for my own project 😛 The website you linked to doesn’t have it in the list of marquees they sell.
It’s because rockstarprint just printed the marquee for me. The actual print can be found here (link). Good luck with your project!
Thank you very much. This is what mine looks like for now (link) but I like yours better 🙂
No problem and thanks 🙂
Do you have blueprints of all your woodwork?
Hi BaNZ, I don’t have any blueprints of the woodwork. I simply used my standard arcade machine (link) as a template and adjusted the shape to fit the larger control panel.