
Tired of waiting ages for your old floppies to load? One way to speed up transfer times between disk and the Commodore 64 is by substituting the standard CBM Kernal with an enhanced Disk Operating System. In this context, JiffyDOS was created by Mark Fellows in 1985 and provides greater data transfer speeds and advanced shortcut commands (DOS Wedge commands) than on stock systems. In order for JiffyDOS to work, both the external disk drive and the Commodore 64 motherboard must have their Kernals updated. A tutorial on how to do it on an original Commodore 1541 Diskette drive can be found here (link). More modern diskette hardware, like the SD2IEC (link) and the more expensive 1541 Ulimate II (link), also support JiffyDOS. SD2IEC supports JiffyDOS natively while the 1541U2 needs the Kernal file to be added to the startup process.
Updating the Kernal on a C64 motherboard can be done in numerous ways. On the original motherboards I usually apply a switchless version (link, link) so I don’t have to drill holes in my precious cases. Pressing the RESTORE button during power up will boot the system into JiffyDOS. If nothing is pressed during power up, the machine boots into the standard CBM Kernal. Nice and neat!
On the first C64 Reloaded boards (link, link) the switchless functionality was already added by Individual Computers. The Kernal software can simply be added to an EPROM and installed in a socket on the motherboard. A tutorial on how to that can be found here (link). However, on the latest version of the motherboard, the C64 Reloaded MK2 (link), the modification is a little different. I have therefore made this little tutorial on how to add JiffyDOS to the C64R MK2.
Connecting the C64R MK2
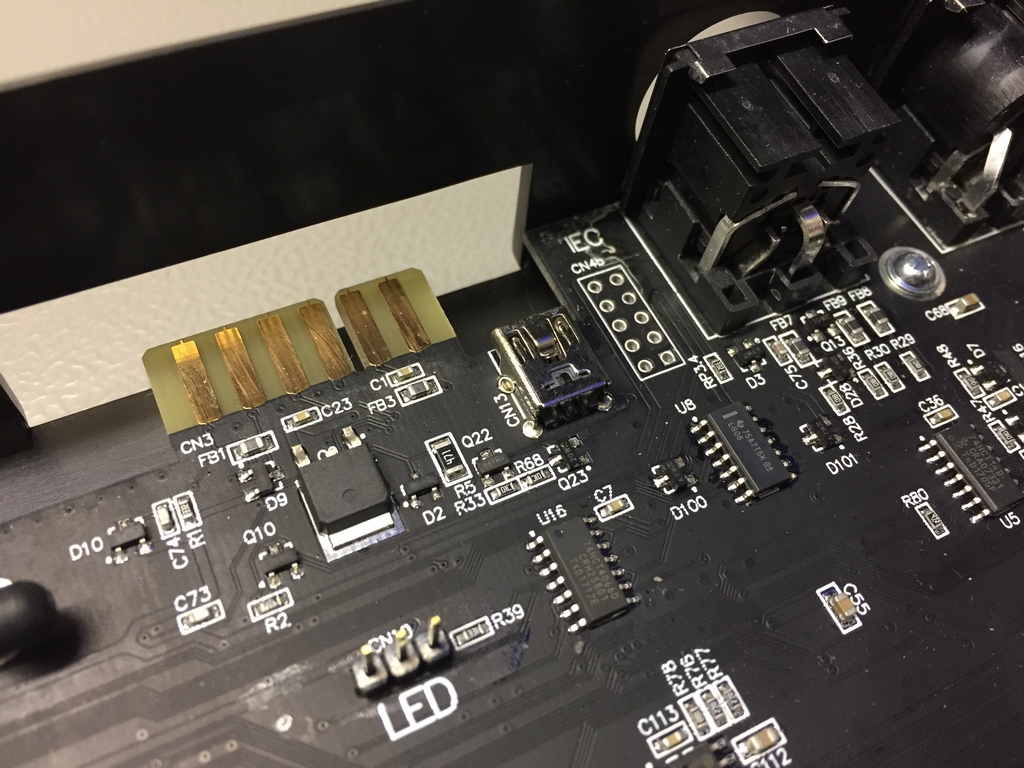
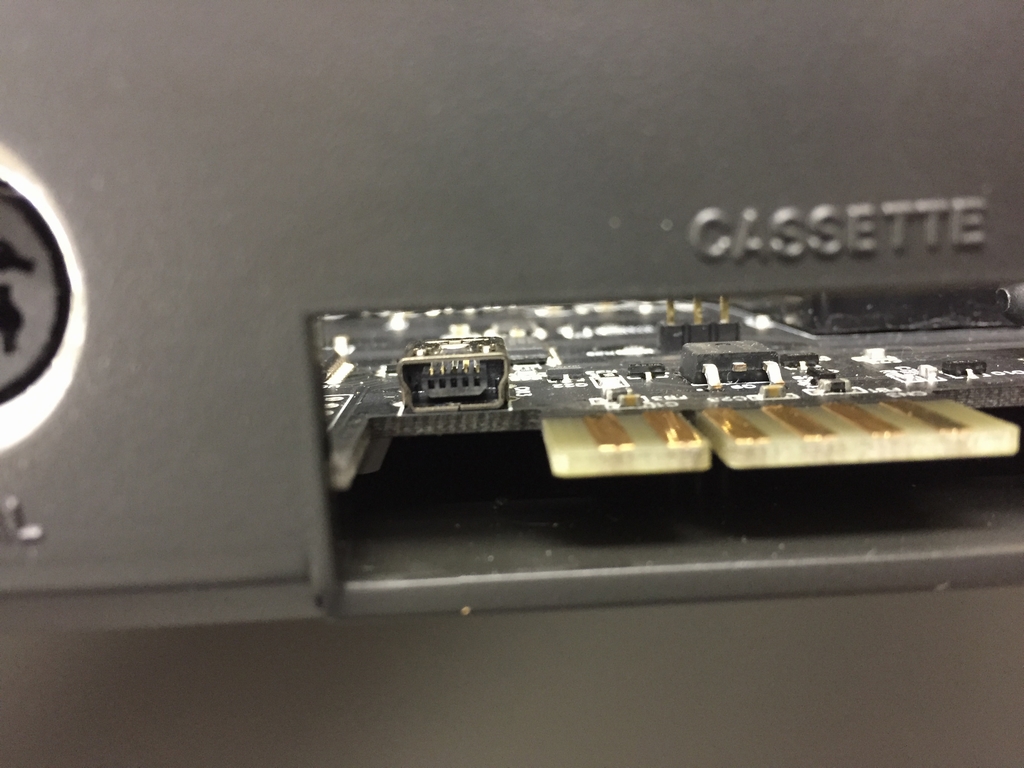
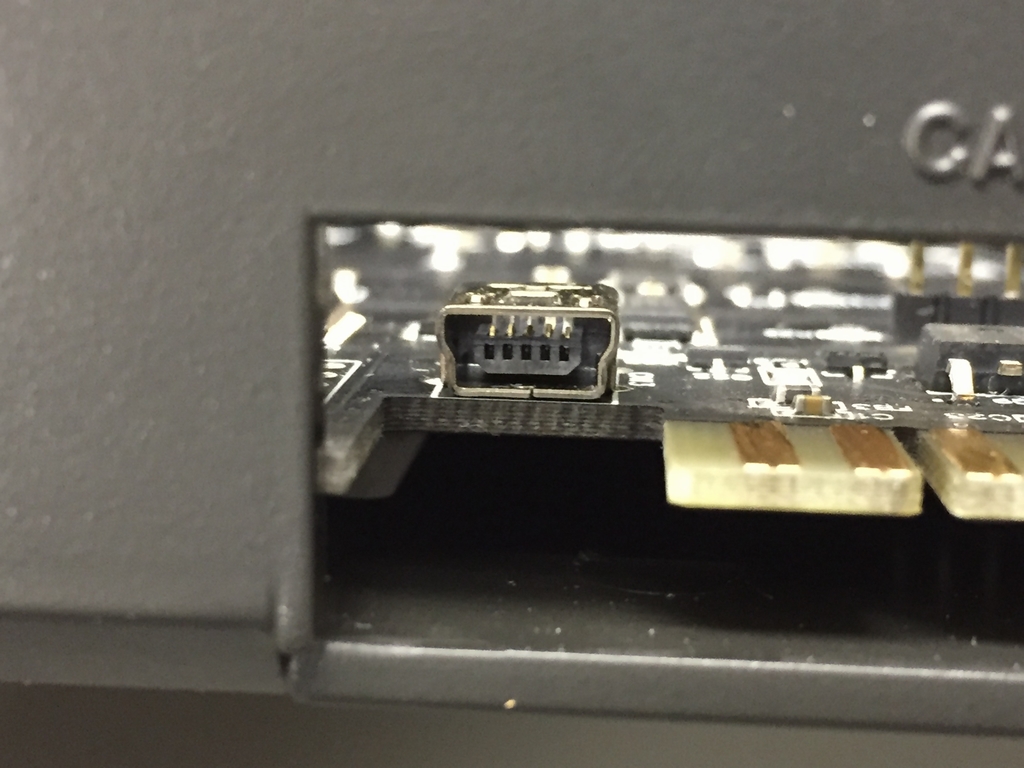
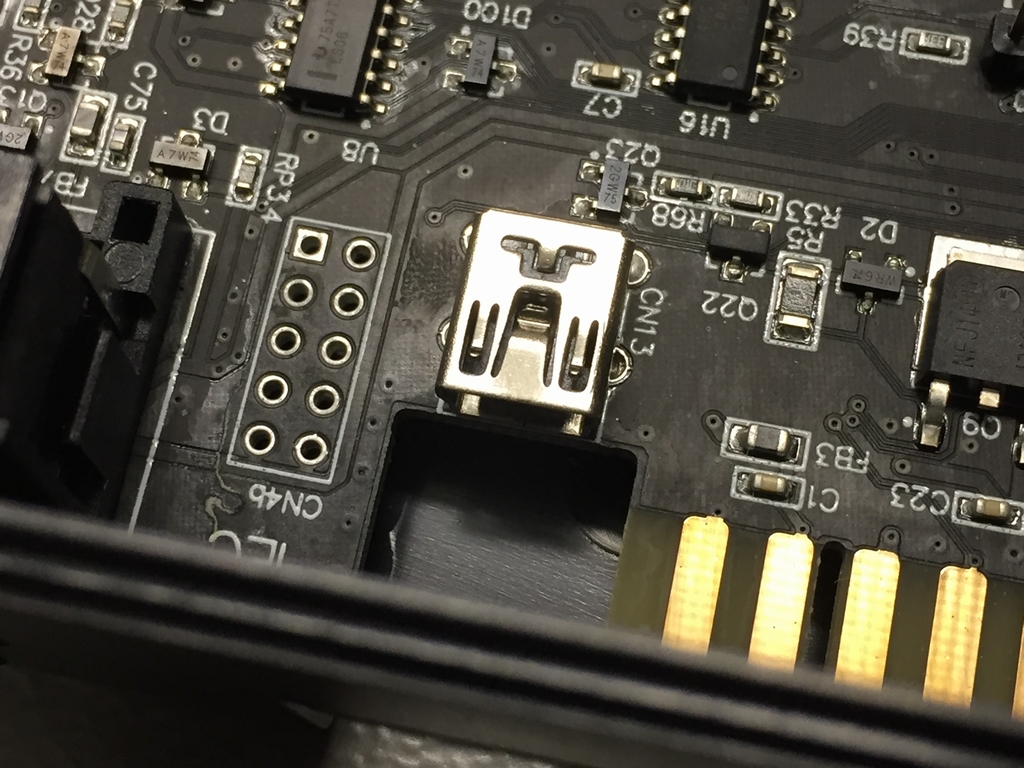
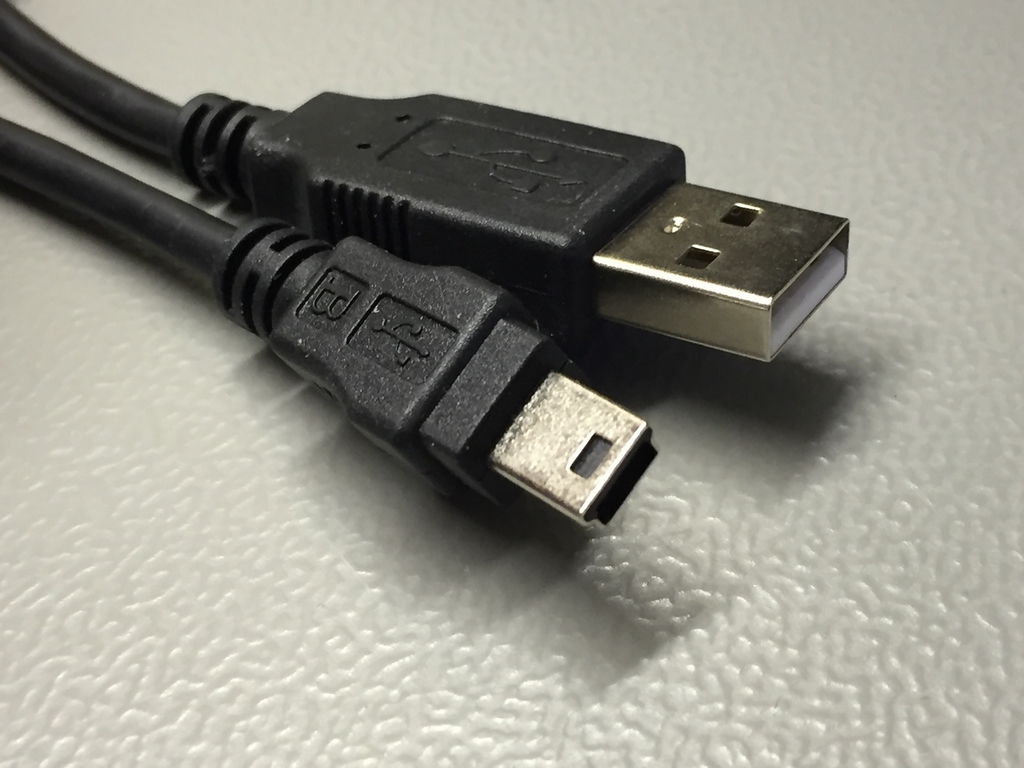
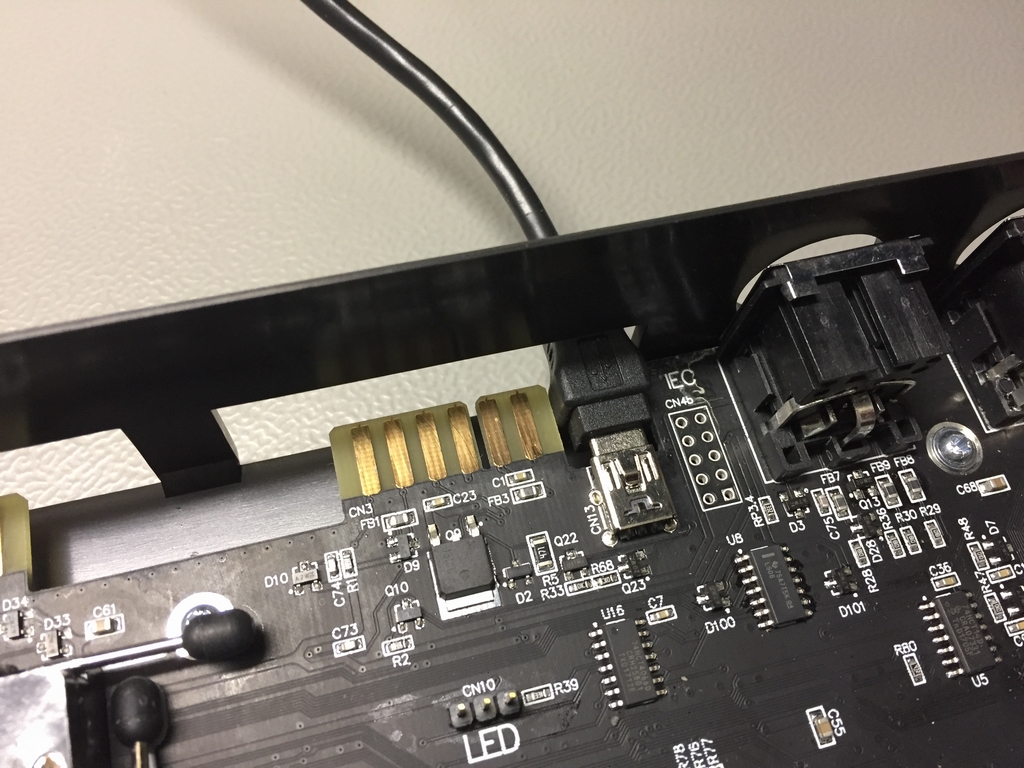
Instead of having to deal with old EPROMs and ourdated burner software, up to three Kernals (and one character set) can simply be added to the hardware using an USB cable and some terminal software. The USB socket on the C64 Reloaded MK2 board is located next to the cassette port so it can be reached without having to take the case apart.
The Terminal Program
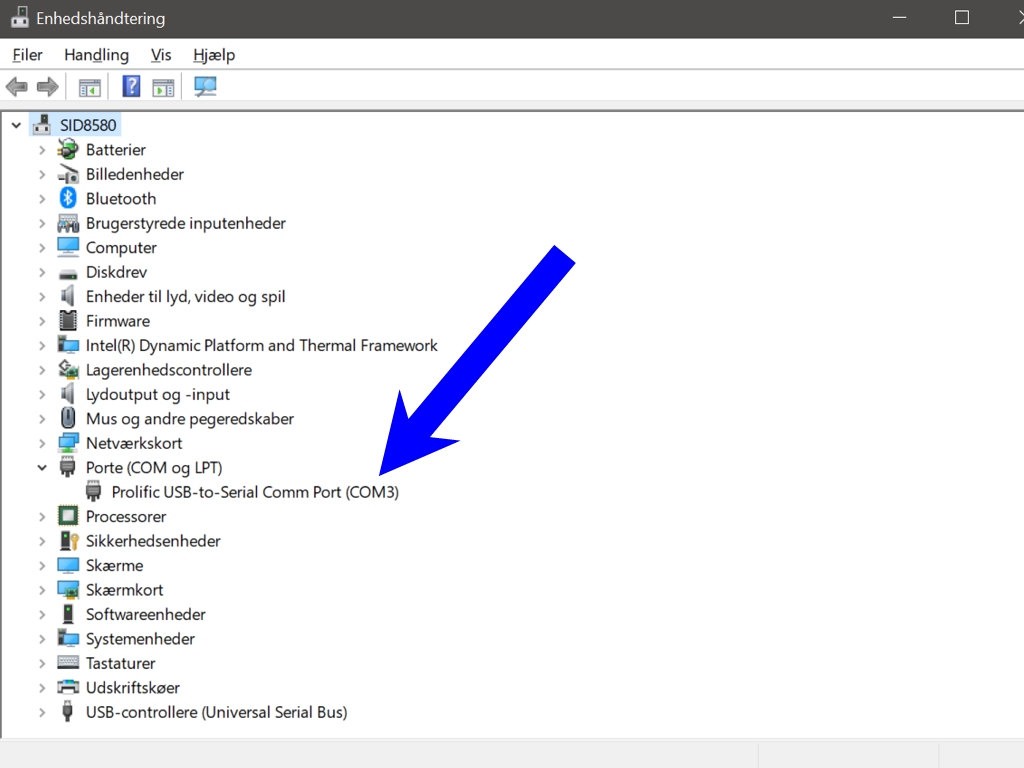
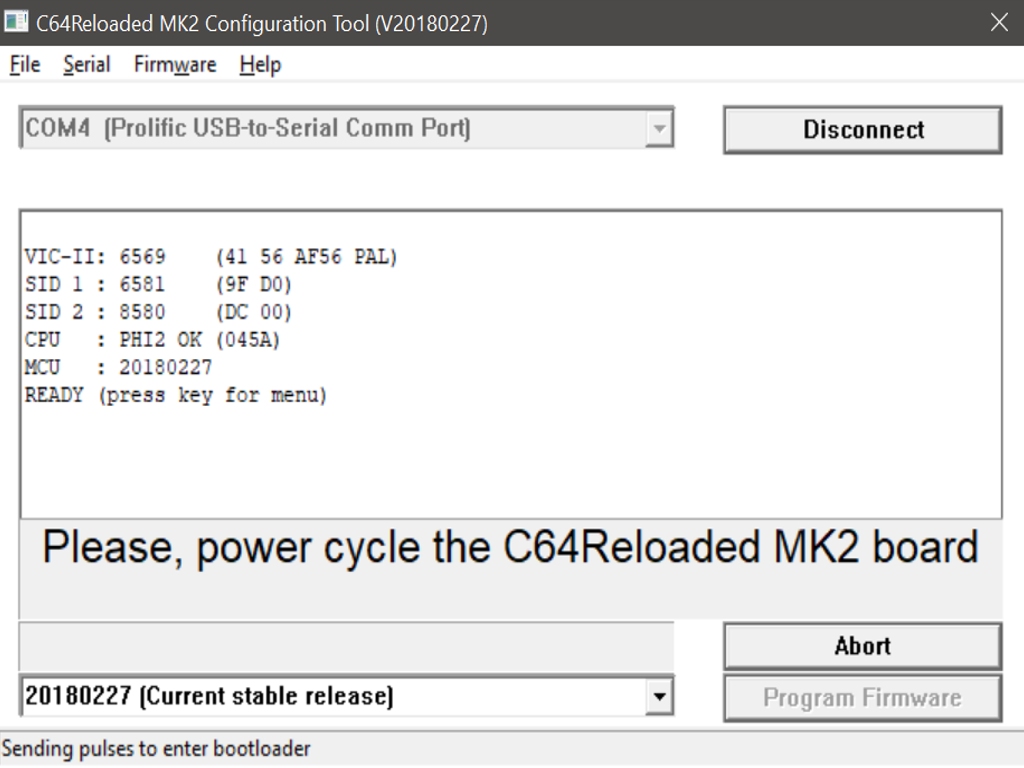
After plugging in a suitable cable to my Windows 10 64 bit machine, the motherboard was automatically installed as a ‘Profilic USB-to-Serial Comm Port’. In the Windows Device Manager the COM port used can easily be found. This information is needed for making the connection to the motherboard. In my case the motherboard was installed at COM3.
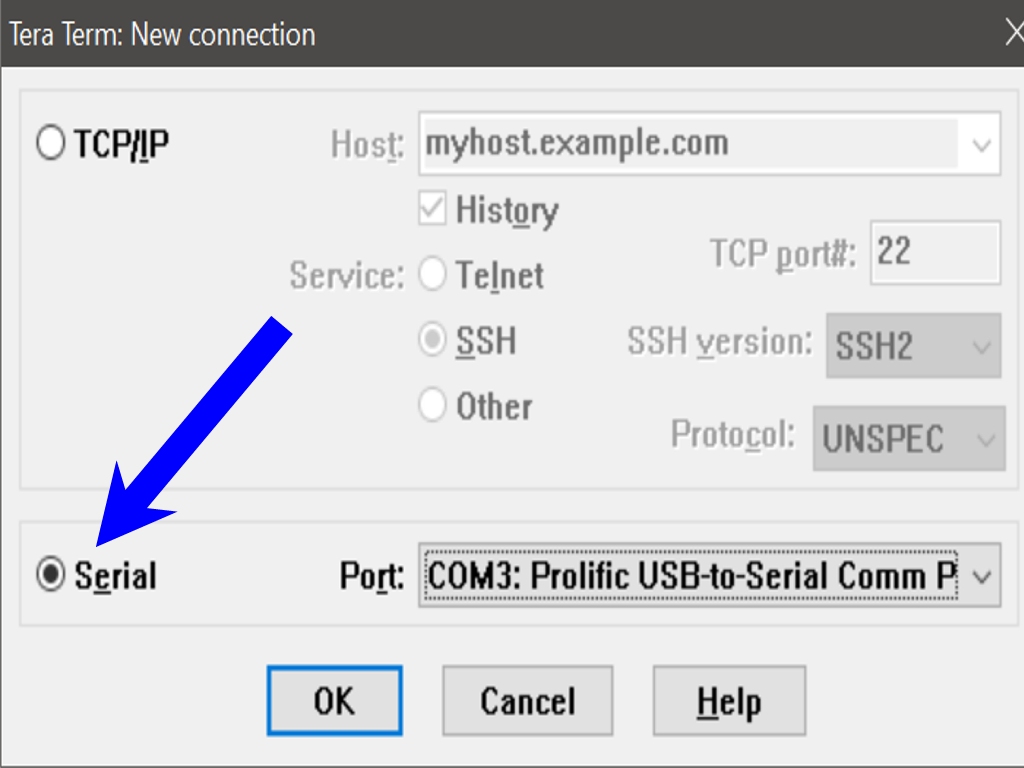
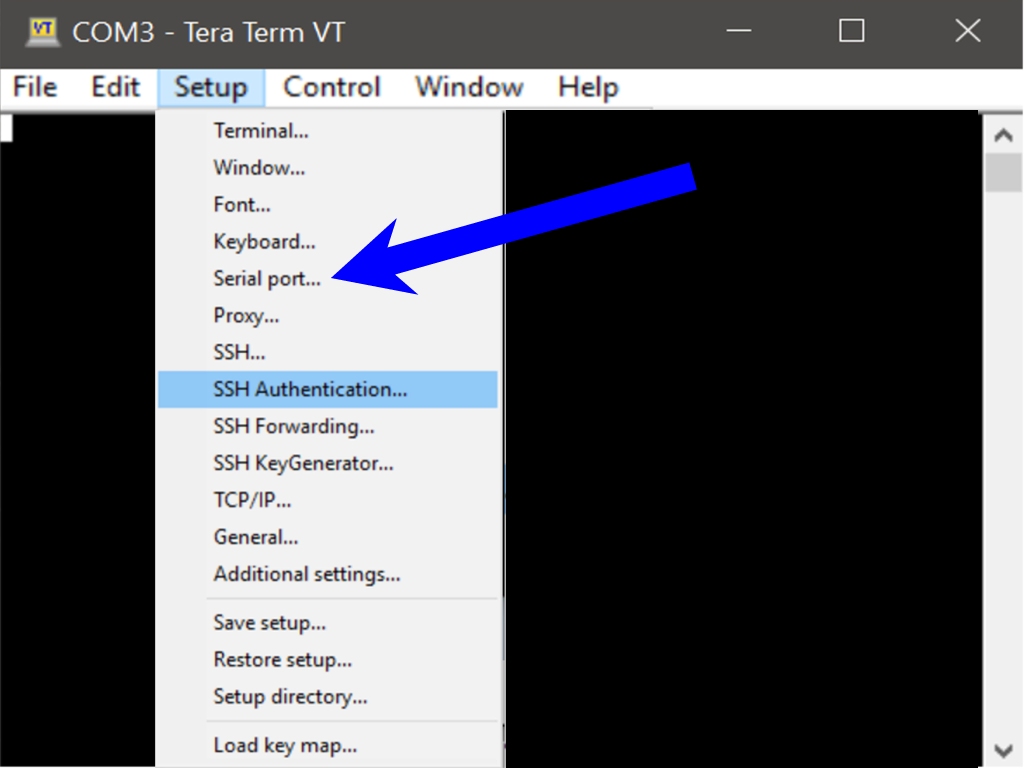
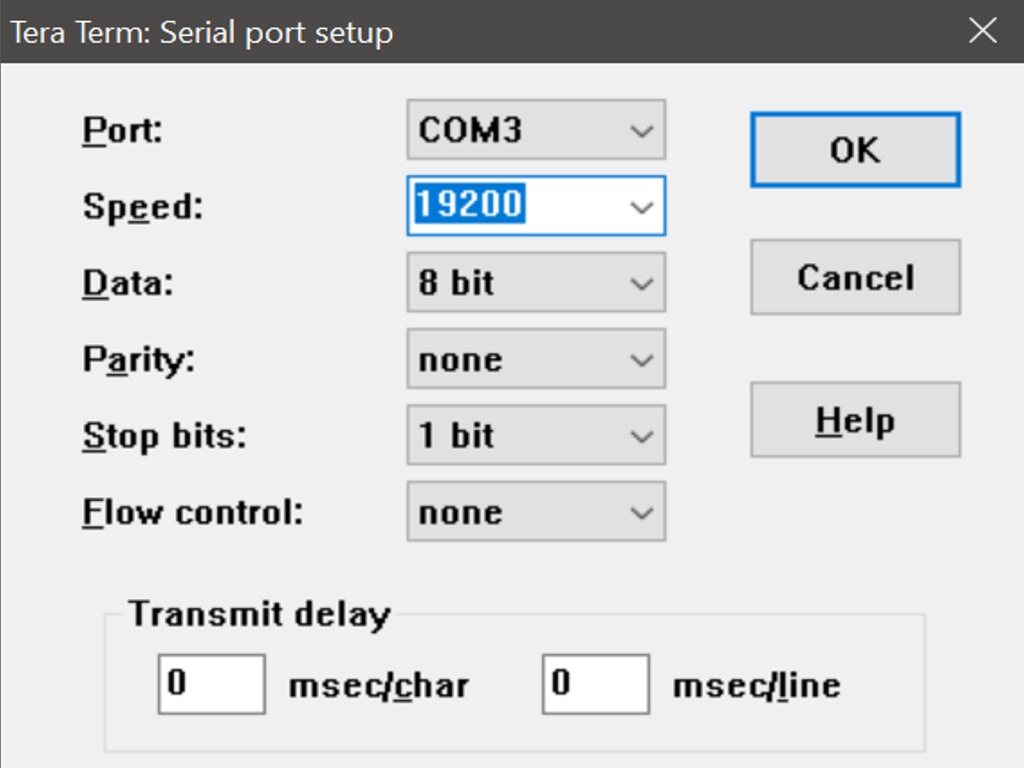
Next up was installing a terminal program. I used the free Tera Term terminal program which is also recommended by Individual Computers. After the installation, I ran the software and chose the Serial connection option on COM3. Next up was setting up the port via Setup->Serial port and set the speed to 19200 baud. And that was it. The software was now simply waiting for the external connection…
JiffyDOS Kernal Modding
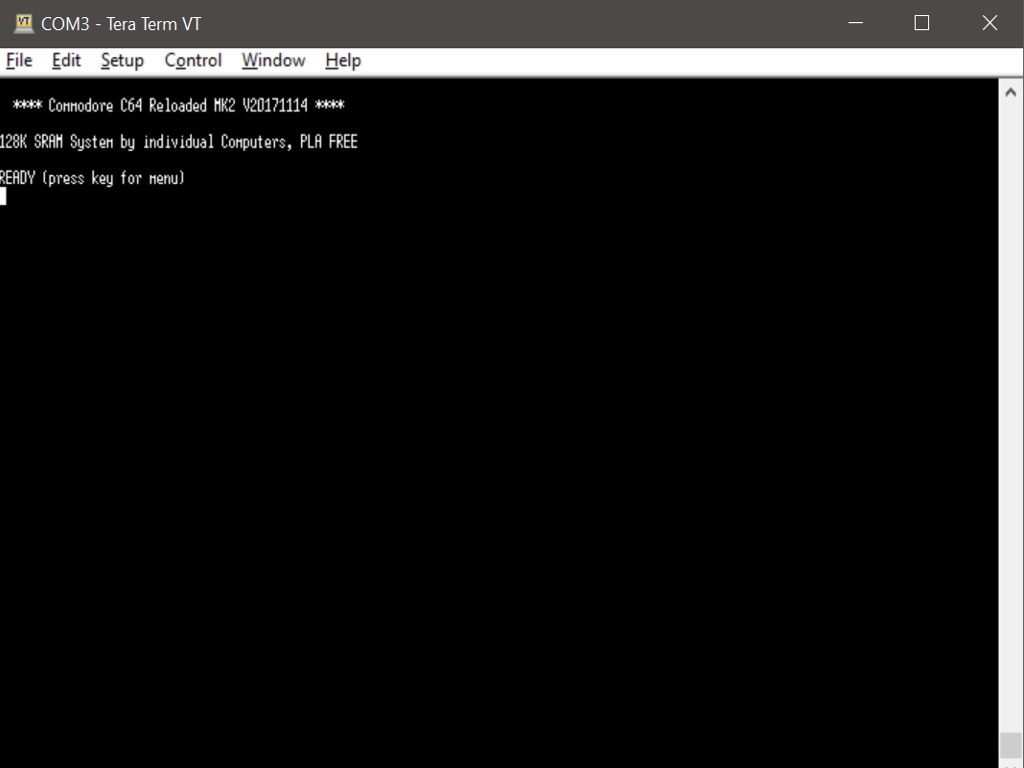
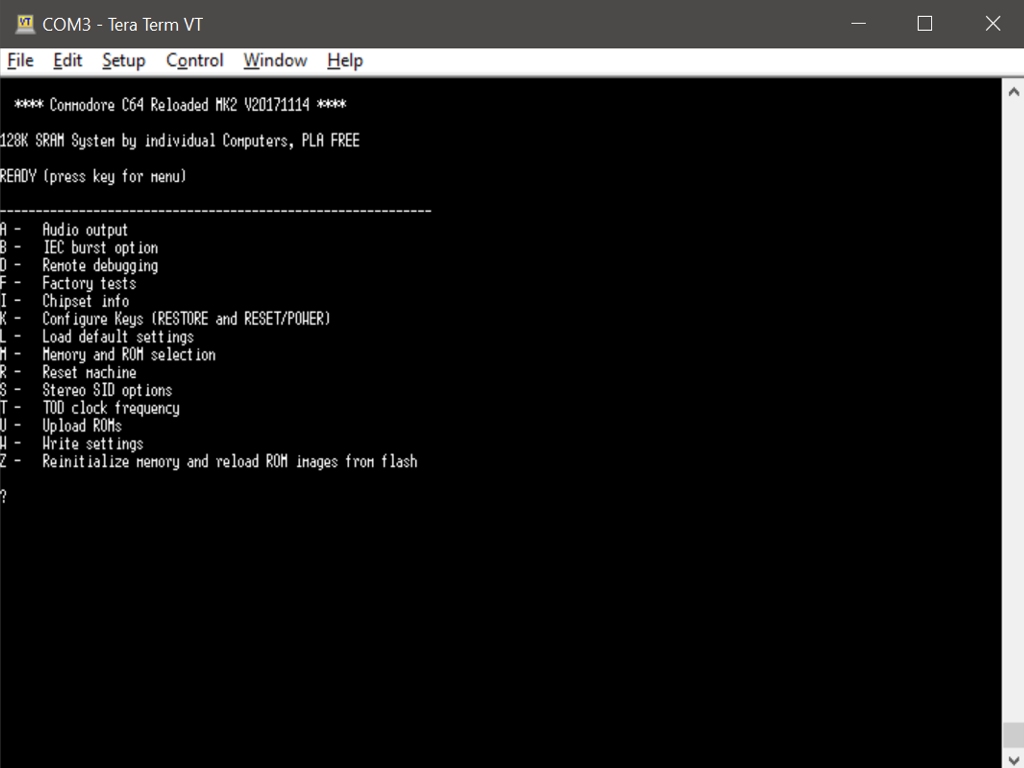
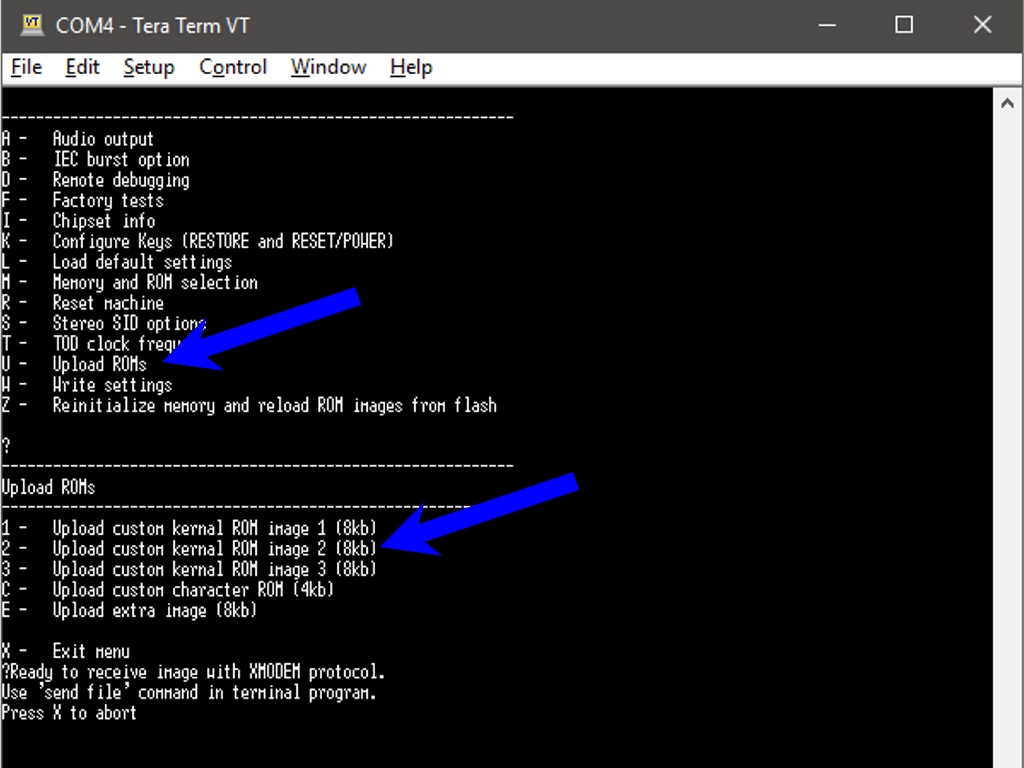
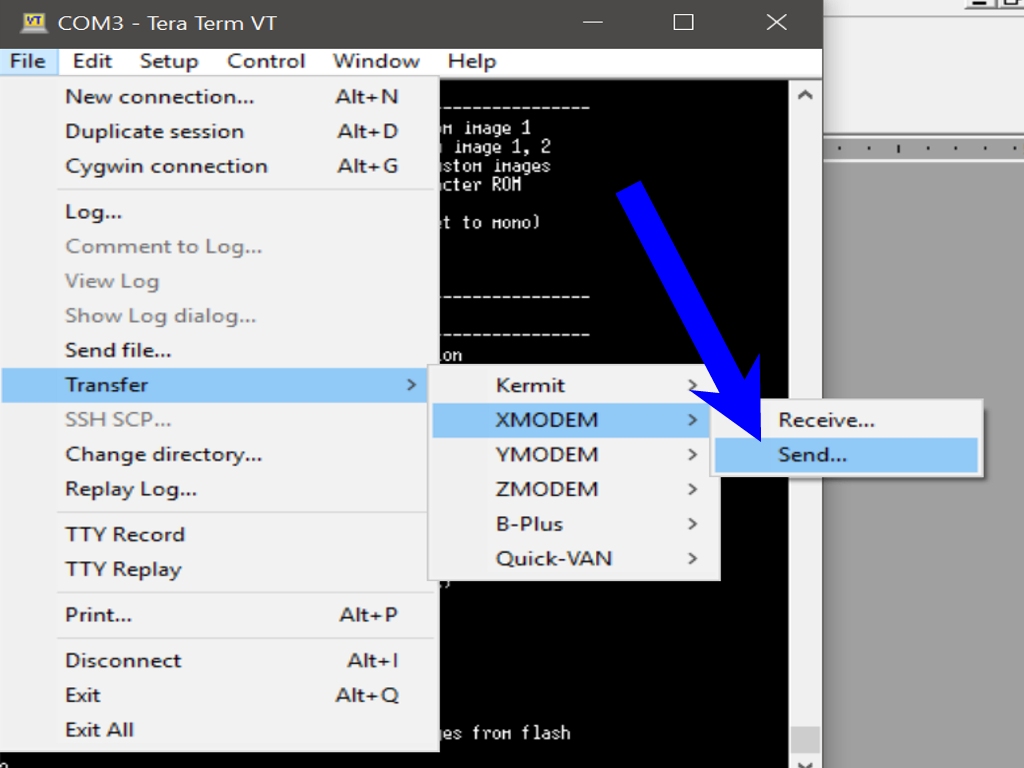
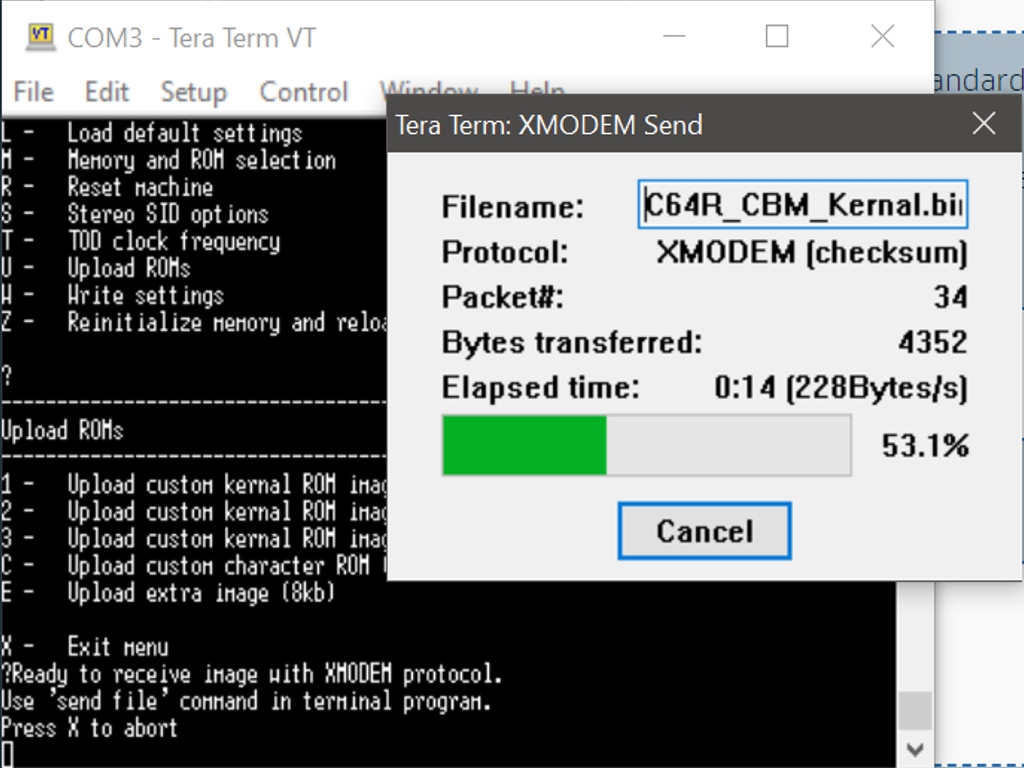
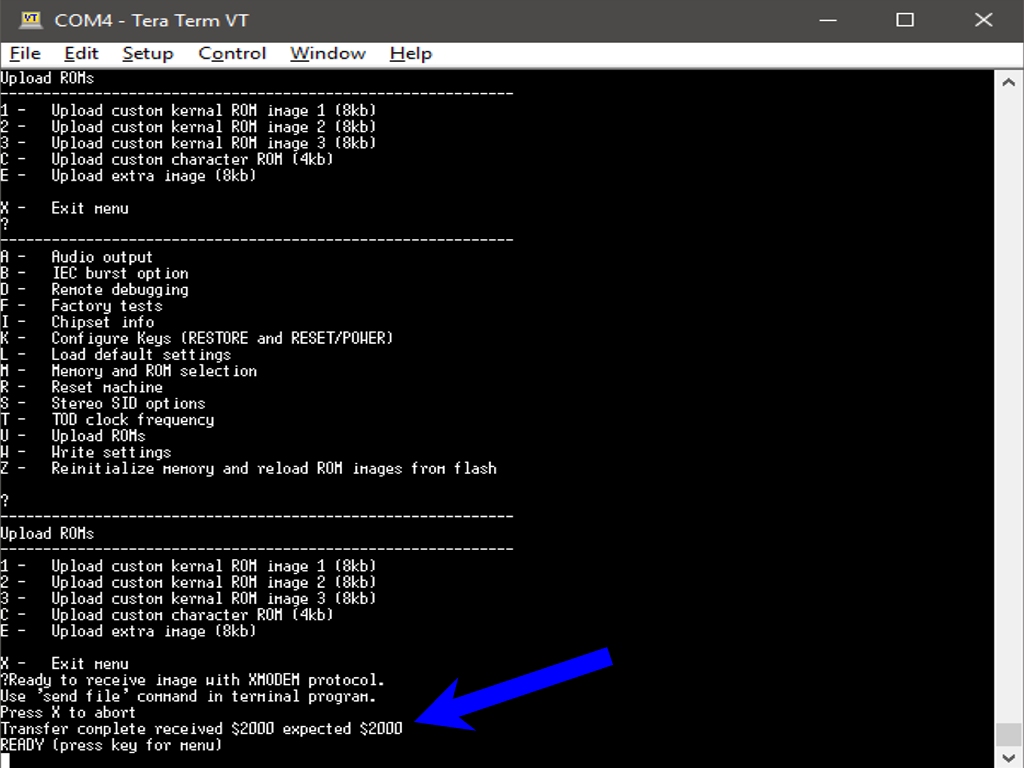
…which was automatically established as soon as the motherboard was powered on. After pressing ‘any key’, the main remote control menu was shown. I had already prepared the two Kernals that I wanted the machine to use – the standard CBM Kernal with minor changes (screen color and text) and JiffyDOS also with minor changes (screen color and text). A tutorial on how to modify the Kernals can be found here (link). I therefore went straight on to uploading the Kernals by pressing ‘U’ to enter the Upload ROMs menu. Pressing ‘2’ allowed me to upload the slightly modified CBM Kernal to Kernal ROM slot #2. This was done by selecting File->Transfer->XMODEM->Send… and then select the Kernal ROM image. After about 10-15 seconds the Kernal ROM was uploaded. As everything went well, pressing any key brought me back to the Upload ROMs menu. I then uploaded the slightly modifed JiffyDOS Kernal ROM to Kernal ROM slot #1 by redoing everything.
Before the new ROM’s can be used, they must be loaded into RAM. This can be done by either pressing ‘Z’ in the main menu or power-cycle the C64R MK2.
It it very important that the size of the 8k images is exactly 8192 bytes (and the size of 4k images is exactly 4096 byte). Otherwise it will not work!
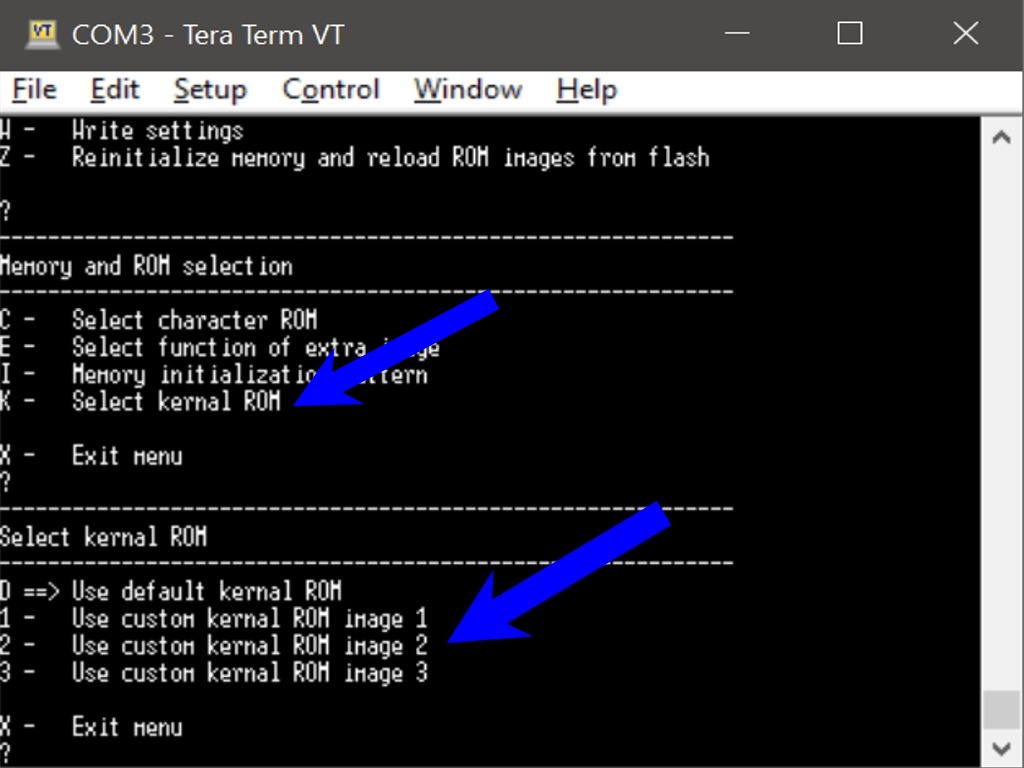
It was then time to tell the system what default Kernal ROM to use. If this step isn’t done, the default CBM Kernal with the blue screen will be used when powering on the machine. Changing the default Kernal ROM can be done by pressing ‘M’ which opens the Memory and ROM selection menu. Then I pressed ‘K’ to Select Kernal ROM. I chose option ‘2’ (Use custom kernal ROM image 2) which is were I uploaded the slightly modified CBM Kernal. Pressing ‘X’ twice would bring me back to the Main menu.
Loading JiffyDOS
Switching between Kernals is done by by flicking the power button upwards beyond the usual power On function of the switch. The configuration is done by the ‘K’ menu Configure Keys (RESTORE and RESET/POWER). In the submenu I chose ‘L’ to Configure long press RESET/POWER function. The default function is to reset the machine, so I chose ‘2’ which will toggle between the default Kernal (my modified CBM Kernal), JiffyDOS Kernal and the default CBM Kernal.
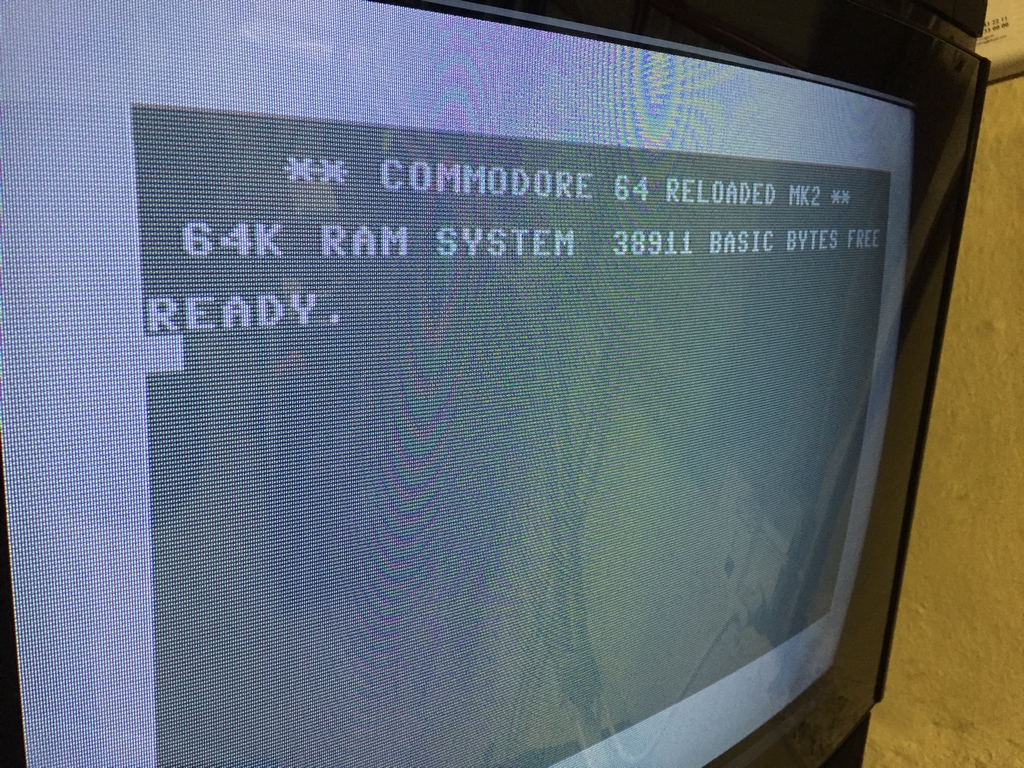
To save all my efforts to the C64R MK2 motherboard, I finished off by pressing ‘W’ to Write setting. And here is the results of my little JiffyDOS Reloaded MK2 mod.

Testing Everything
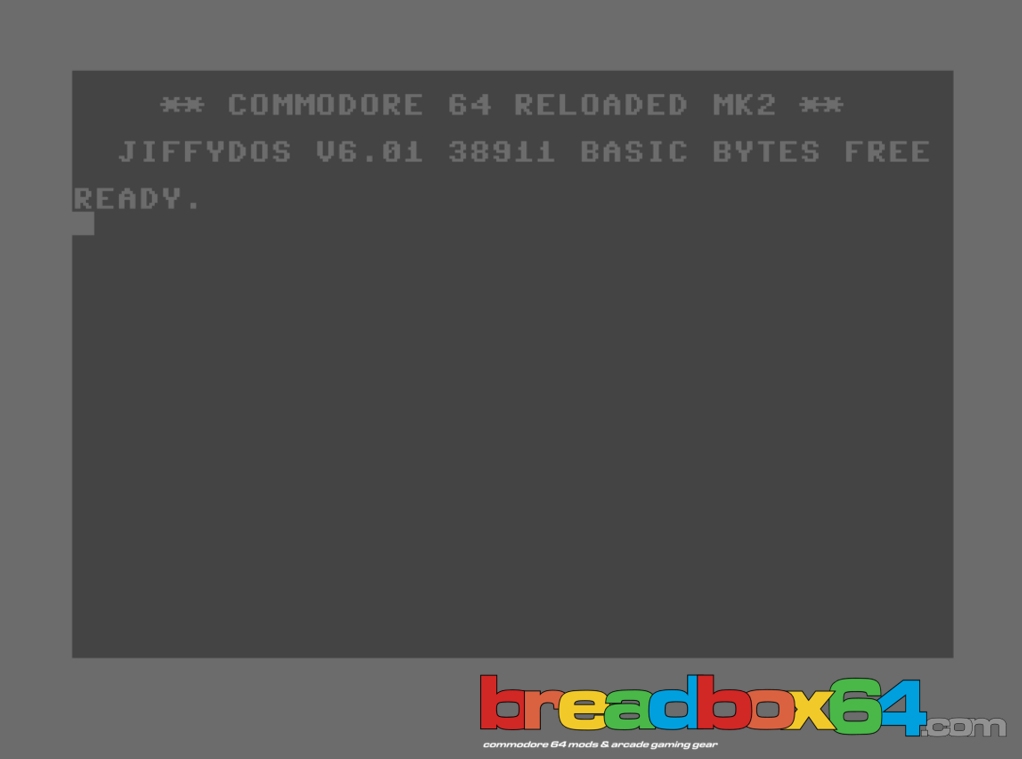
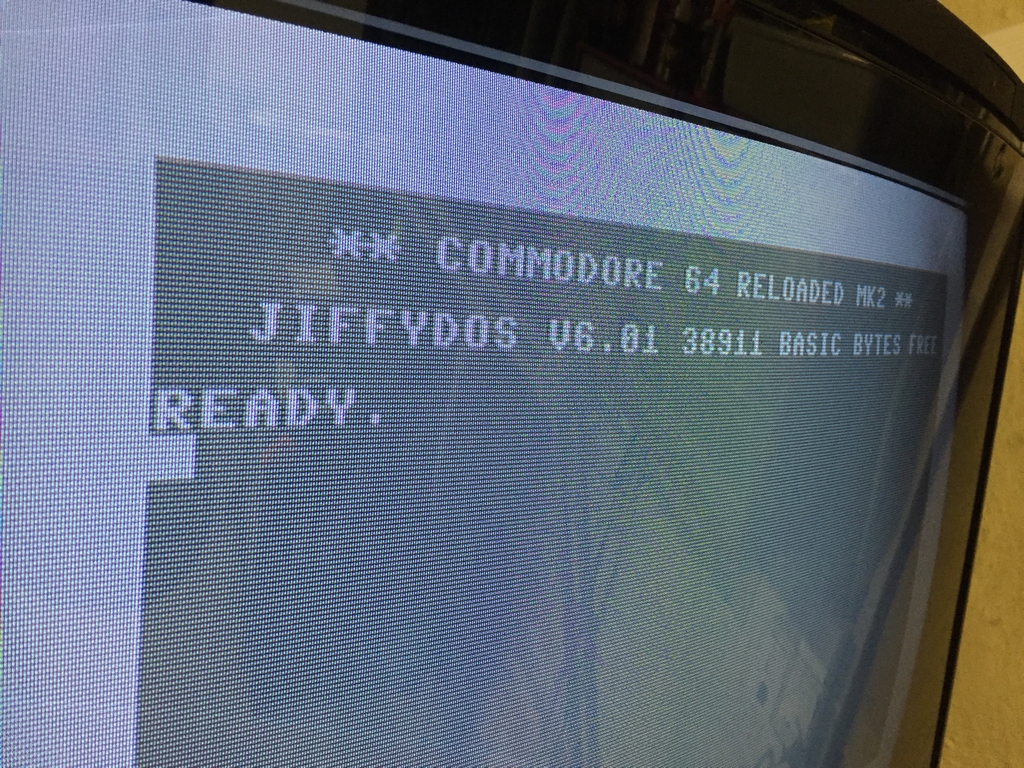
Turning on the machine now greets me with the standard slightly modified CBM Kernal with grey colors. Flicking the Reset switch upwards for about 1-2 seconds, releasing it and then flicking it upwards again for less than 0.5 seconds will load JiffyDOS. Doing it again will load the default CBM Kernal with the blue screen (see below for troubleshooting). Continuing doing the above will cycle through the Kernals.
Activating the Reset switch for less than a second will simply reset the machine and load the current Kernal. Nice!
Troubleshooting
Blank Start-Up Screen
During my testing I somehow managed to currupt the default CBM Kernal as well as all other Kernals… dooh!! Regardless of what I did within the limits of the menu system, the startup screens would be blank with no characters showing. To overcome this, I installed the Commodore 64 Reloaded MK2 configuration and update tool which can be found here (link). The tool is currently in Alpha stage so you have hereby been warned! After updating the firmware to the latest stable version, the CBM Kernal was back and I could upload my own Kernals again.
The Blue BASIC Screen is Mandatory!
I really wanted to get rid of the blue CBM Kernal screen! All I wanted was to apply my own modded CBM Kernal with the grey colors and JiffyDOS. However, this doesn’t seem to be possible. Regardless of how hard I tried, I would always at some point get the blue Basic screen. I found the best compromise to be what is described above. This way the machine boots into my grey colored CBM Kernal and then into JiffyDOS afterwards using the above Kernal switch procedure. Hereafter I only use the reset function of the switch so I don’t cycle through the different Kernals. So on a practical level, this is really no biggie for me 🙂
© breadbox64.com 2018