

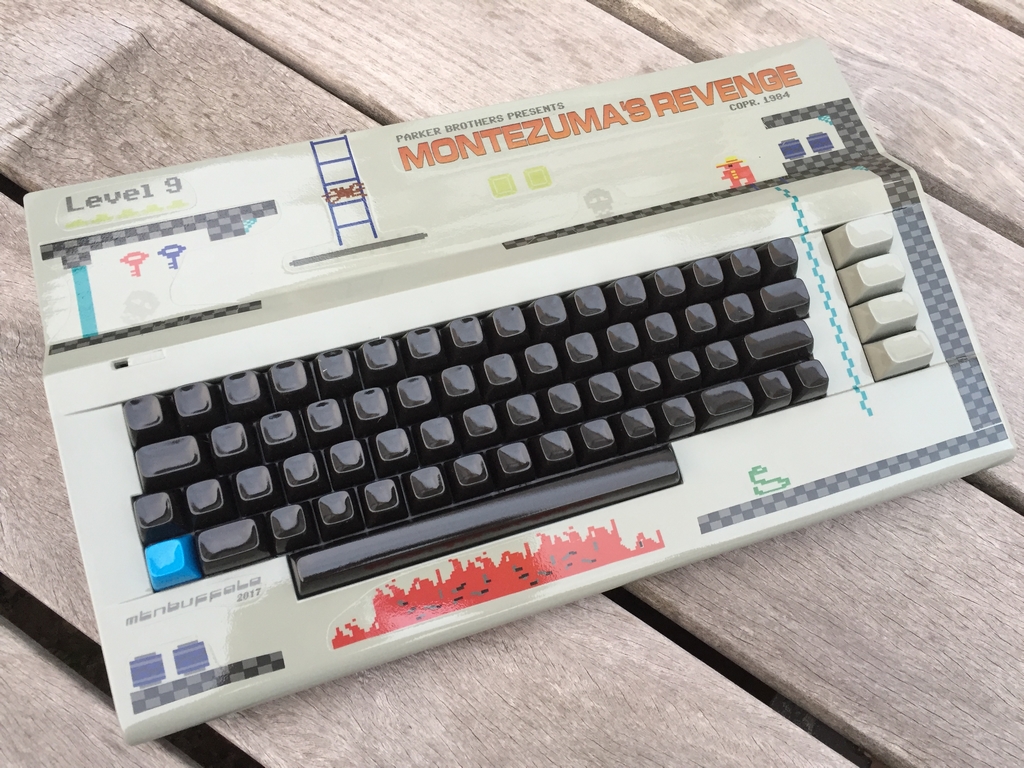
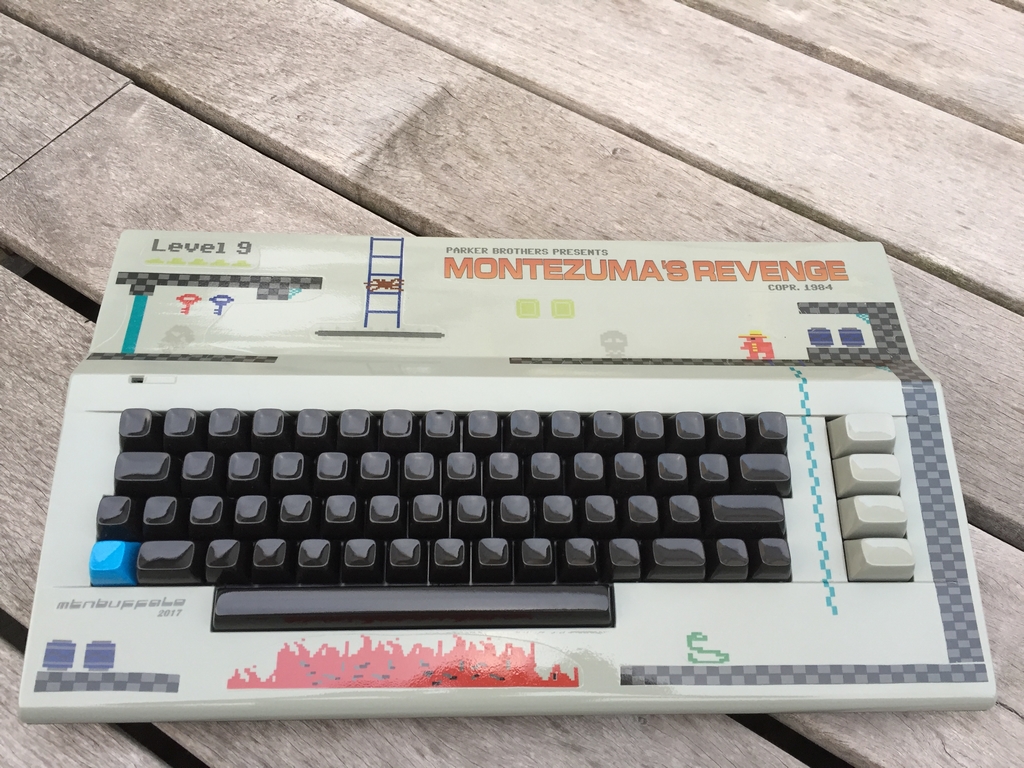
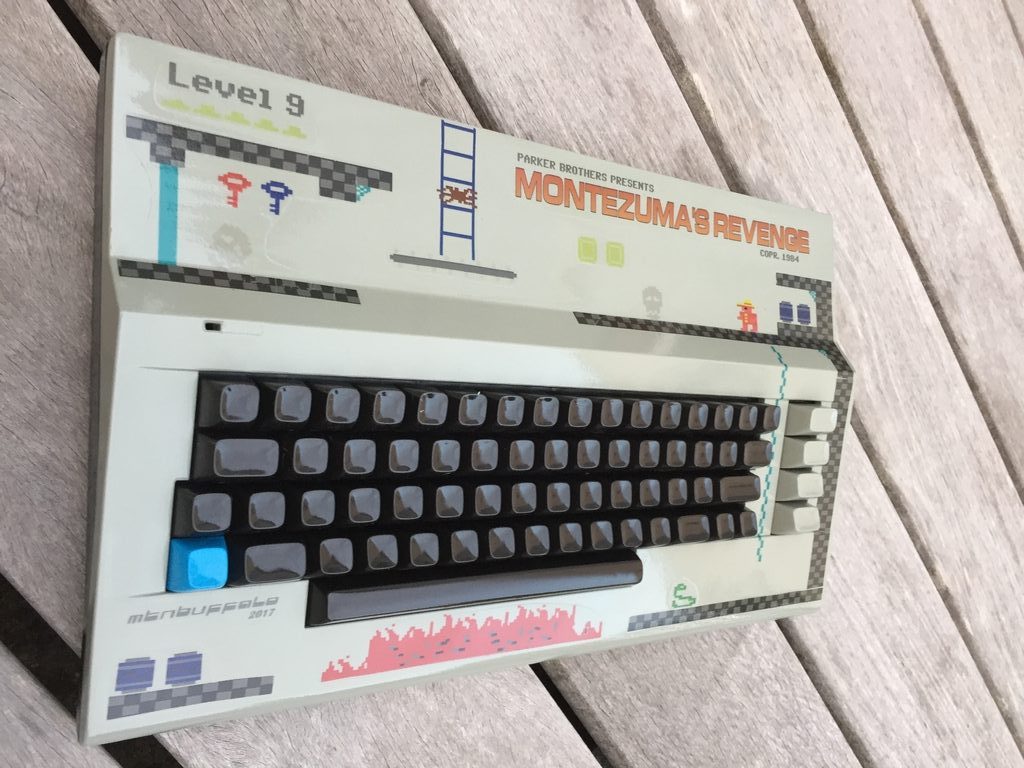
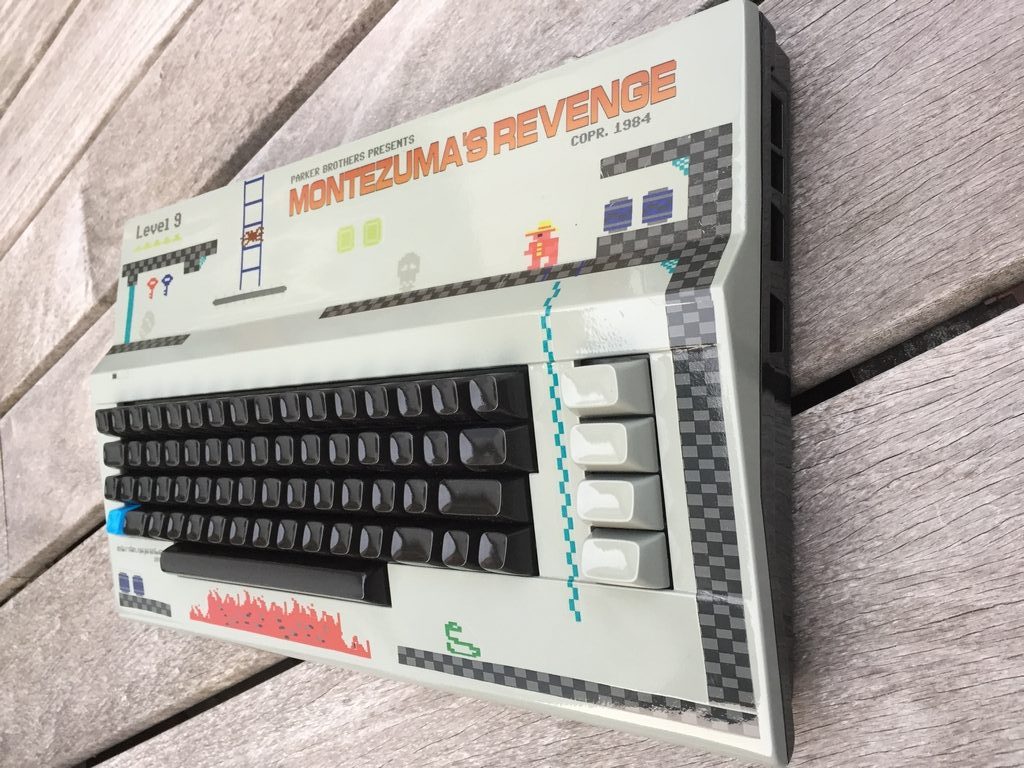
Montezuma’s Revenge is by far my all time favourite game for the Commodore 64 (link). Maybe it’s because the gameplay is so simple. All you have to do is find keys, open doors, don’t get killed, get to the bottom of the maze, repeat… In this context, I have been wanting to mod a Commodore 64 C case for quite some time and what would be better than a Montezuma’s Revenge C64 Case mod? This is how I ended up with a C64C case looking like this…
Closing the gaps:
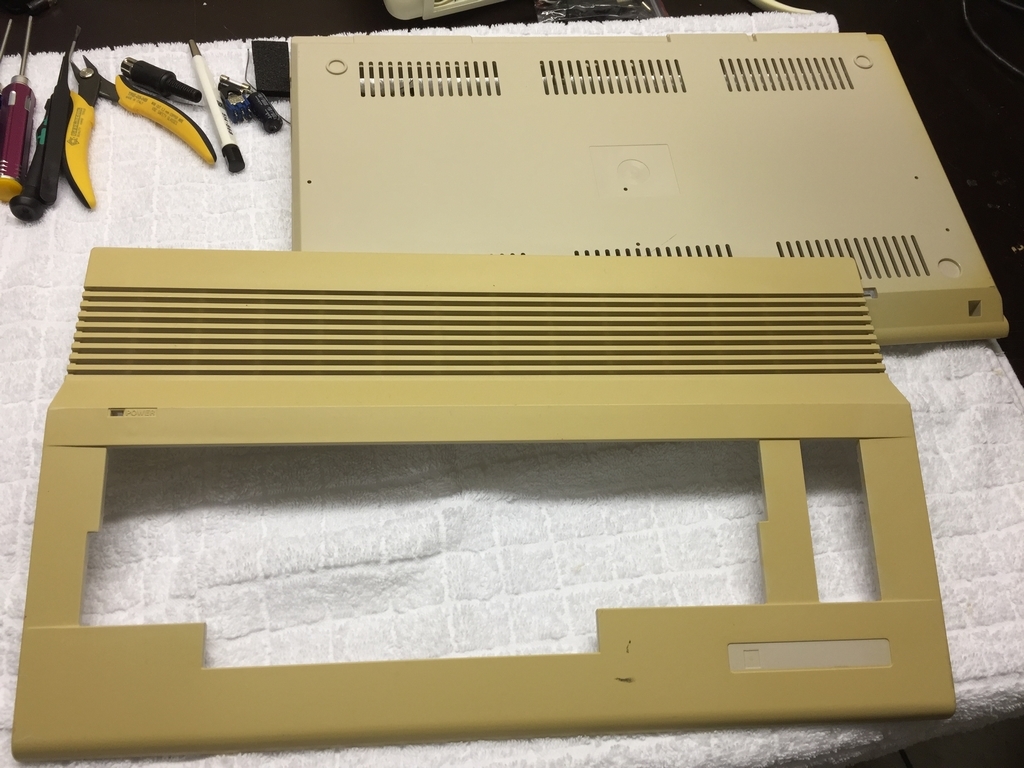
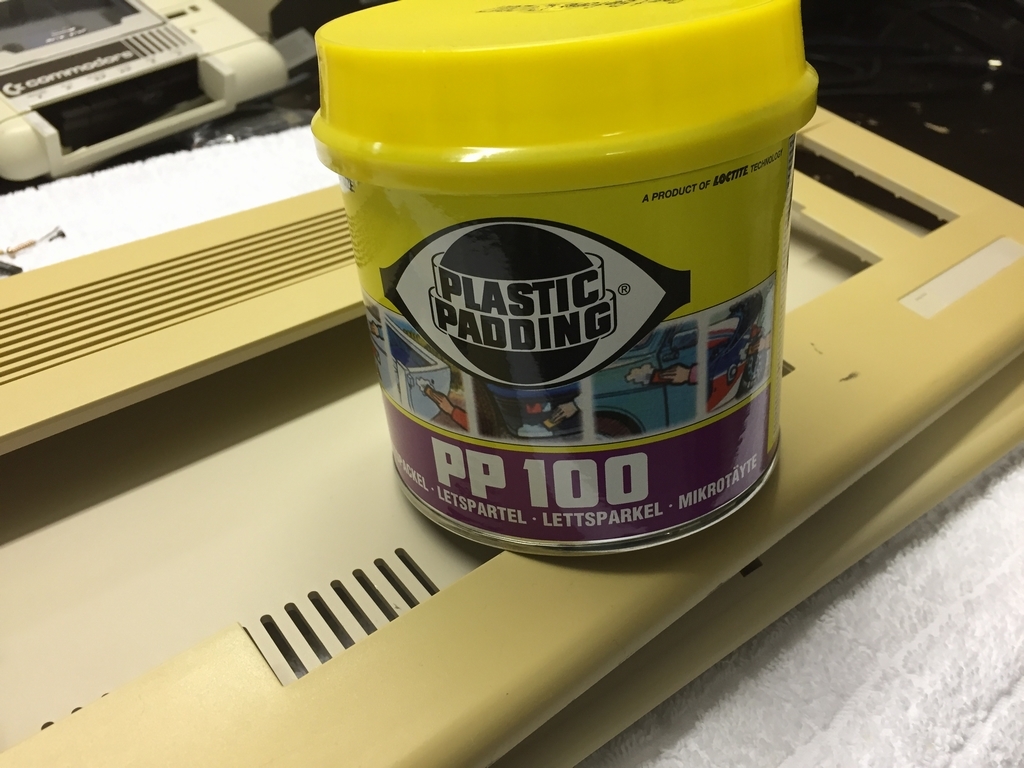
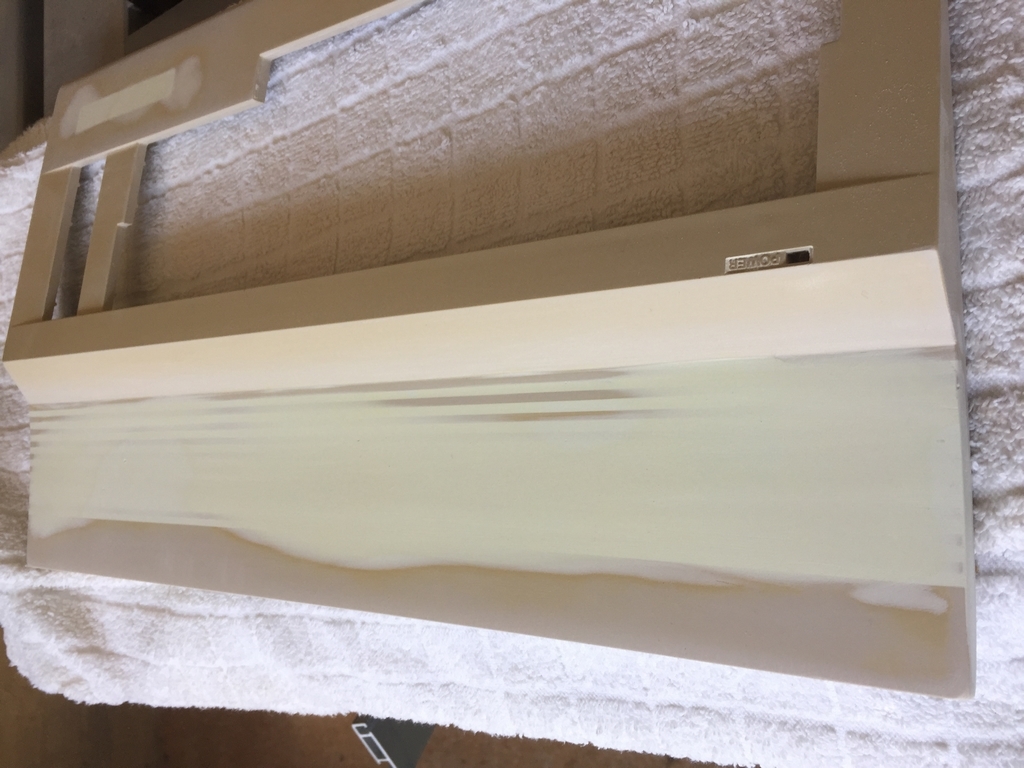
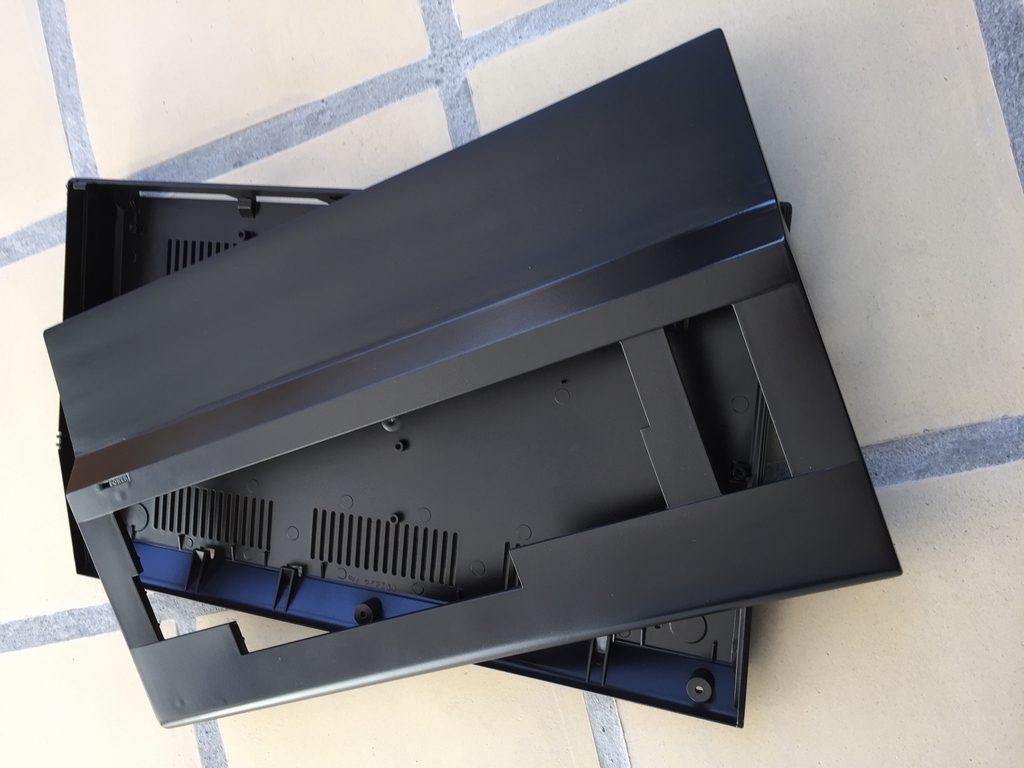
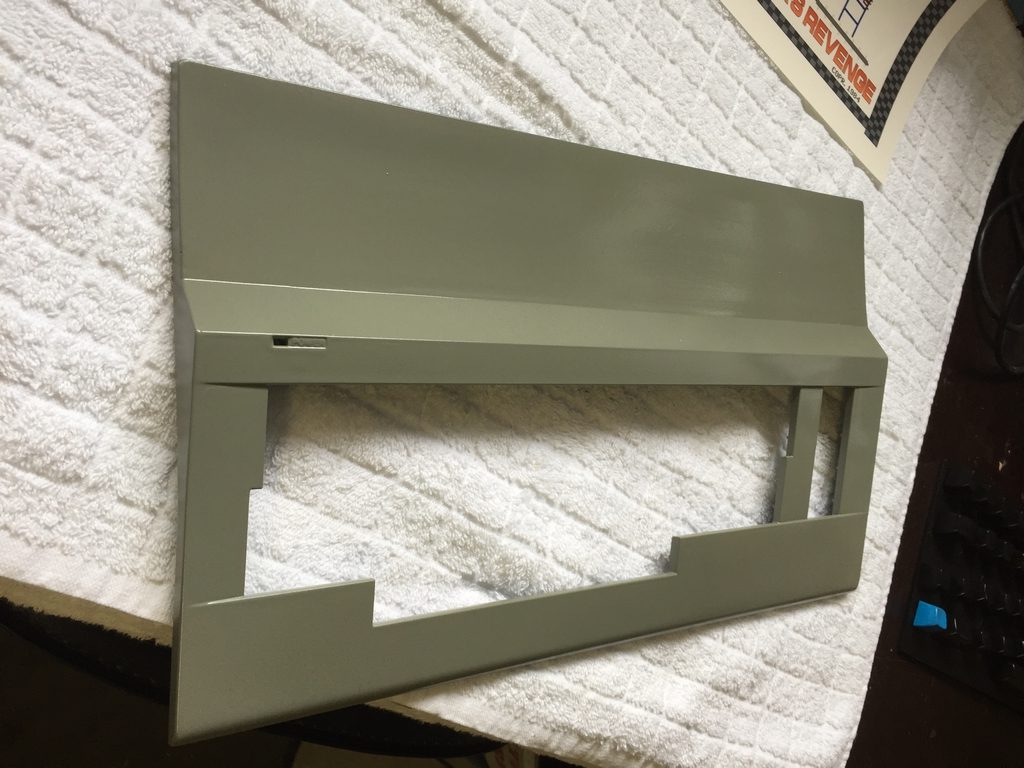
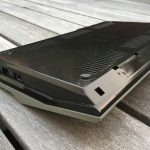
First up was closing all the ventilation holes in a very yellowed C64C case. First I removed all badges and applied some Plastic Padding filler. The holes were easily closed using a small scraper.
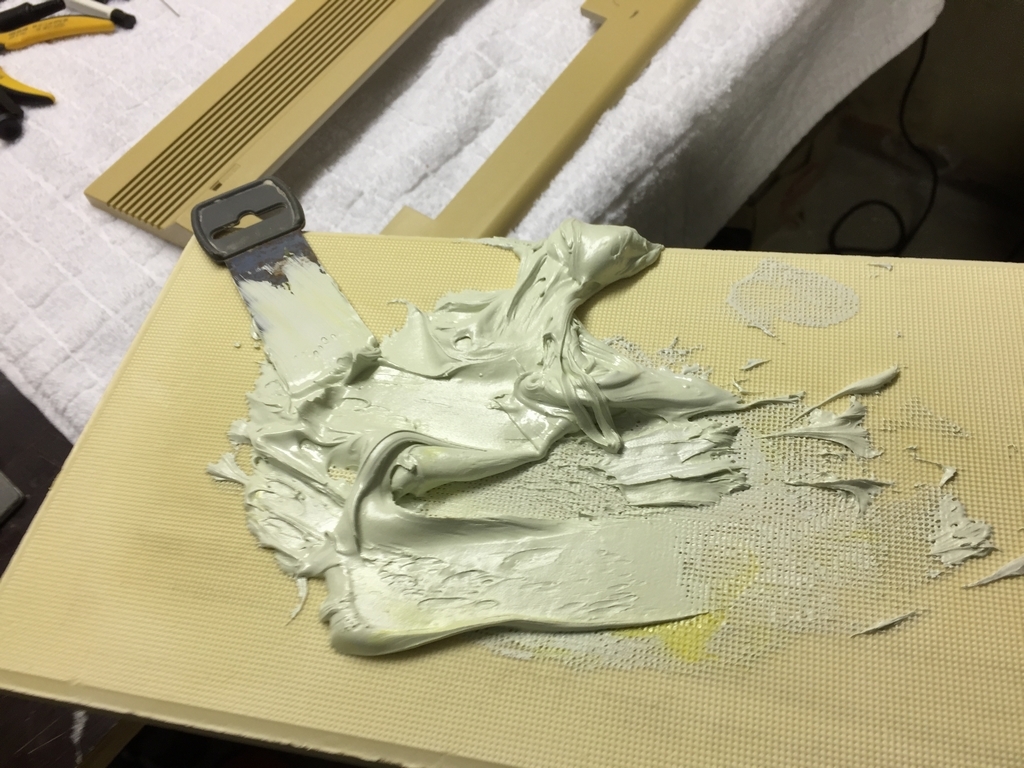
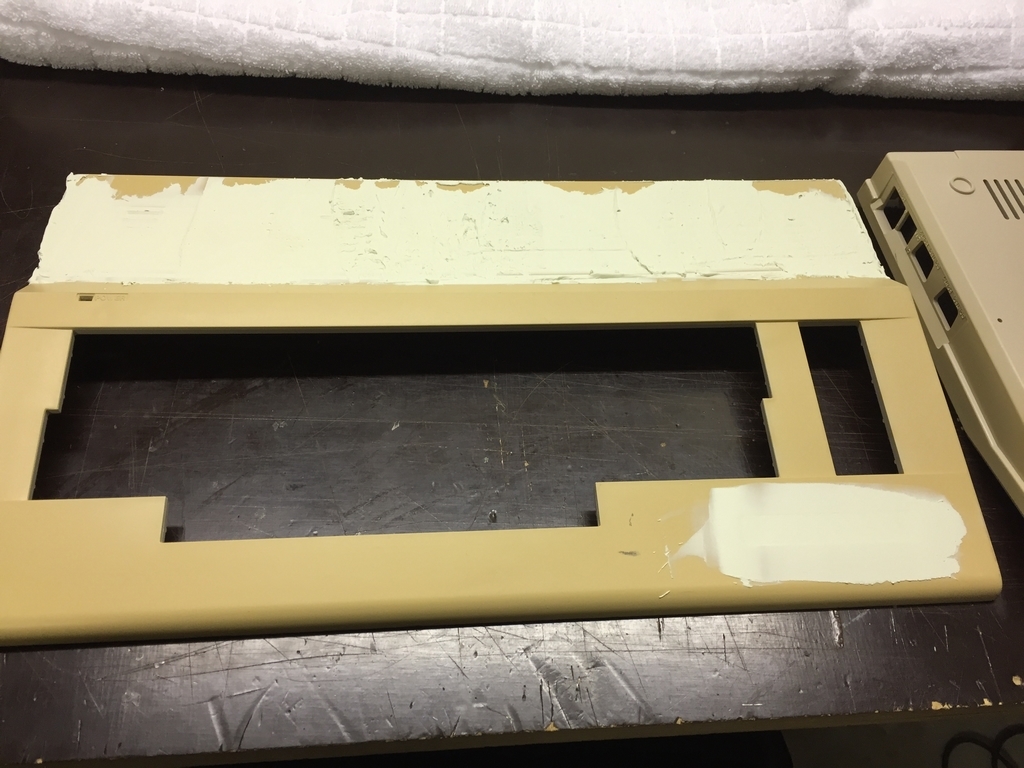
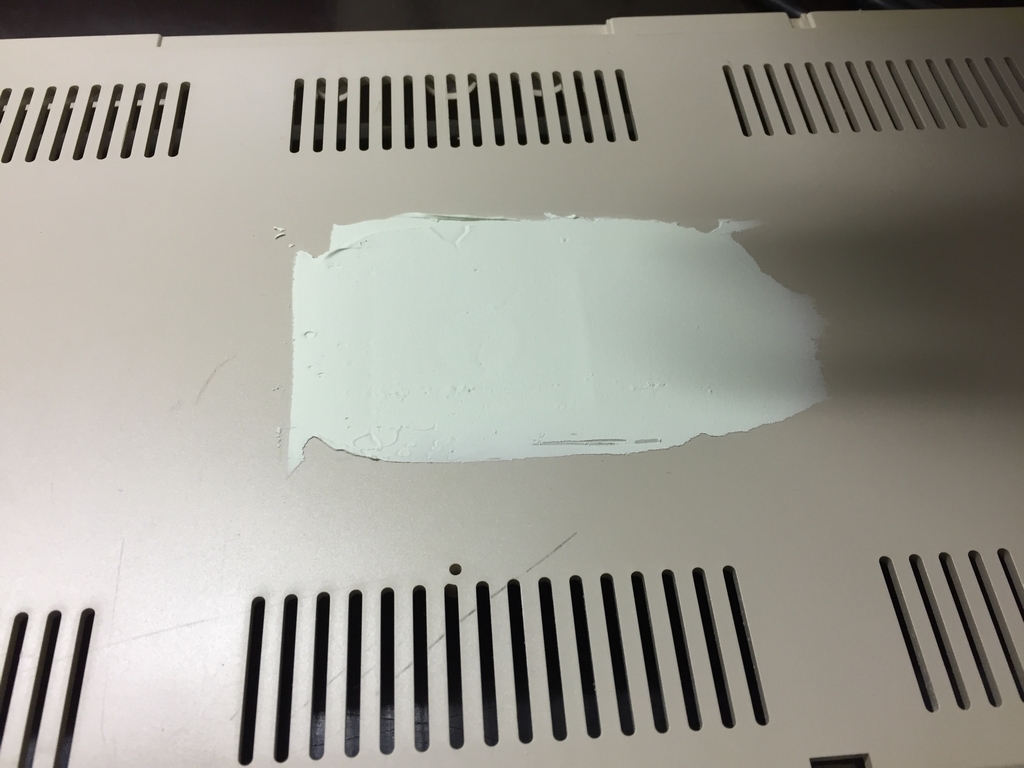
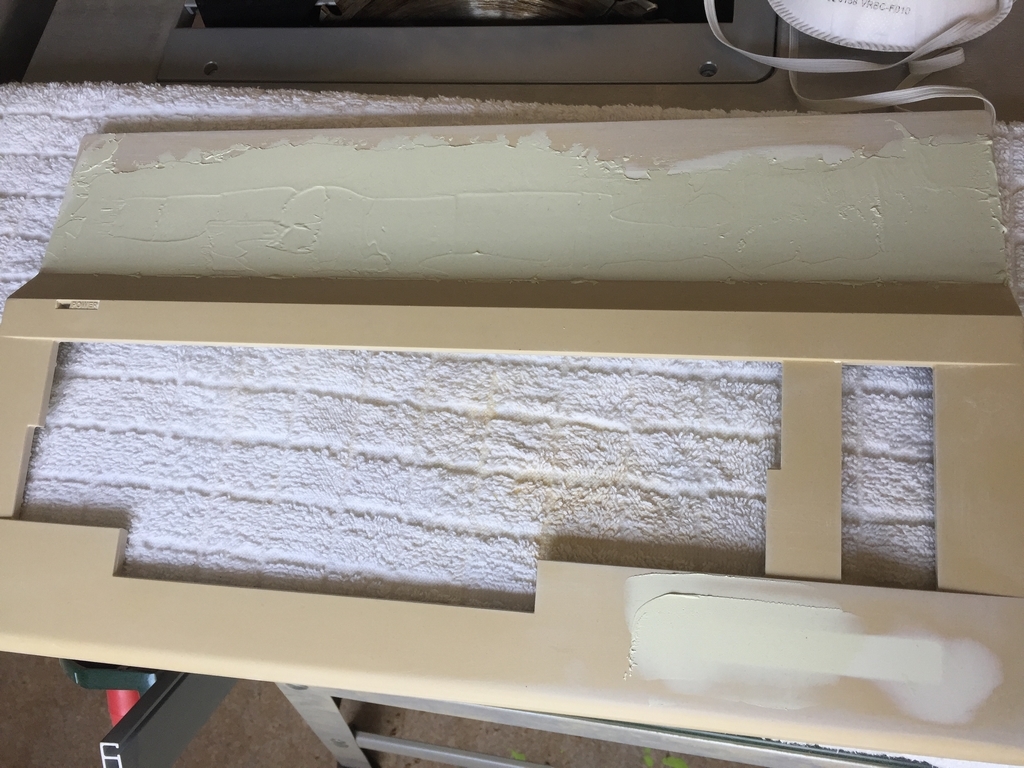
The following day, all excess material was removed with 180 grain sandpaper.
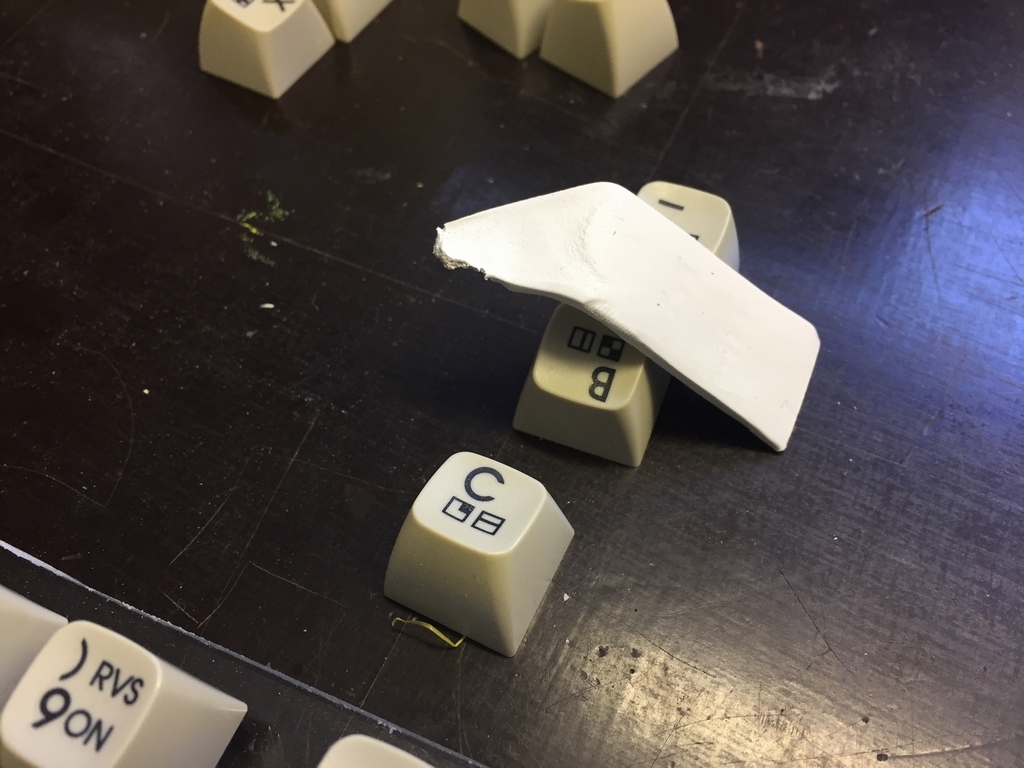
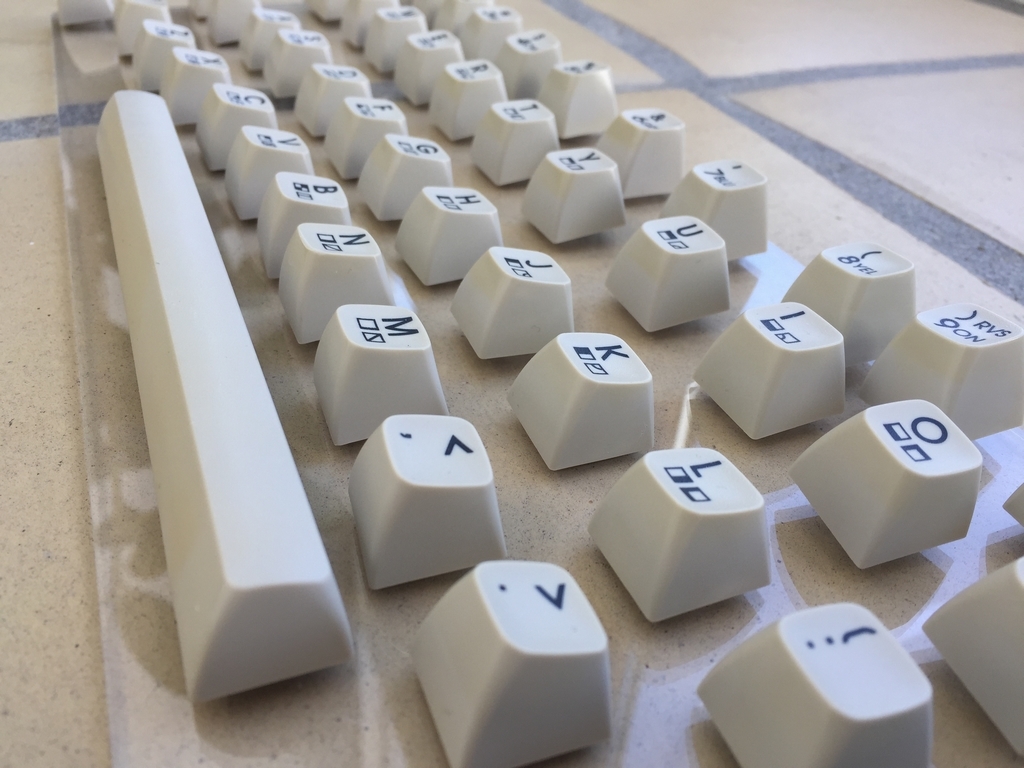
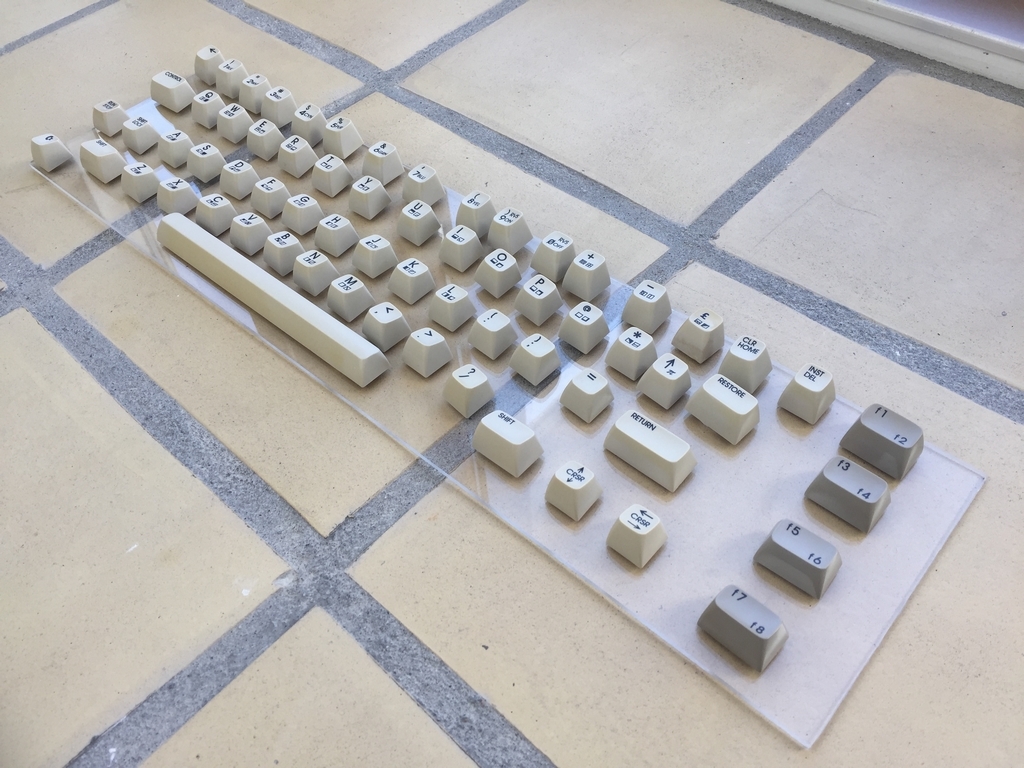
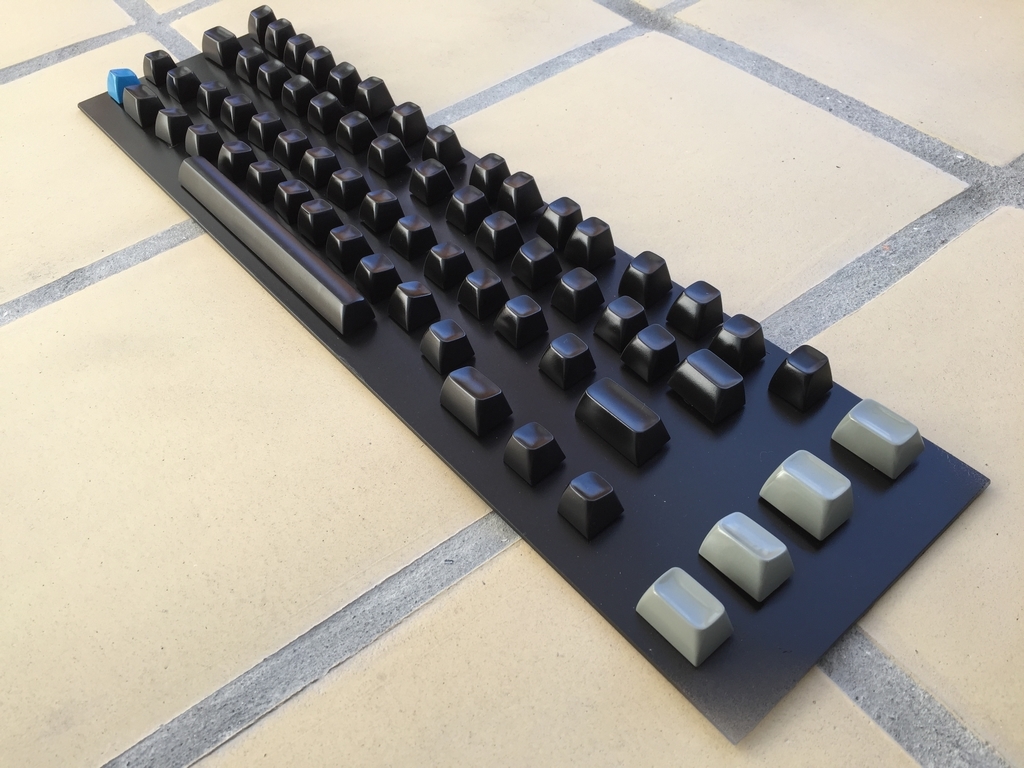
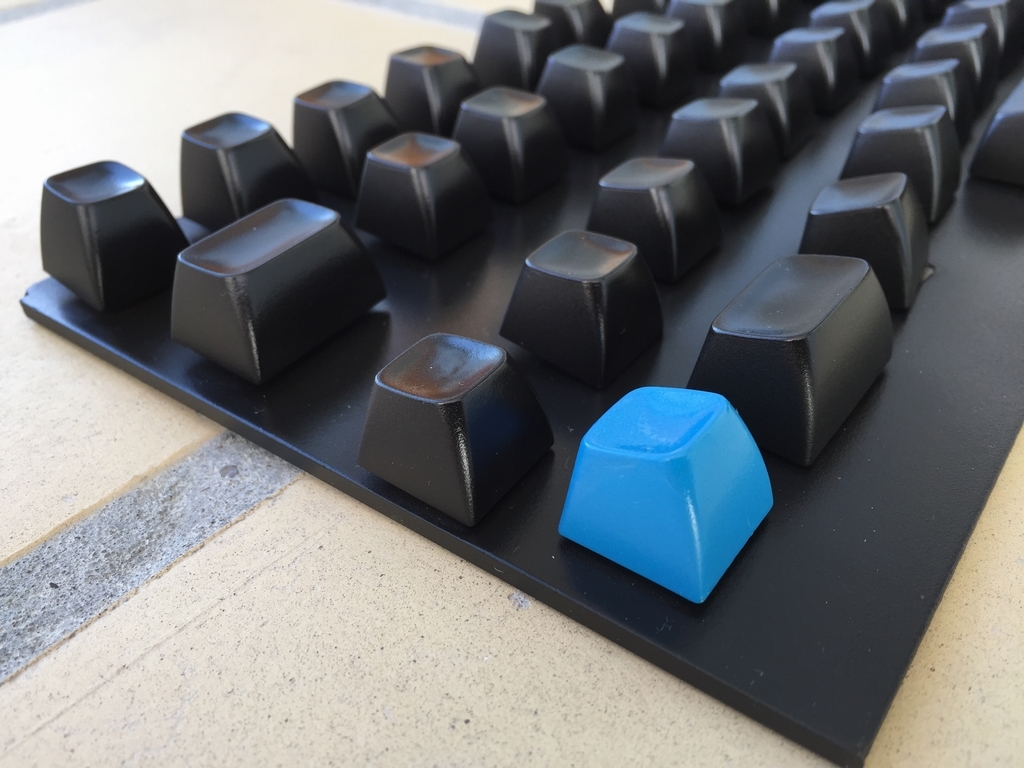
Next up was the keys. I used some sticky adhesive pads to fix the keys to a plexiglass board. This also raised the keys off the surface for a perfect paint job and made it easy to move it outside for painting.
Painting the Parts:
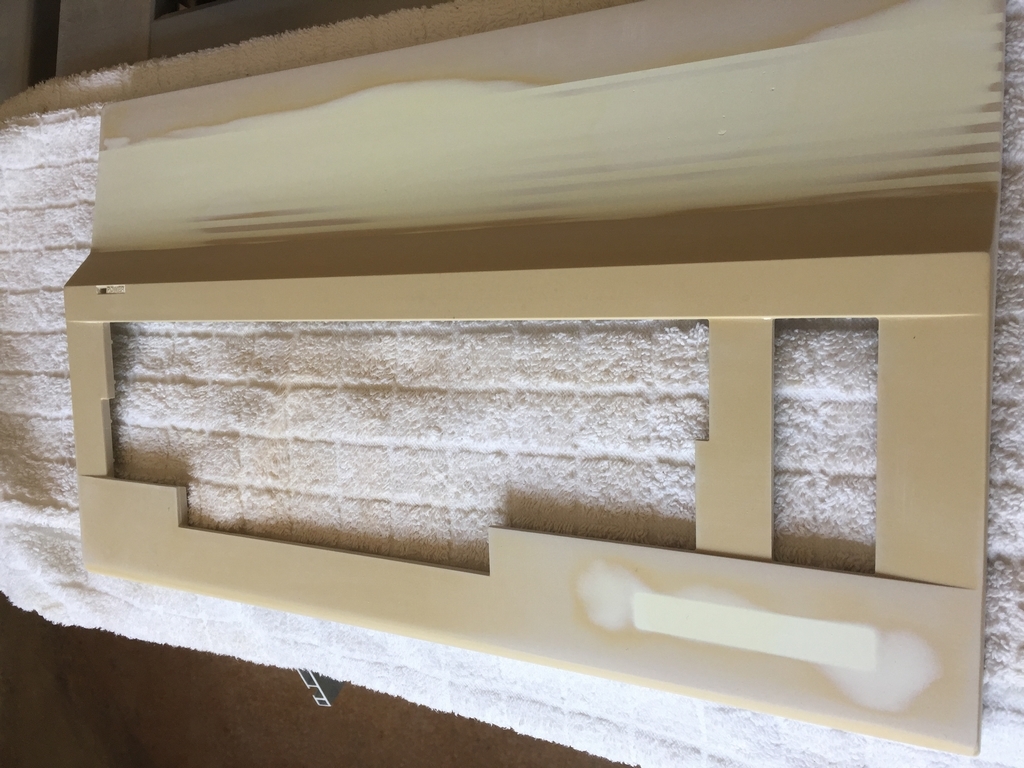
I used a plastic primer, some colored paint and glossy varnish.
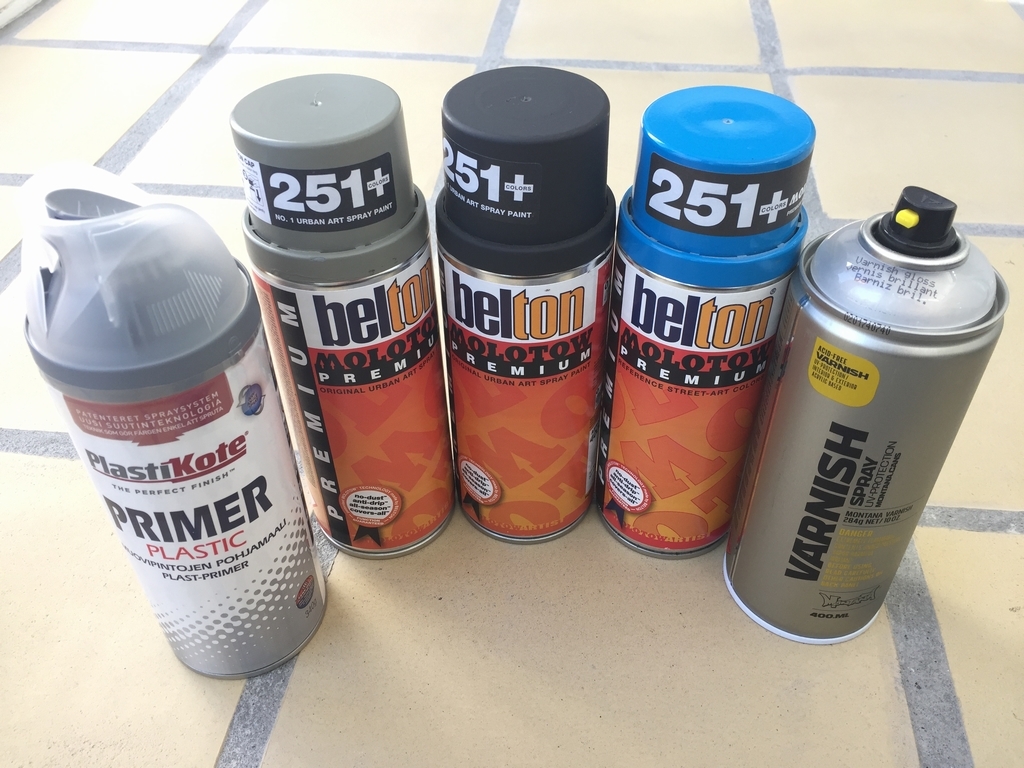
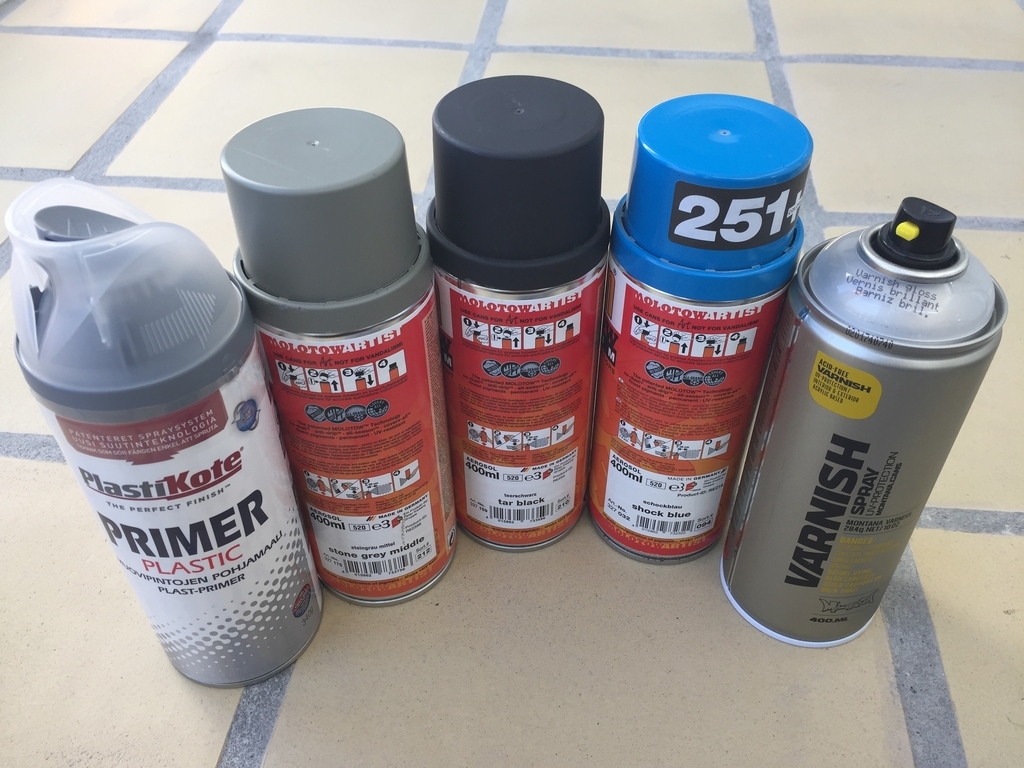
The black color looks quite nice. The Function keys were greyed while the Commodore key was painted blue!

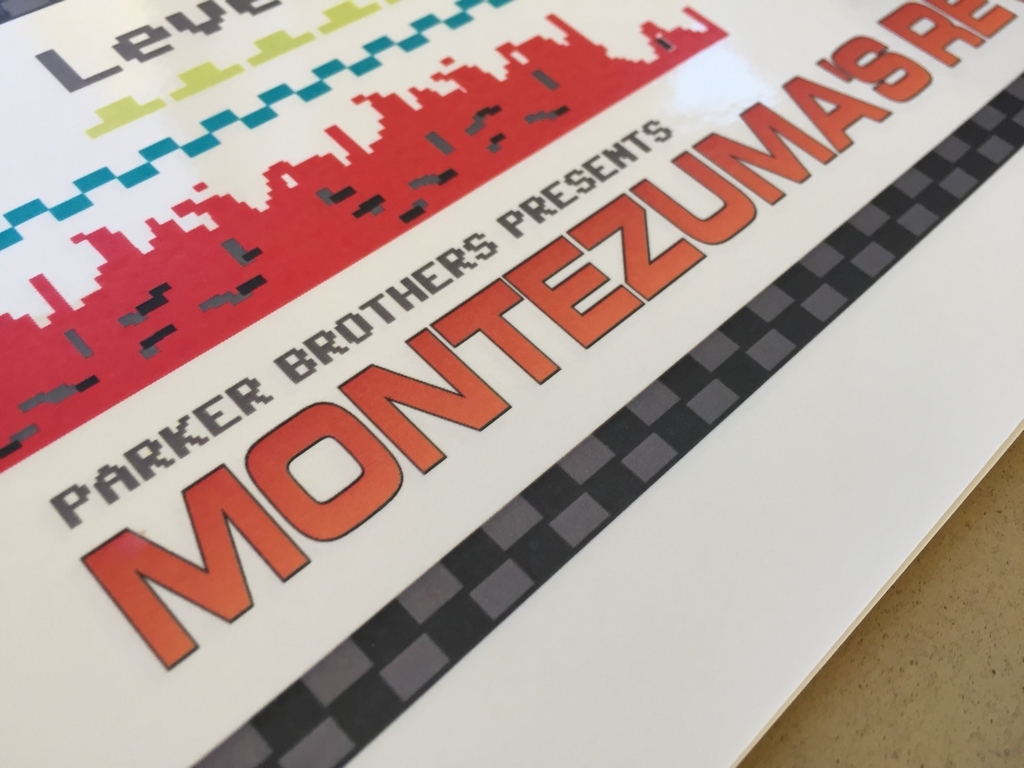
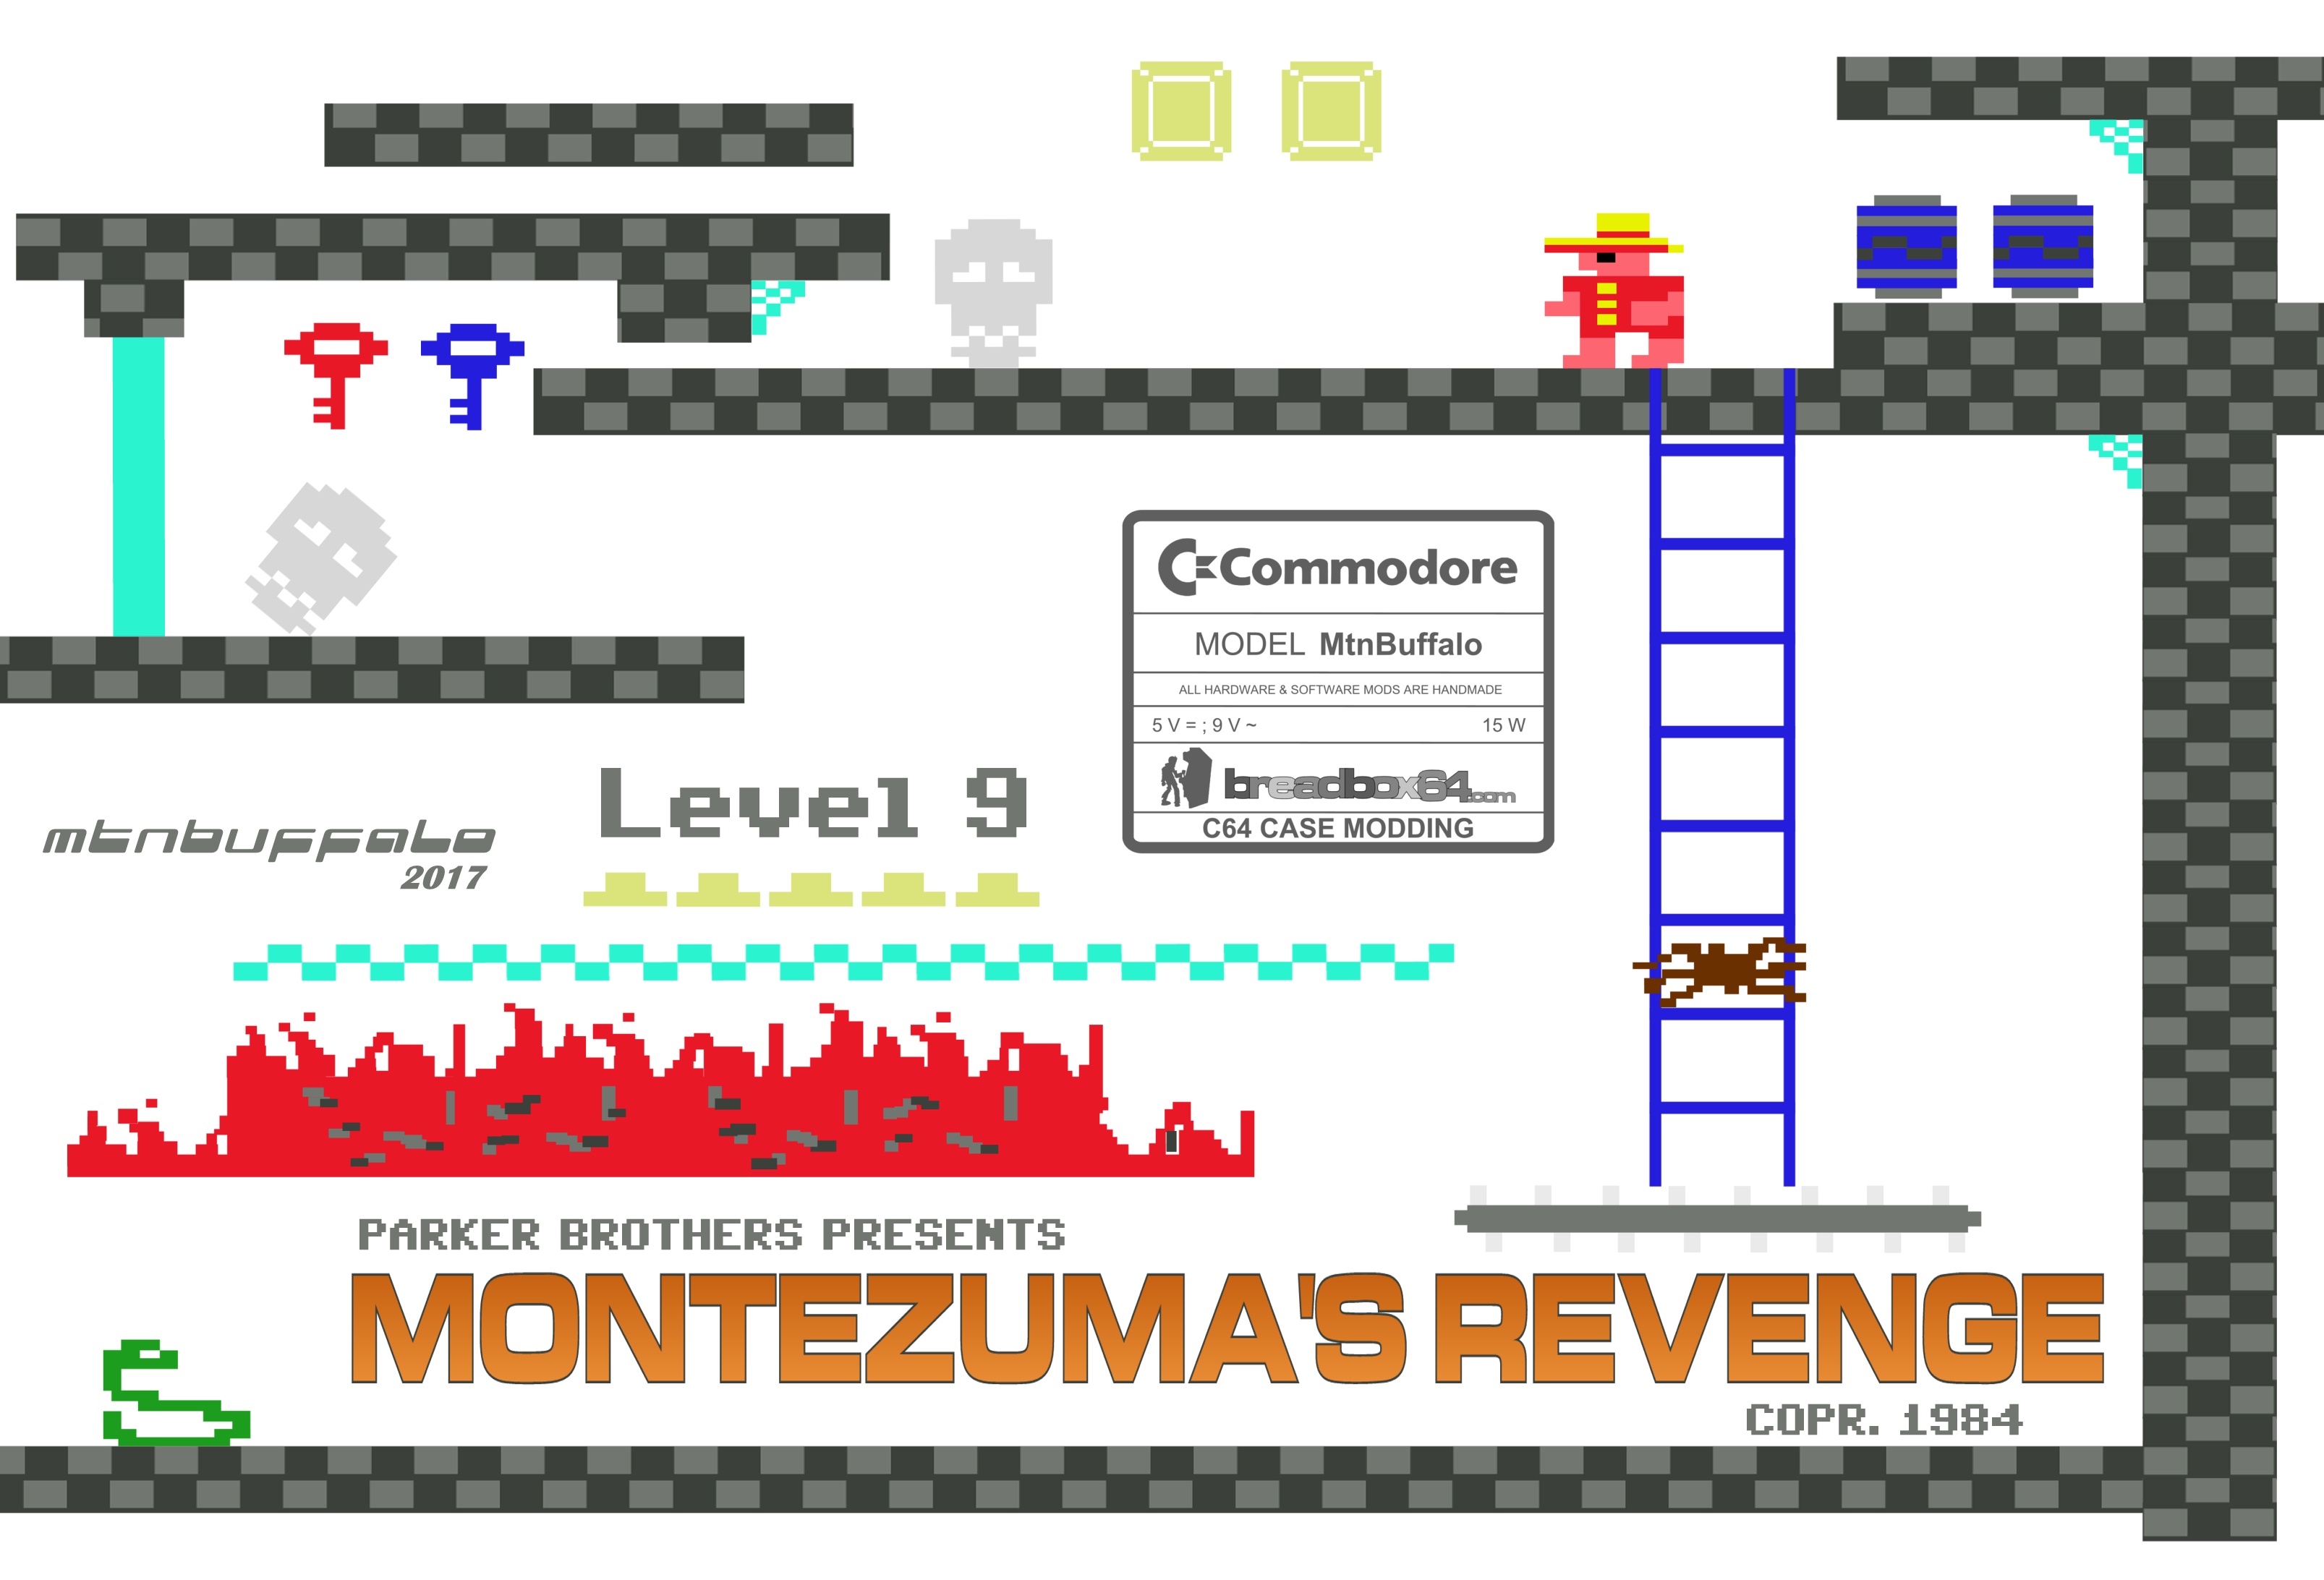
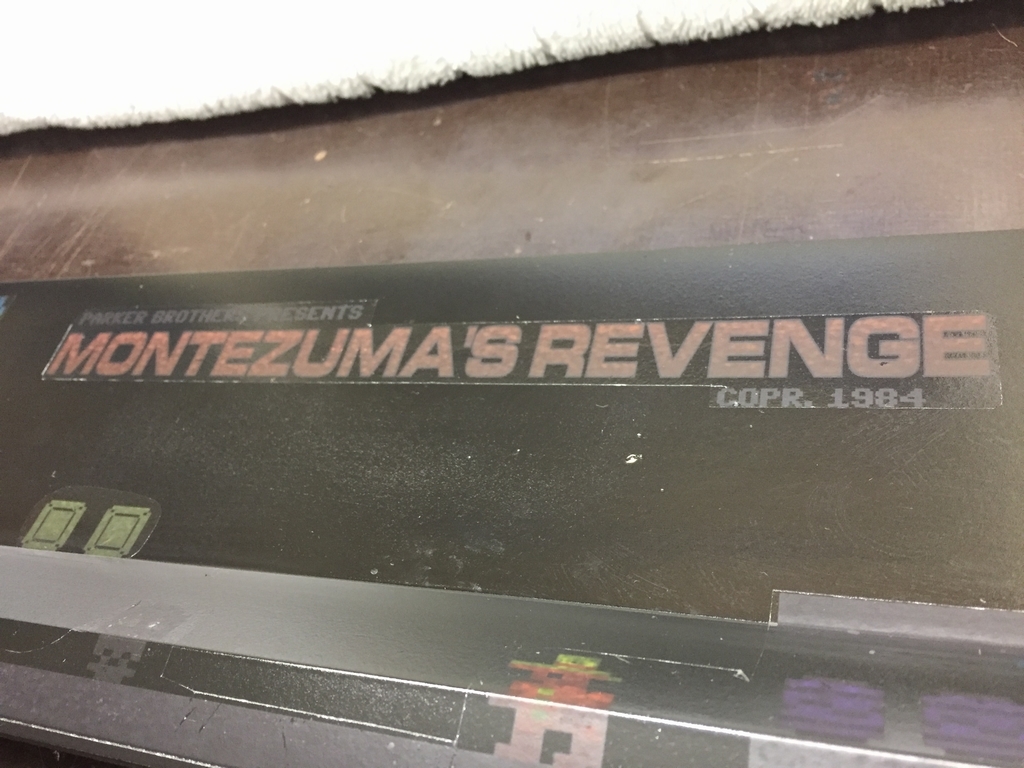
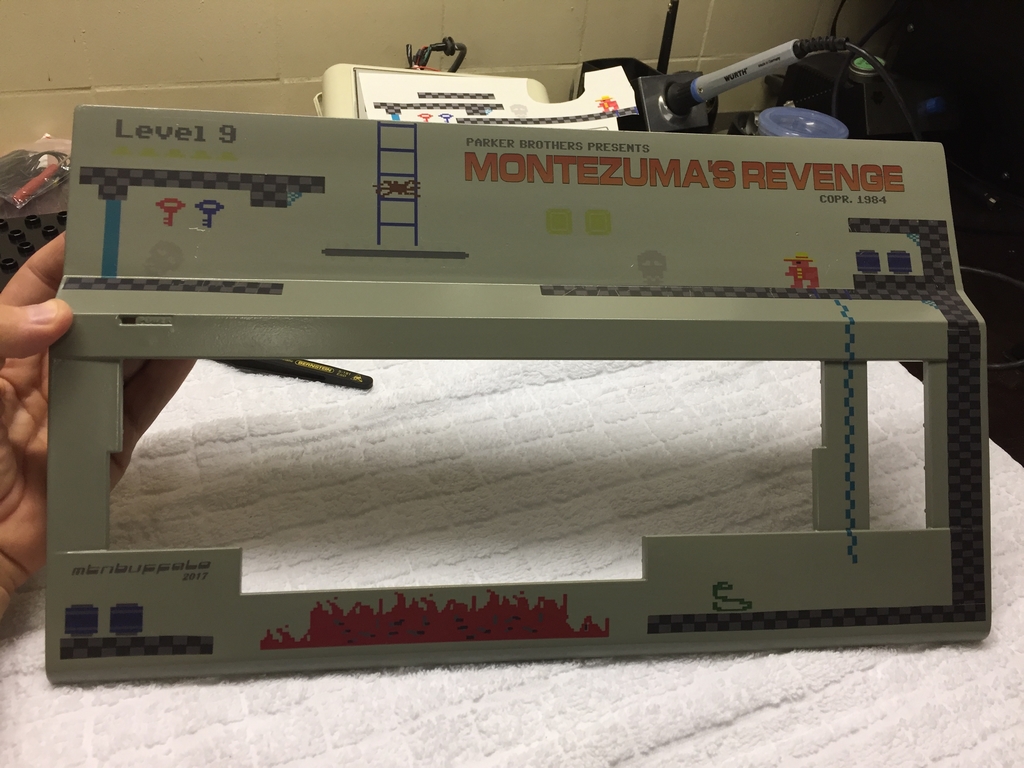
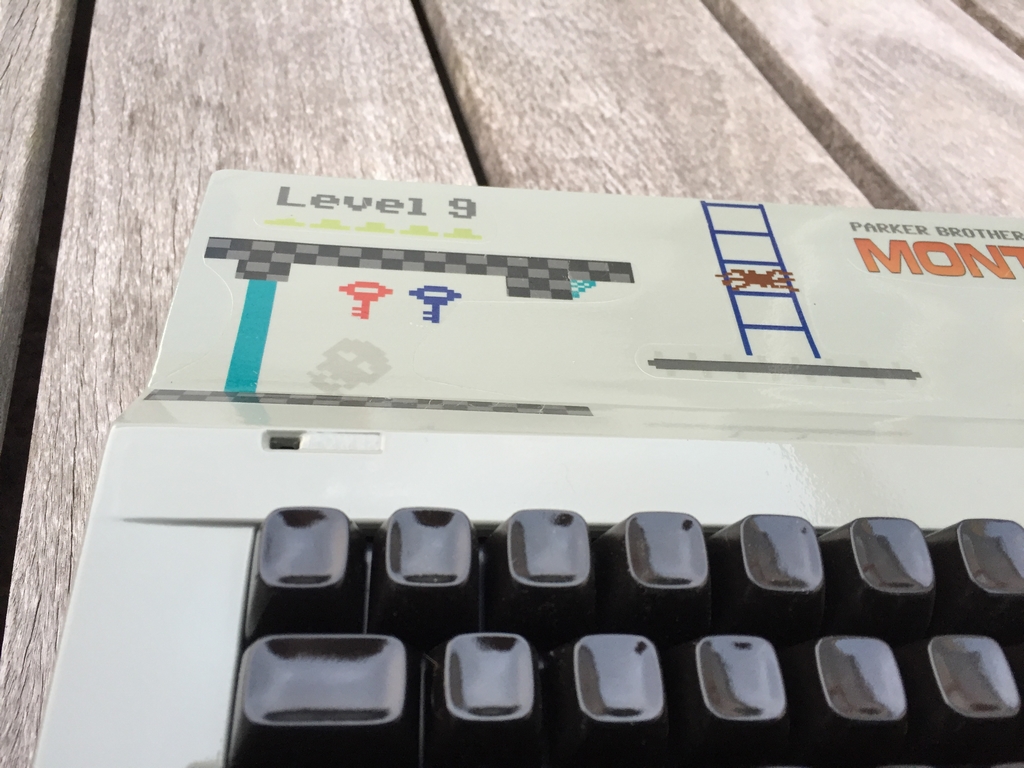
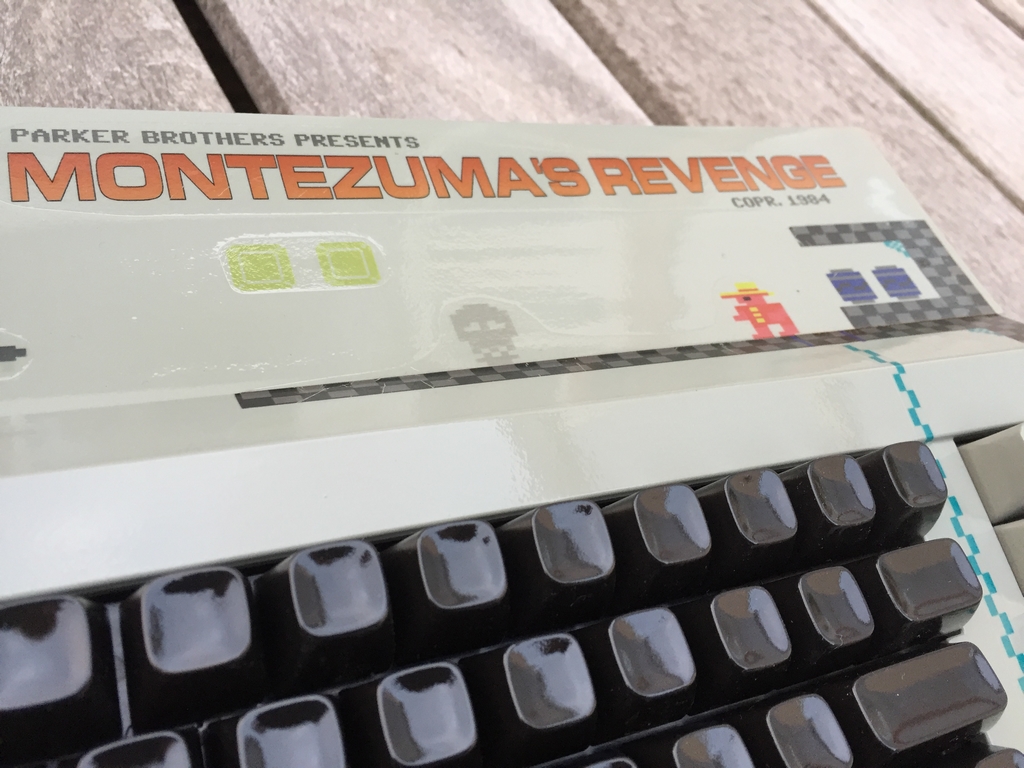
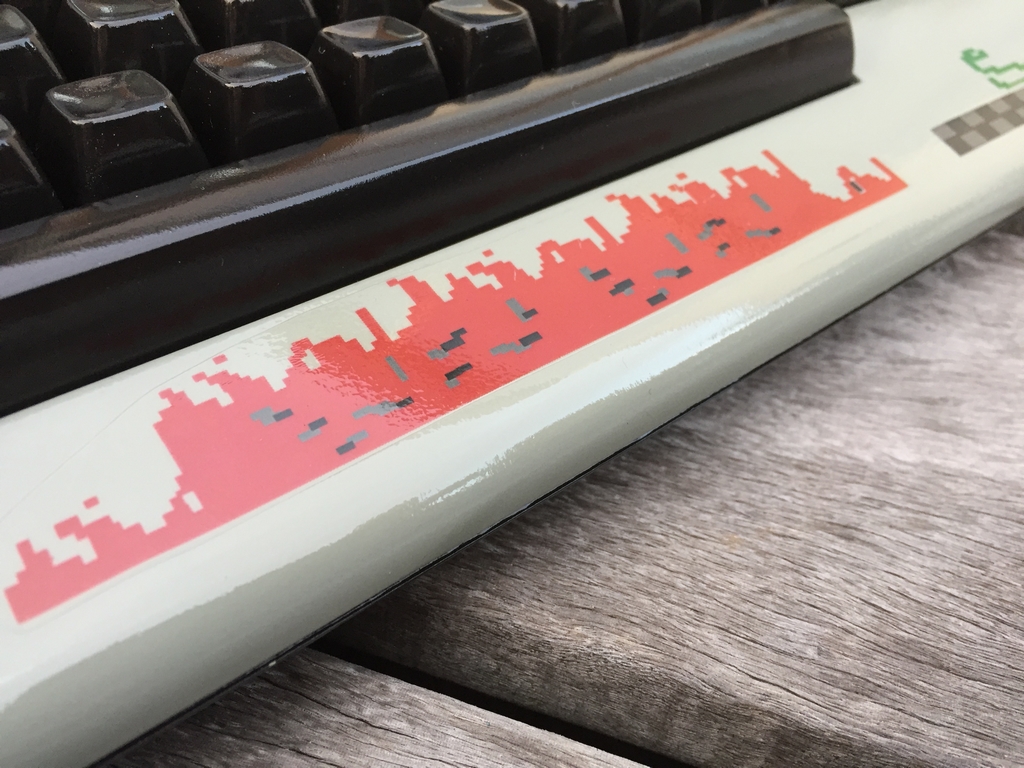
Montezuma’s Revenge Themed Graphics:
I made some Montezuma’s Revenge inspired graphics that was printed on some clear waterslide decal paper. A sheet was made with all the C64 keyboard characters but was later omitted as they are invinsible on the black keys. The location of the graphics were tested before the application.
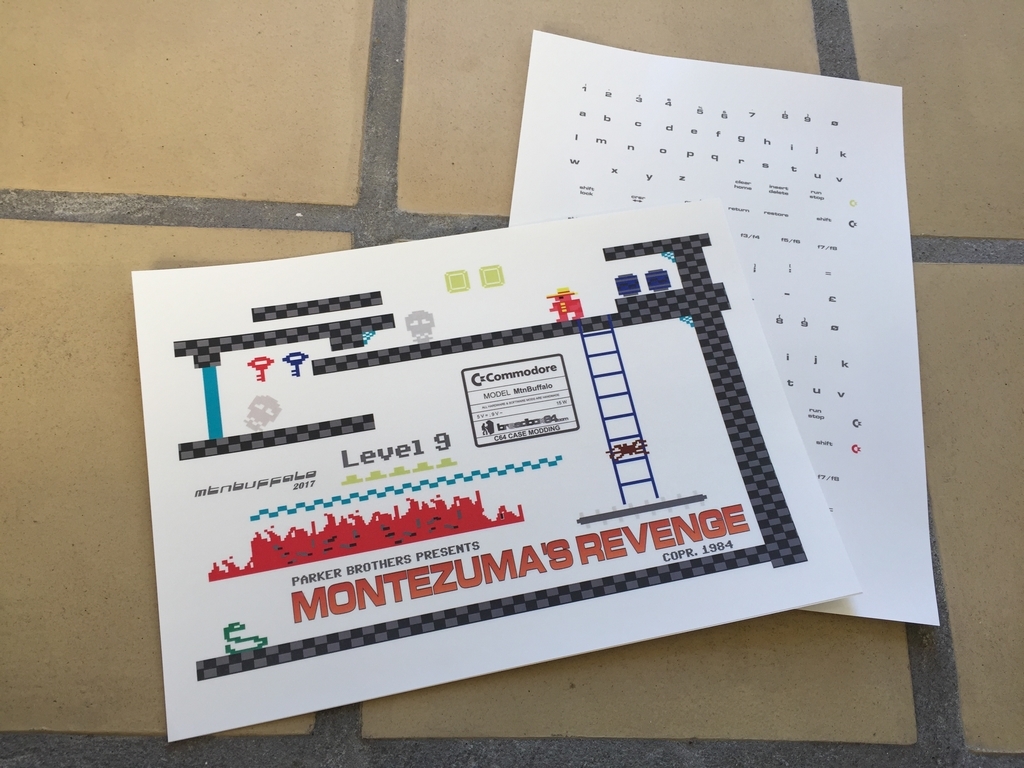

This is the high resolution graphics file I used for printing the decals.
The Transfer:
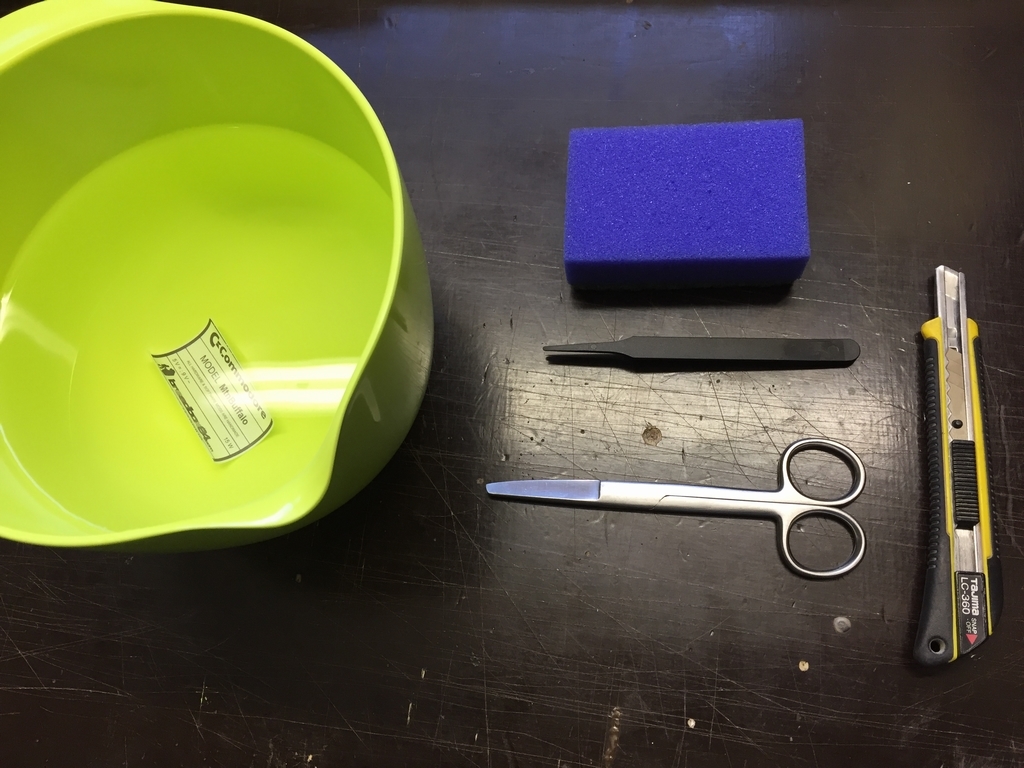
I used a tweeezer, a bowl of warm water, a pair of scissors, a sponge and an x-acto knife for the transfer.
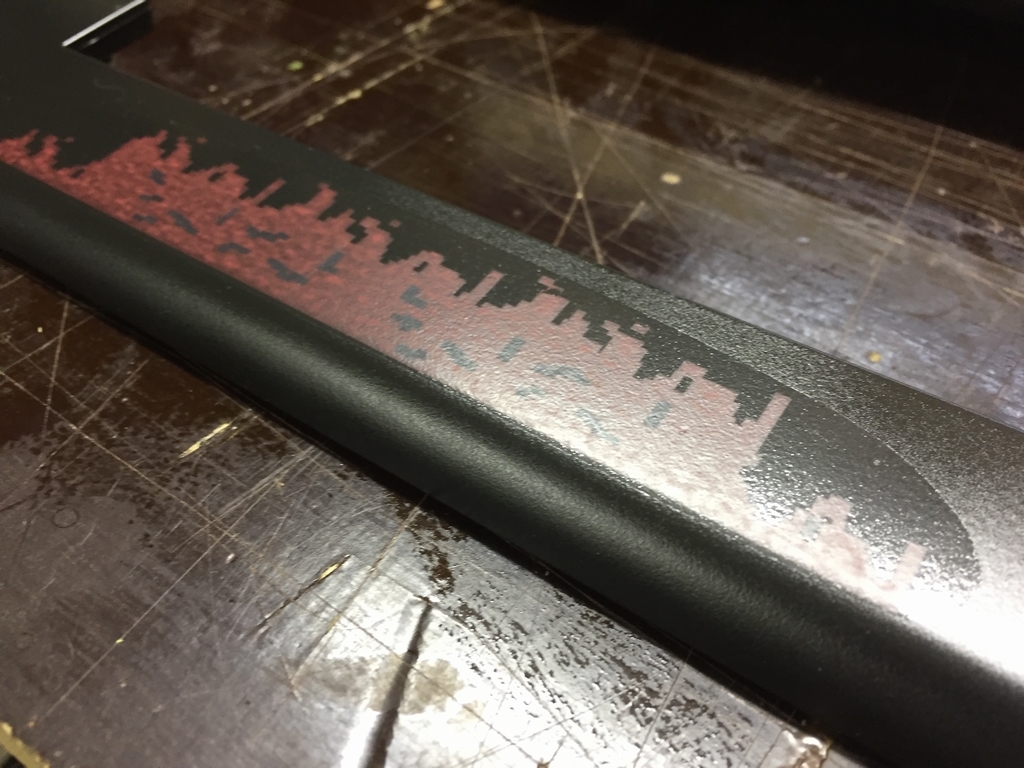
Unfortunately, after spending hours with the waterslide decal paper, I decided that the black case color was just too dark. The graphics just did not show up too well. So I removed the decals and re-painted the top part of the case in grey. The result was way better!
The Monte Case mod:
After several coats of glossy varnish, the case ended up looking like this…
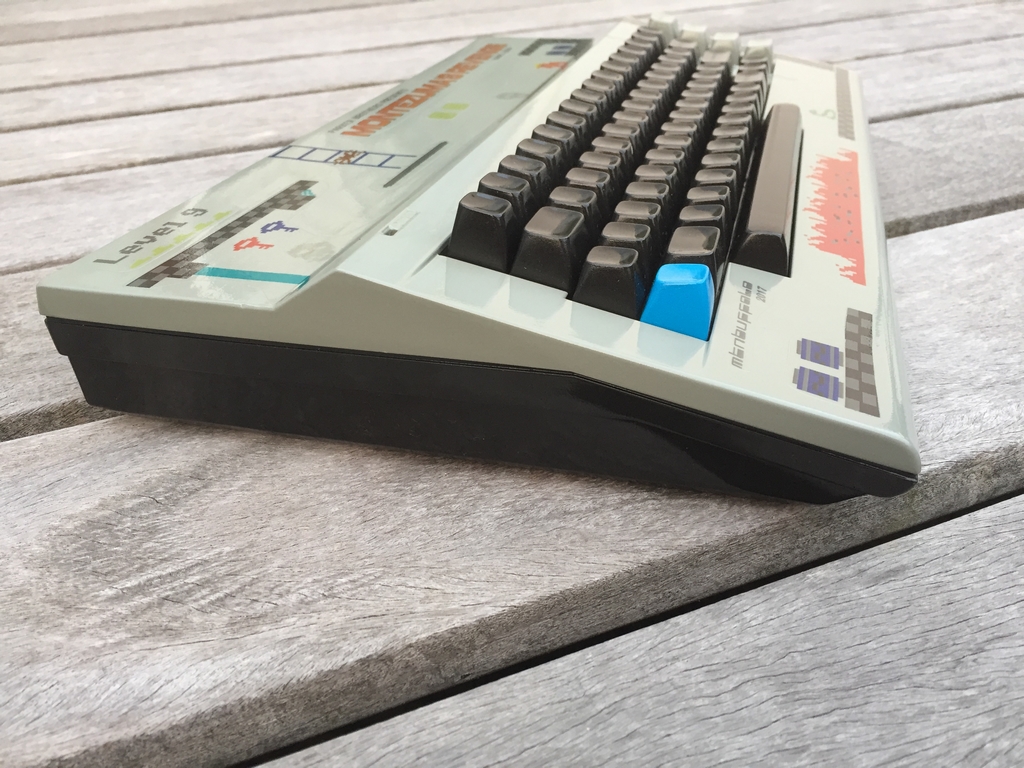
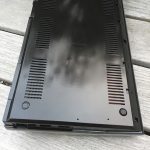
The black bottom that matches the color of the keys.
The next project is to mount a Commodore 64 motherboard inside the case and make it play Montezuma’s Revenge whenever the machine is turned on…
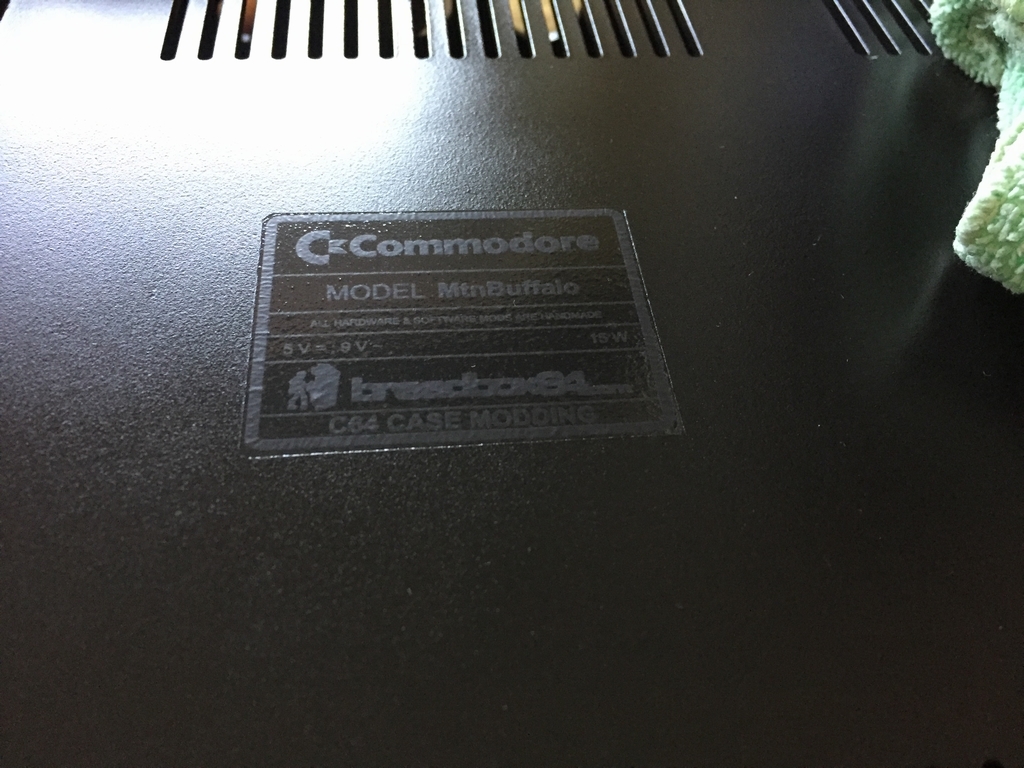
© breadbox64.com 2017
…Or “How to kill a SID-chip”. Those vents are there for a reason. Hope you install some way of cooling the chips.
He he… I know 🙂 I was considering exactly the same thing before I sealed off the top vents. However, there are venting slots on the bottom of the case and big holes on the rear side. I have also removed the cardboard RF shield to increase the internal airflow. The MPU,the SID and the VIC-II chips are all going to have heat sinks mounted to them, so hopefully I won’t harm any of the old chips.
I’m actually not that worried about heat issues… and the case mod is also more about me trying to be ‘creative’ than making a cool running machine 😉
It looks really cool. Thanks for sharing.
Looks good overall, but completely black keys? For the keys you have stickers with white letters that will come next, I suppose?
Well, I have no plans on adding stickers to the keycaps. Initially, I applied some transparent paint in order to see the original letters on the keys but that didn’t turn out too well. I then redid the paint job in a more greyish/brownish color to fit the overall theme of the case (link). I wanted to keep the case and keyboard as artistic as possible without thinking too much about the standard C64 functions. The machine was made to be a single-game-only arcade/console type thing. With JiffyDOS and an SD2IEC installed I only need to press two keys and the game will load with no further ado ?